DIY St. Patrick’s Day “Lucky” Shamrock Wreath
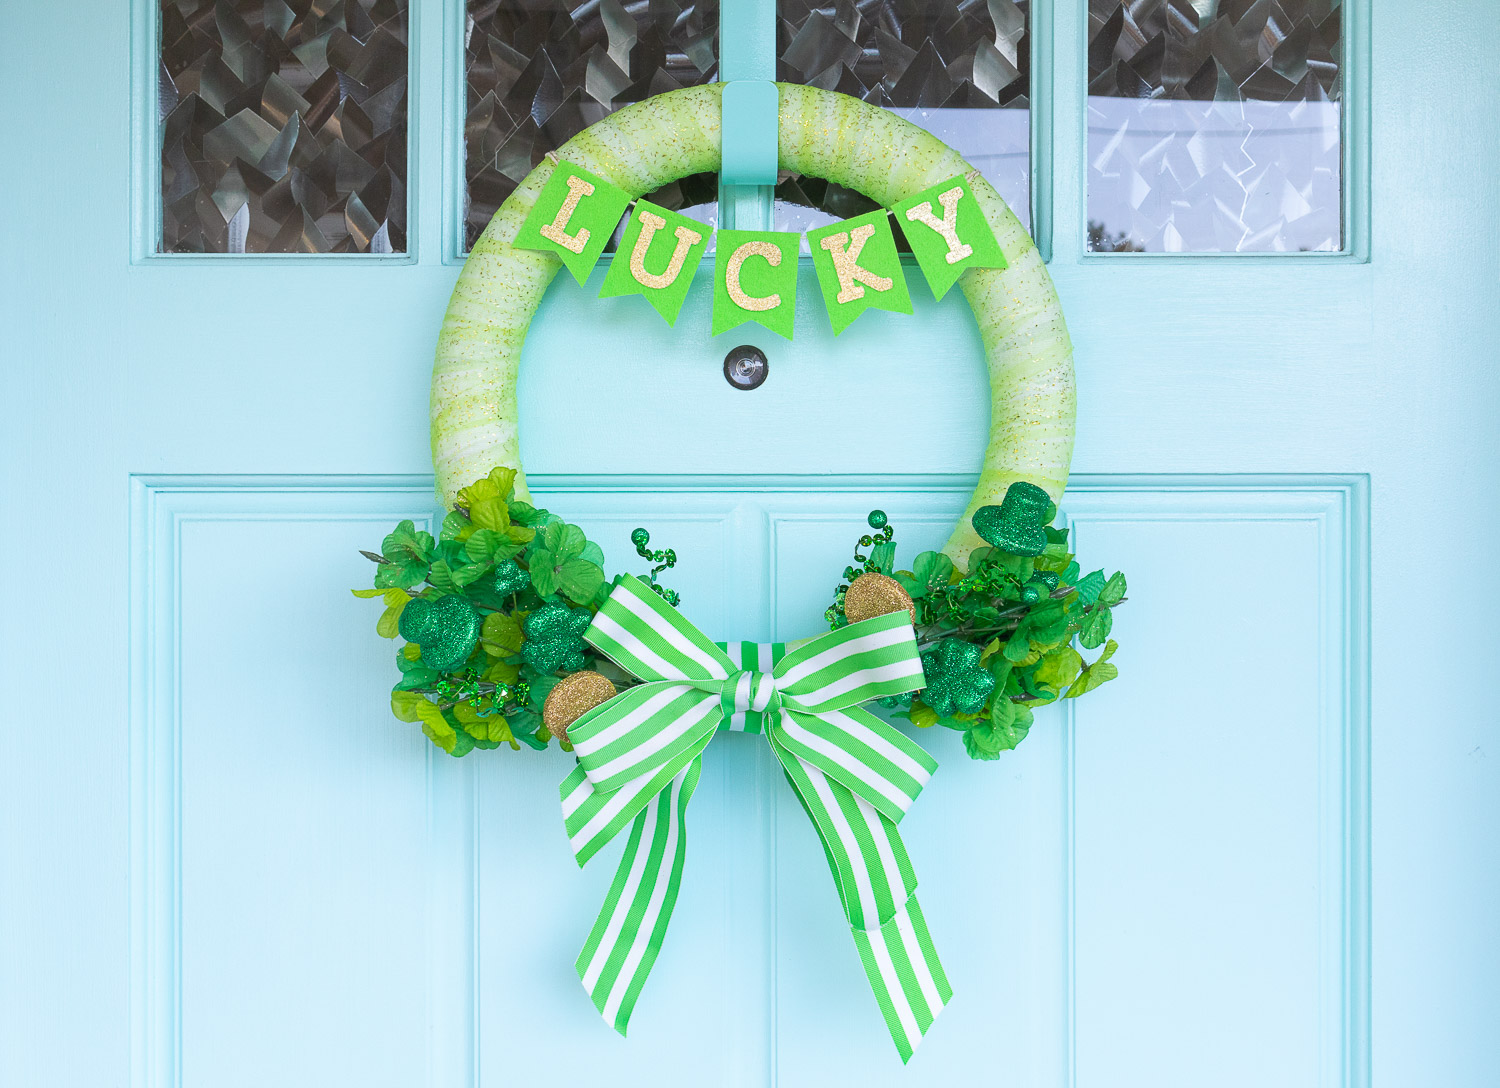
Give your home the luck of the Irish with this DIY St. Patrick’s Day wreath! Last year I whipped up this wreath just in time for St. Patrick’s Day. I’m not Irish at all, but I love holidays and any reason to celebrate with crafts! Fun fact – I live in a city named Dublin in Northern California. It was named after Dublin, Ireland and every year there’s a big St. Patrick’s Day Festival with food vendors, Irish dancing, a parade and more! It was on hold the last few years (for obvious reasons) but this year it’s back and I can’t wait to see what’s in store. Definitely check it out if you’re in the Bay Area.
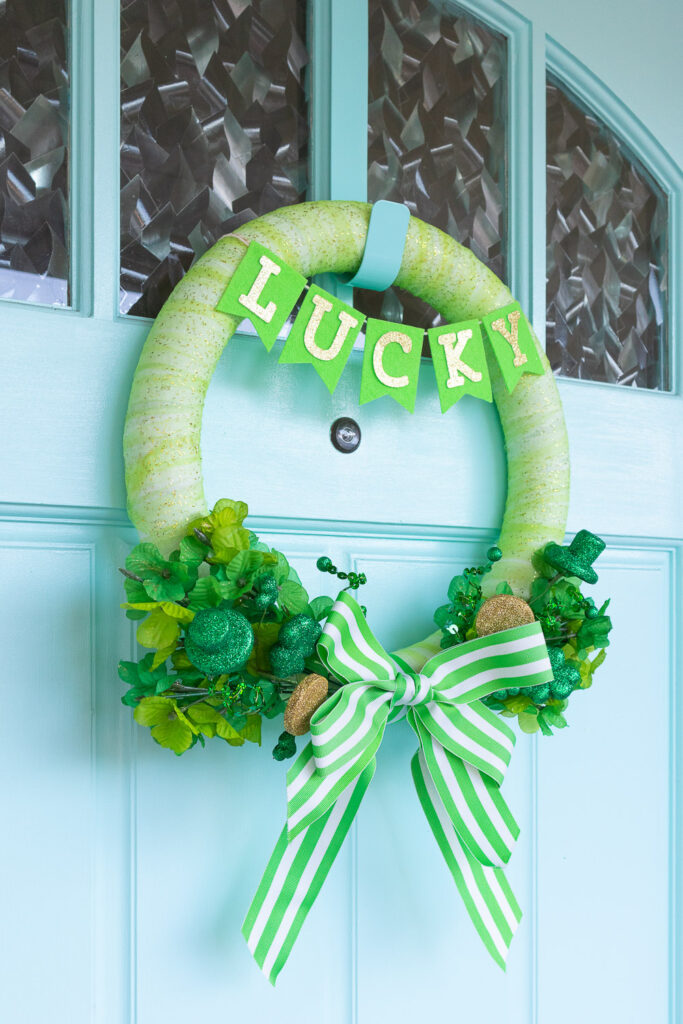
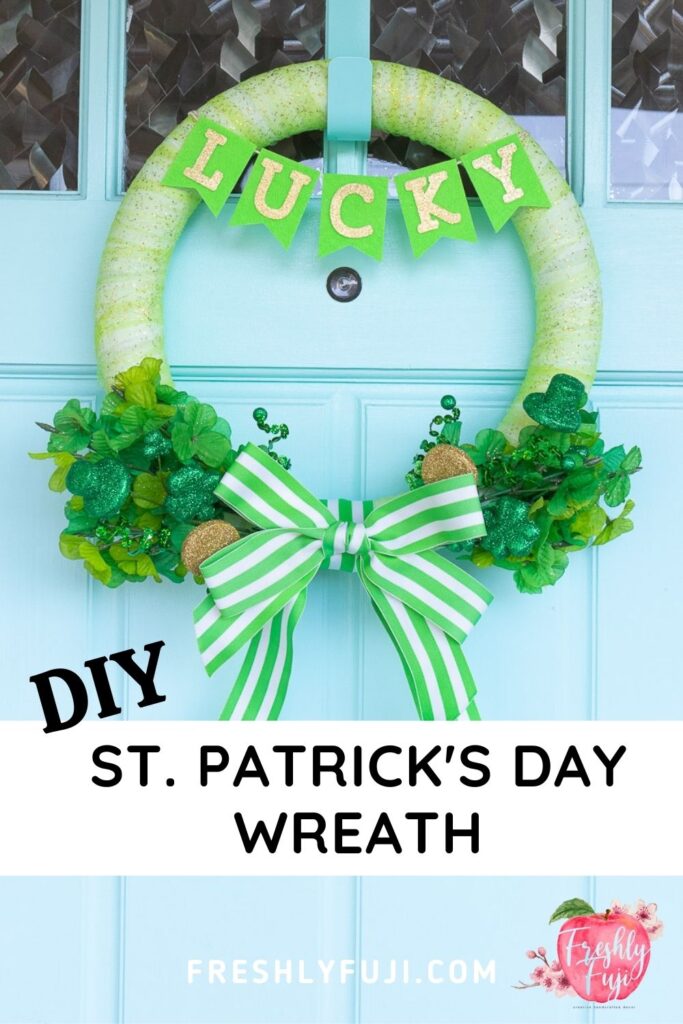
Okay back to the wreath! This wreath was fun and easy to make and was made with supplies you can find in your local craft store or dollar store. Lucky for me I already had all the supplies on hand from previous projects. I love how the vibrant greens pop off my turquoise front door and the glitter tulle, shamrocks and gold letters add some extra sparkle. I always recommend cutting the letters using a cutting machine (I love my Cricut!) if you want them to be perfect, but you can opt to cut them out by hand or use pre-made letters if you prefer.
Pro Tip: Always check the regular and after holiday clearance sections in craft stores for the best deals! The faux greenery was only a few dollars since I bought them after St. Patrick’s Day and the wreath form was only $1.25 since it was broken. I picked it up anyway since knew I was just going to end up covering it. 😉
Make your own St. Patrick’s Day Wreath!
Some of the below links are affiliate links and if clicked, I may make a small commission at no cost to you. As an Amazon Associate I earn from qualifying purchases.
Materials
Supplies
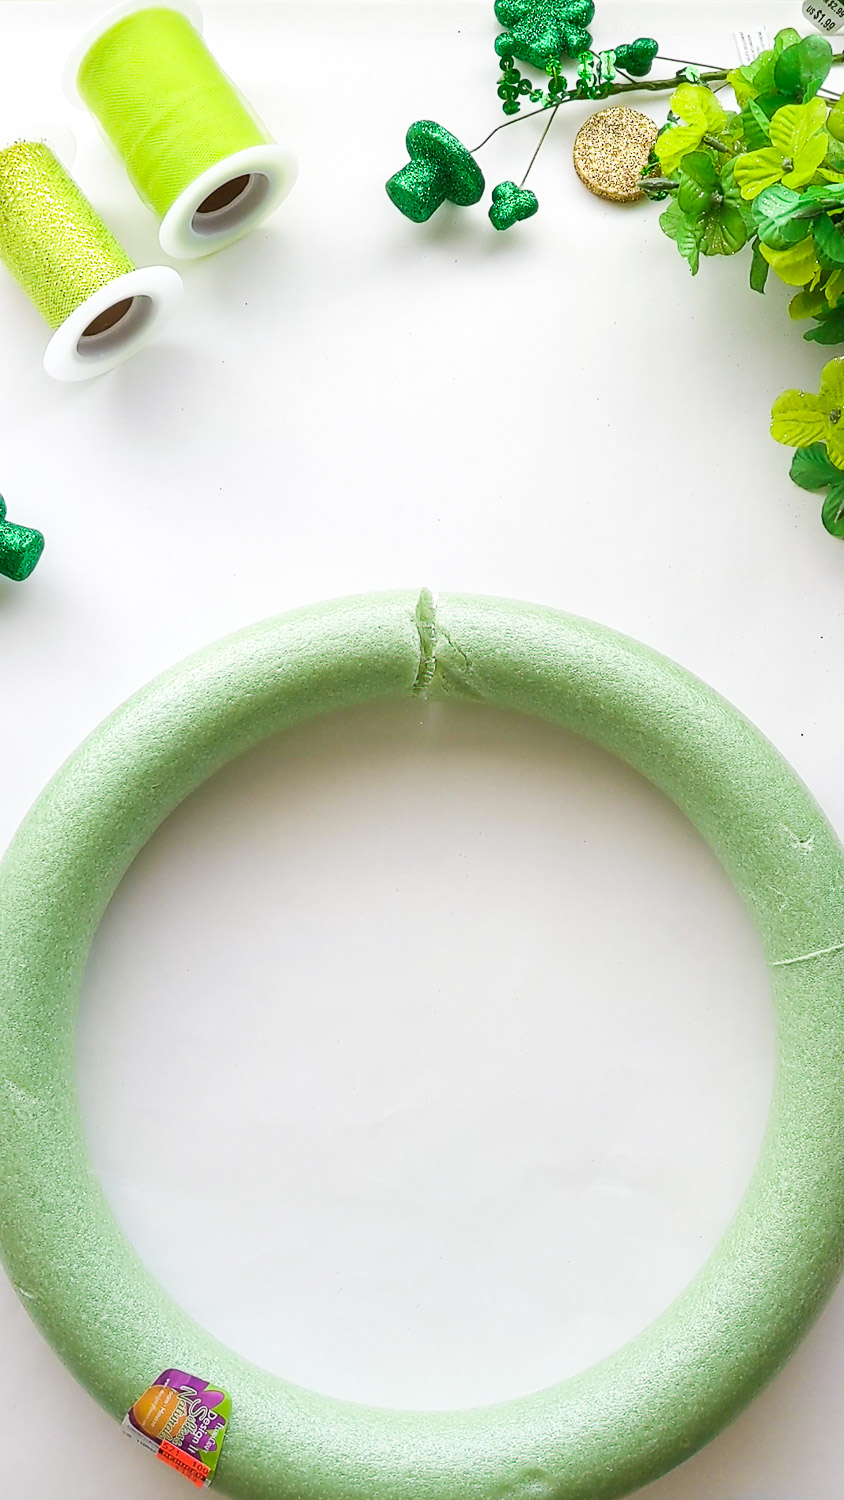
Foam wreath form
Crepe paper streamer (white or lime green)
Lime green tulle roll (similar here)
Lime green glitter tulle roll (similar here)
Shamrock bush pick – I used two
Shamrock spray pick – I used two
Green grosgrain ribbon (similar here)
Lime green felt
Gold glitter cardstock (similar here)
String
Tools
Scissors
Hot glue gun
Floral wire
Wire cutter
Instructions
Want a quick overview of the process? Watch a video of this project here!
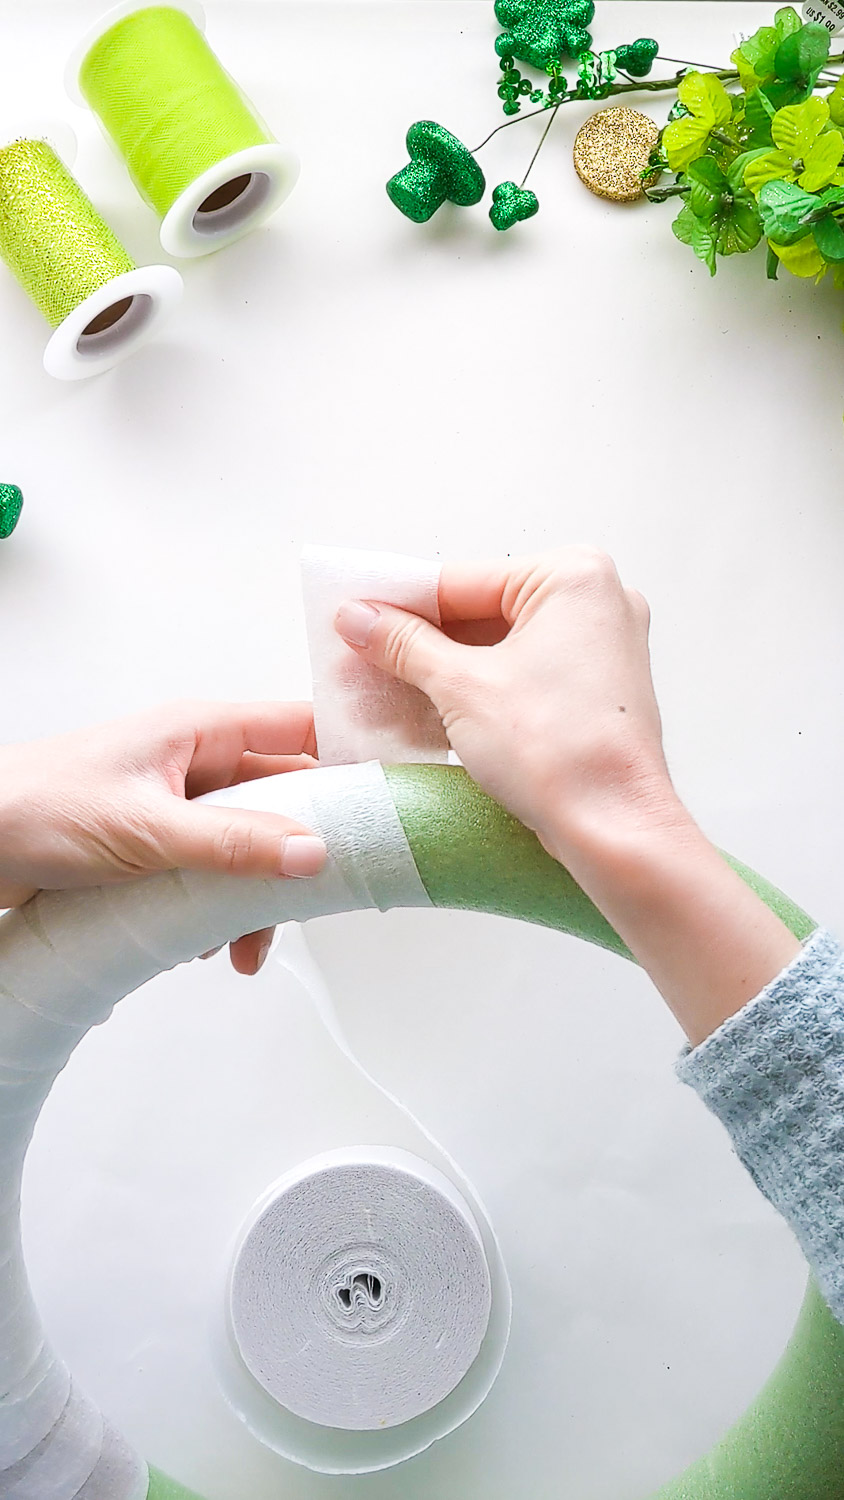
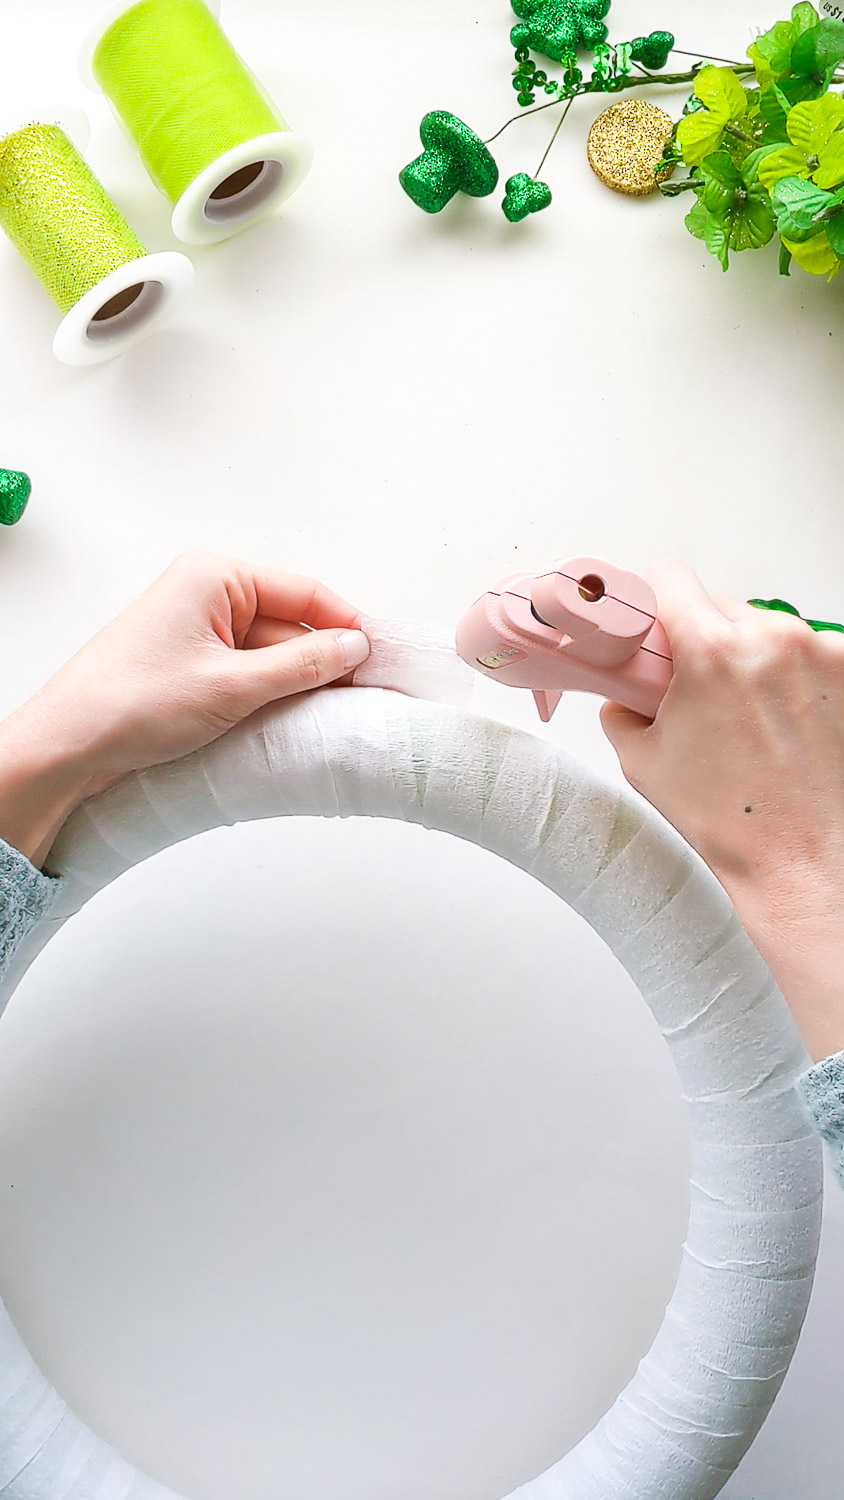
1. Wrap wreath form with crepe paper streamer
Remove any distracting labels or stickers. Attach one end of the streamer to the wreath form with hot glue. Wrap the wreath form on a diagonal, overlapping the paper as you go. Do your best to minimize gaps! Once you complete wrapping, cut the paper then attach the end to the wreath with hot glue.
Before starting I had to fix my broken wreath by hot gluing the ends together (you won’t have to do this!).
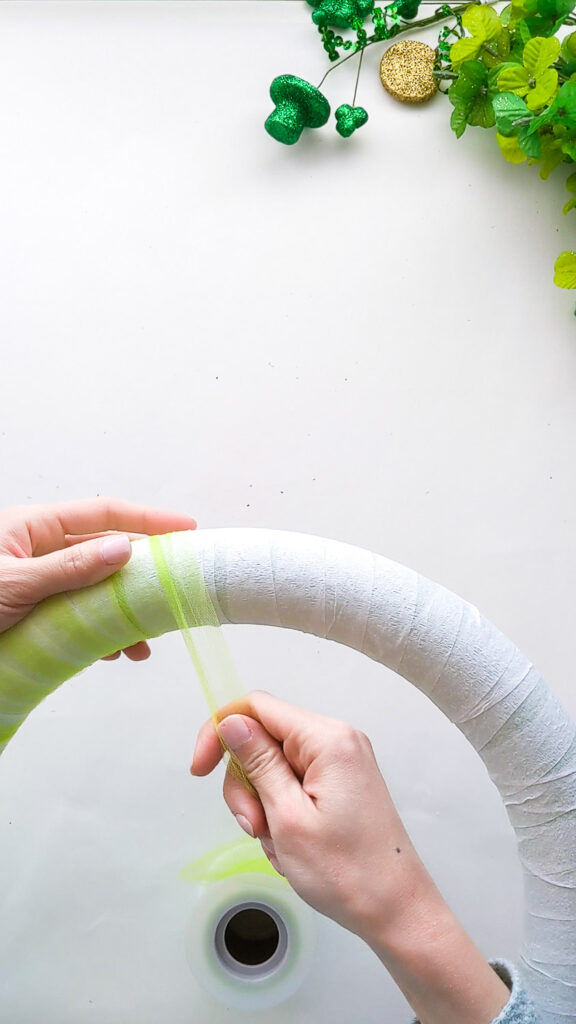
2. Wrap with lime green tulle
Just like you did with the streamer, attach one end of the tulle to the wreath form with hot glue. Wrap the wreath form on a diagonal, overlapping the tulle as you go. I found it looked better to slightly bunch up the tulle as you wrap the wreath. Once you complete wrapping, cut the tulle then attach the end to the wreath with hot glue.
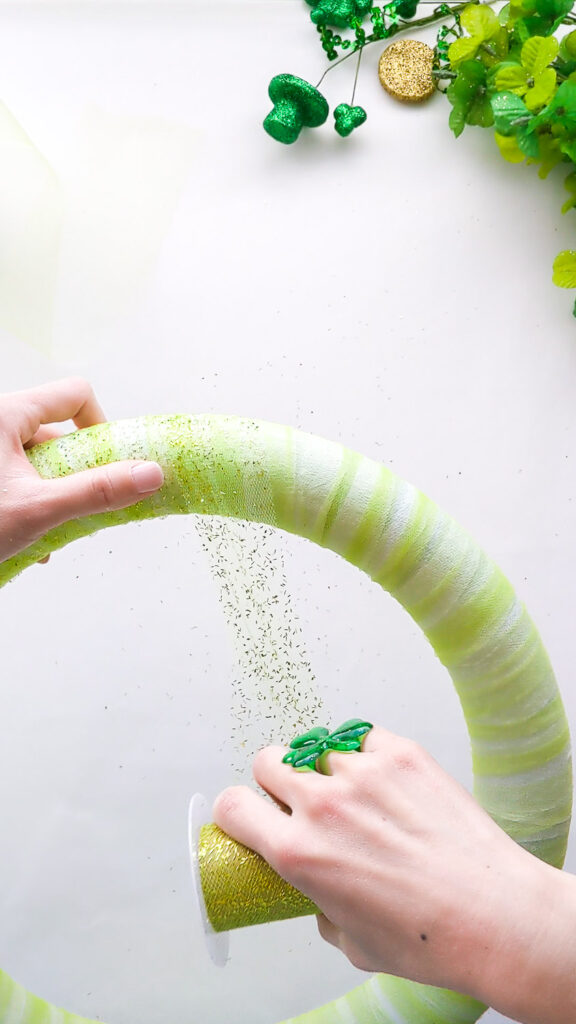
3. Wrap with lime green glitter tulle
Repeat the same process you did above with the lime green glitter tulle. I love that this adds another layer of coverage and some pretty sparkle!
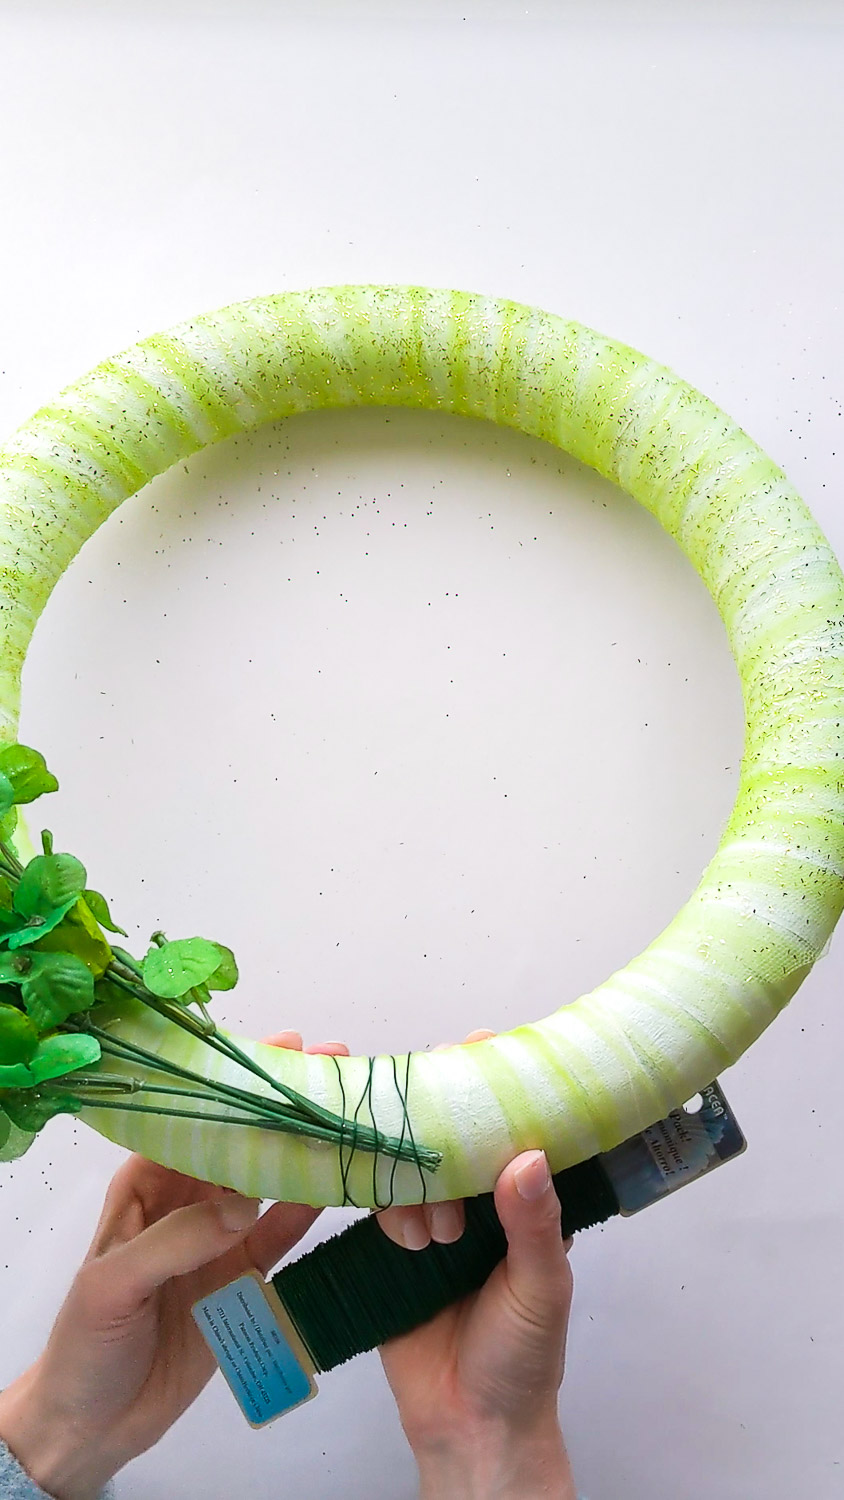
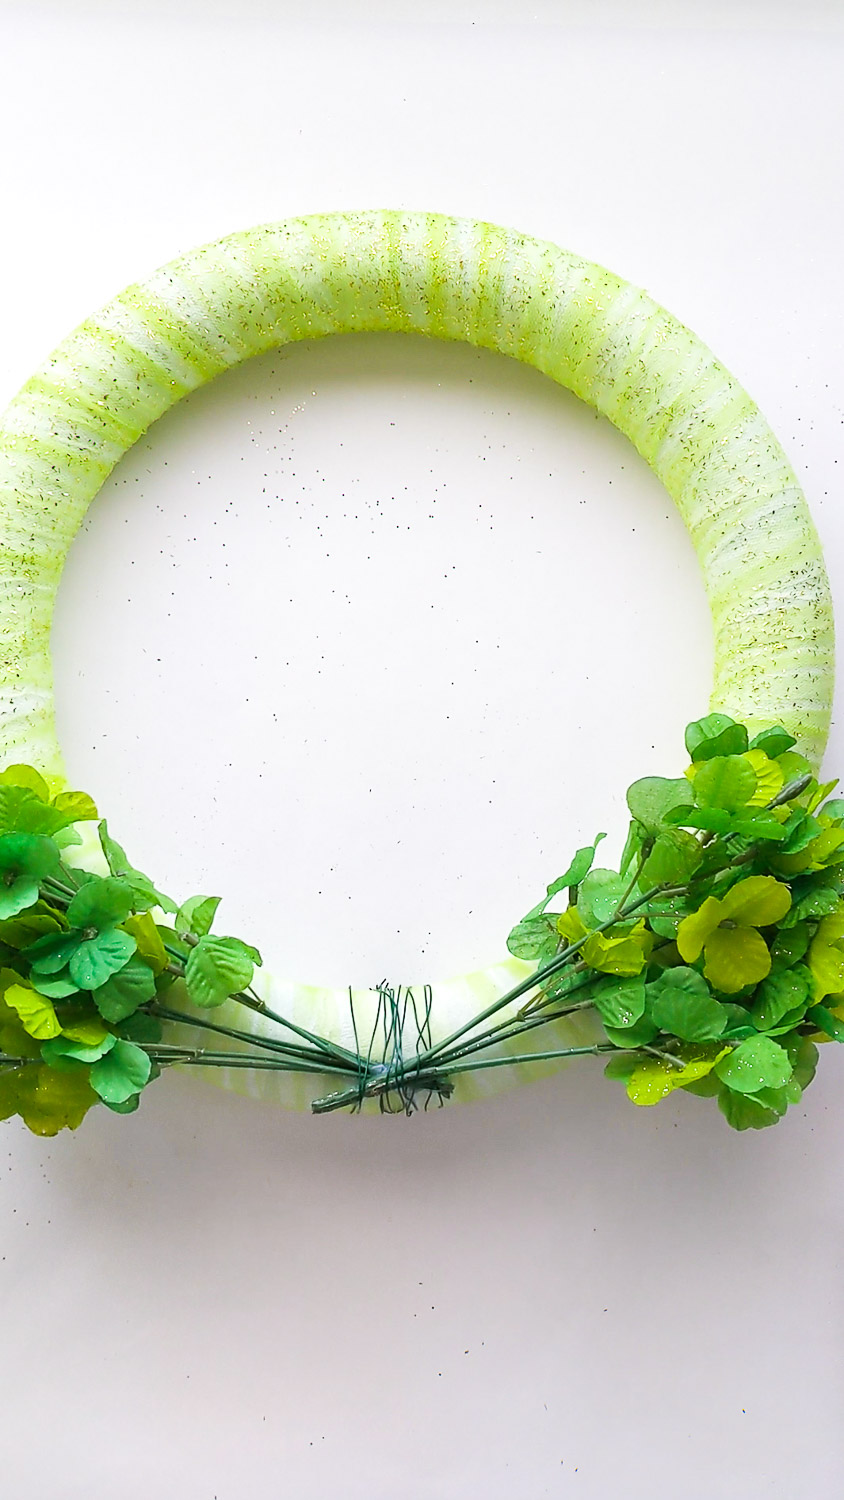
4. Attach faux shamrock greenery
Test out the placement of the shamrock bush picks. I placed them stem to stem at the bottom of the wreath, but you can do a different arrangement if it looks better to you. It’s your wreath! 😊 Trim the stems if needed using a wire cutter. Apply hot glue to the stems to attach them to the wreath, then use floral wire to secure them in place. Twist the ends of the wire together in the back. Be sure to keep the wire wrapped section close to the middle so it can be hidden by ribbon later.
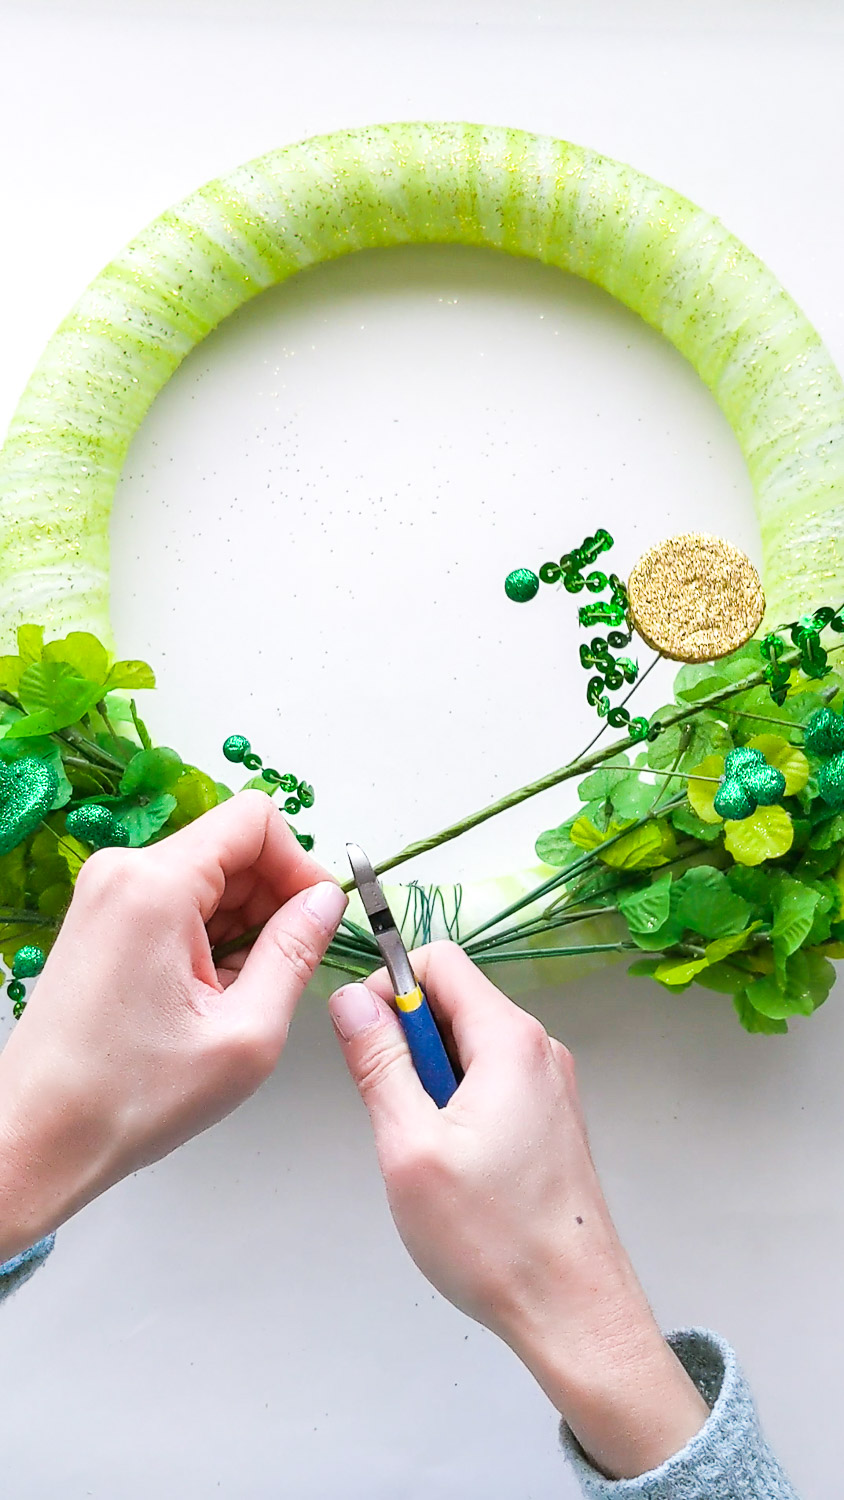
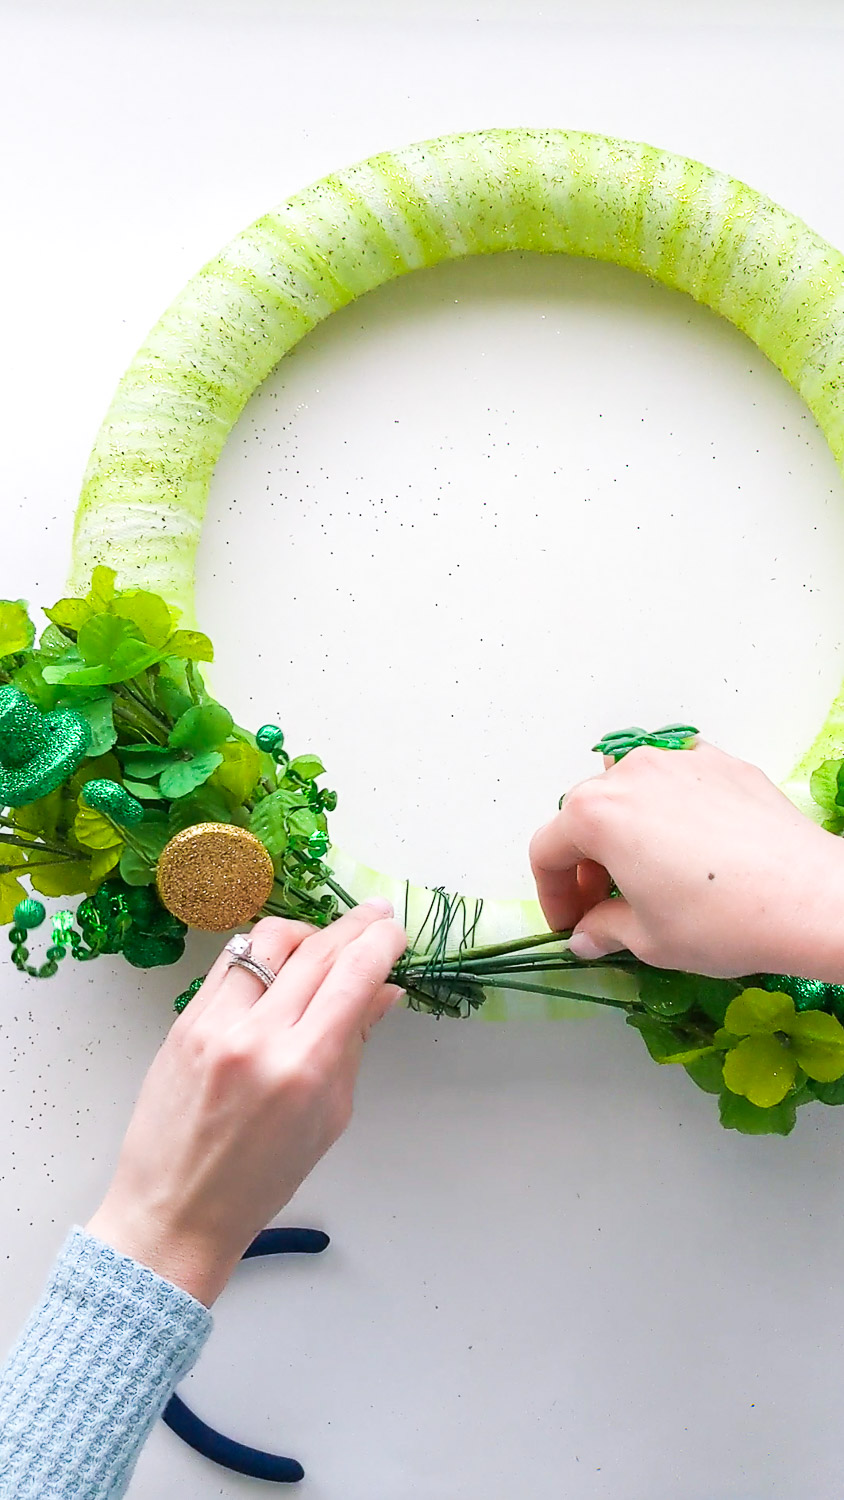
Next test the placement of the shamrock spray picks. Trim off the ends if needed using a wire cutter. Insert the ends under the existing wire then then rearrange the pieces until you like how it looks.
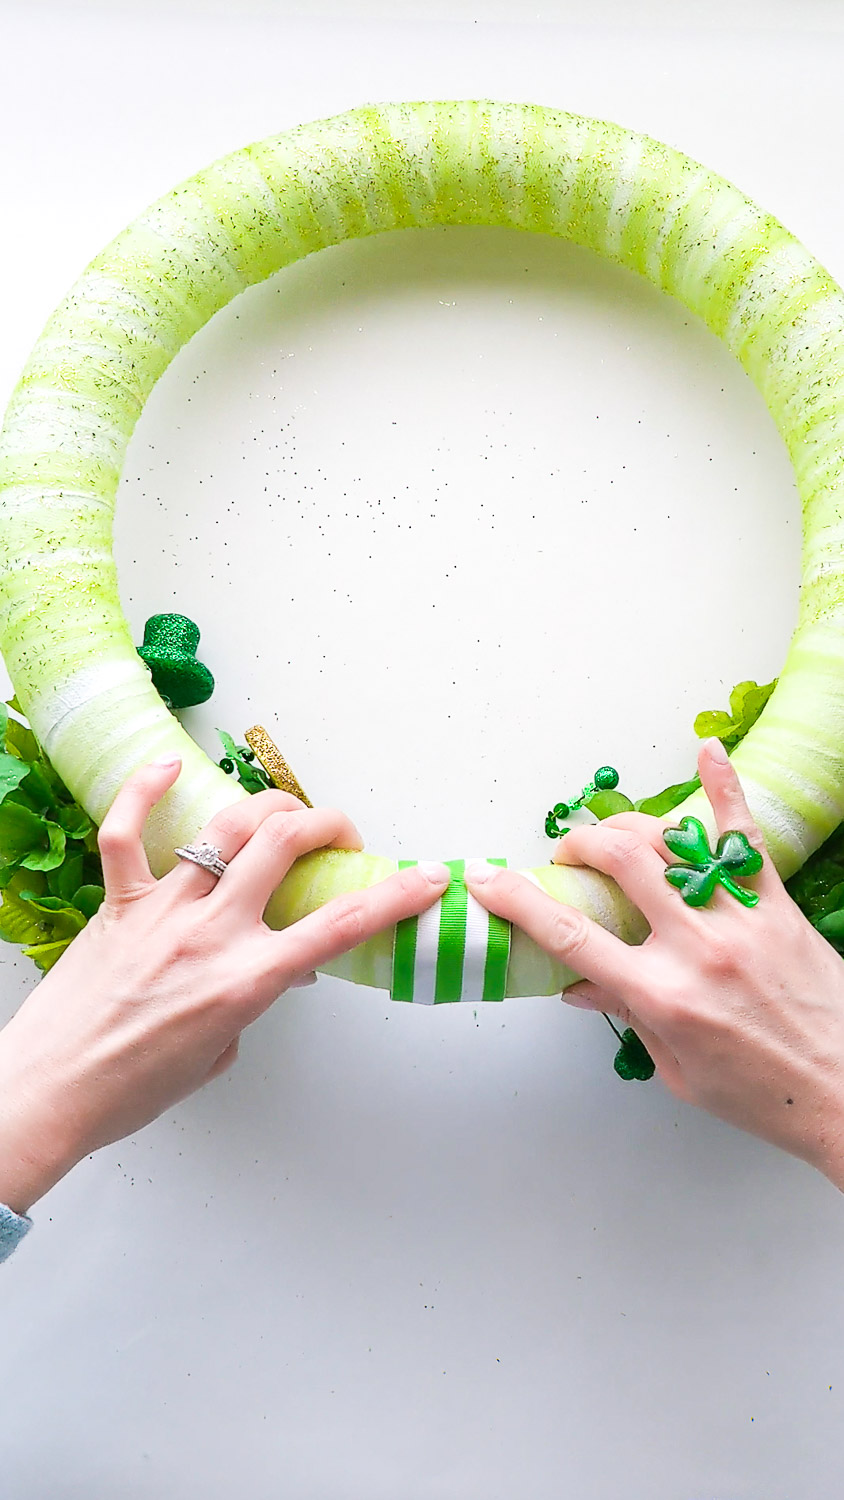
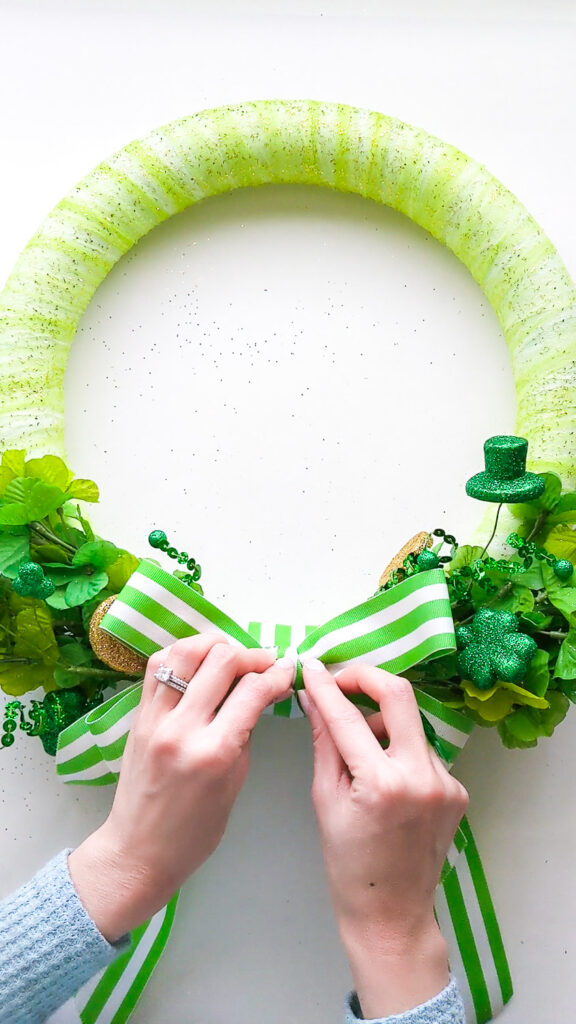
5. Make and attach bow
Flip the wreath over to the back. Trim a length of ribbon long enough to wrap around the center wired section, plus an inch for overlap. Apply glue to one end of the ribbon and attach it to the back of the wreath. Wrap the ribbon to cover the wired area, then fold over the raw edge and hot glue in place.
Flip the wreath over to the front. Create a separate bow (in whatever style you prefer) then hot glue it to the bottom center of the wreath.
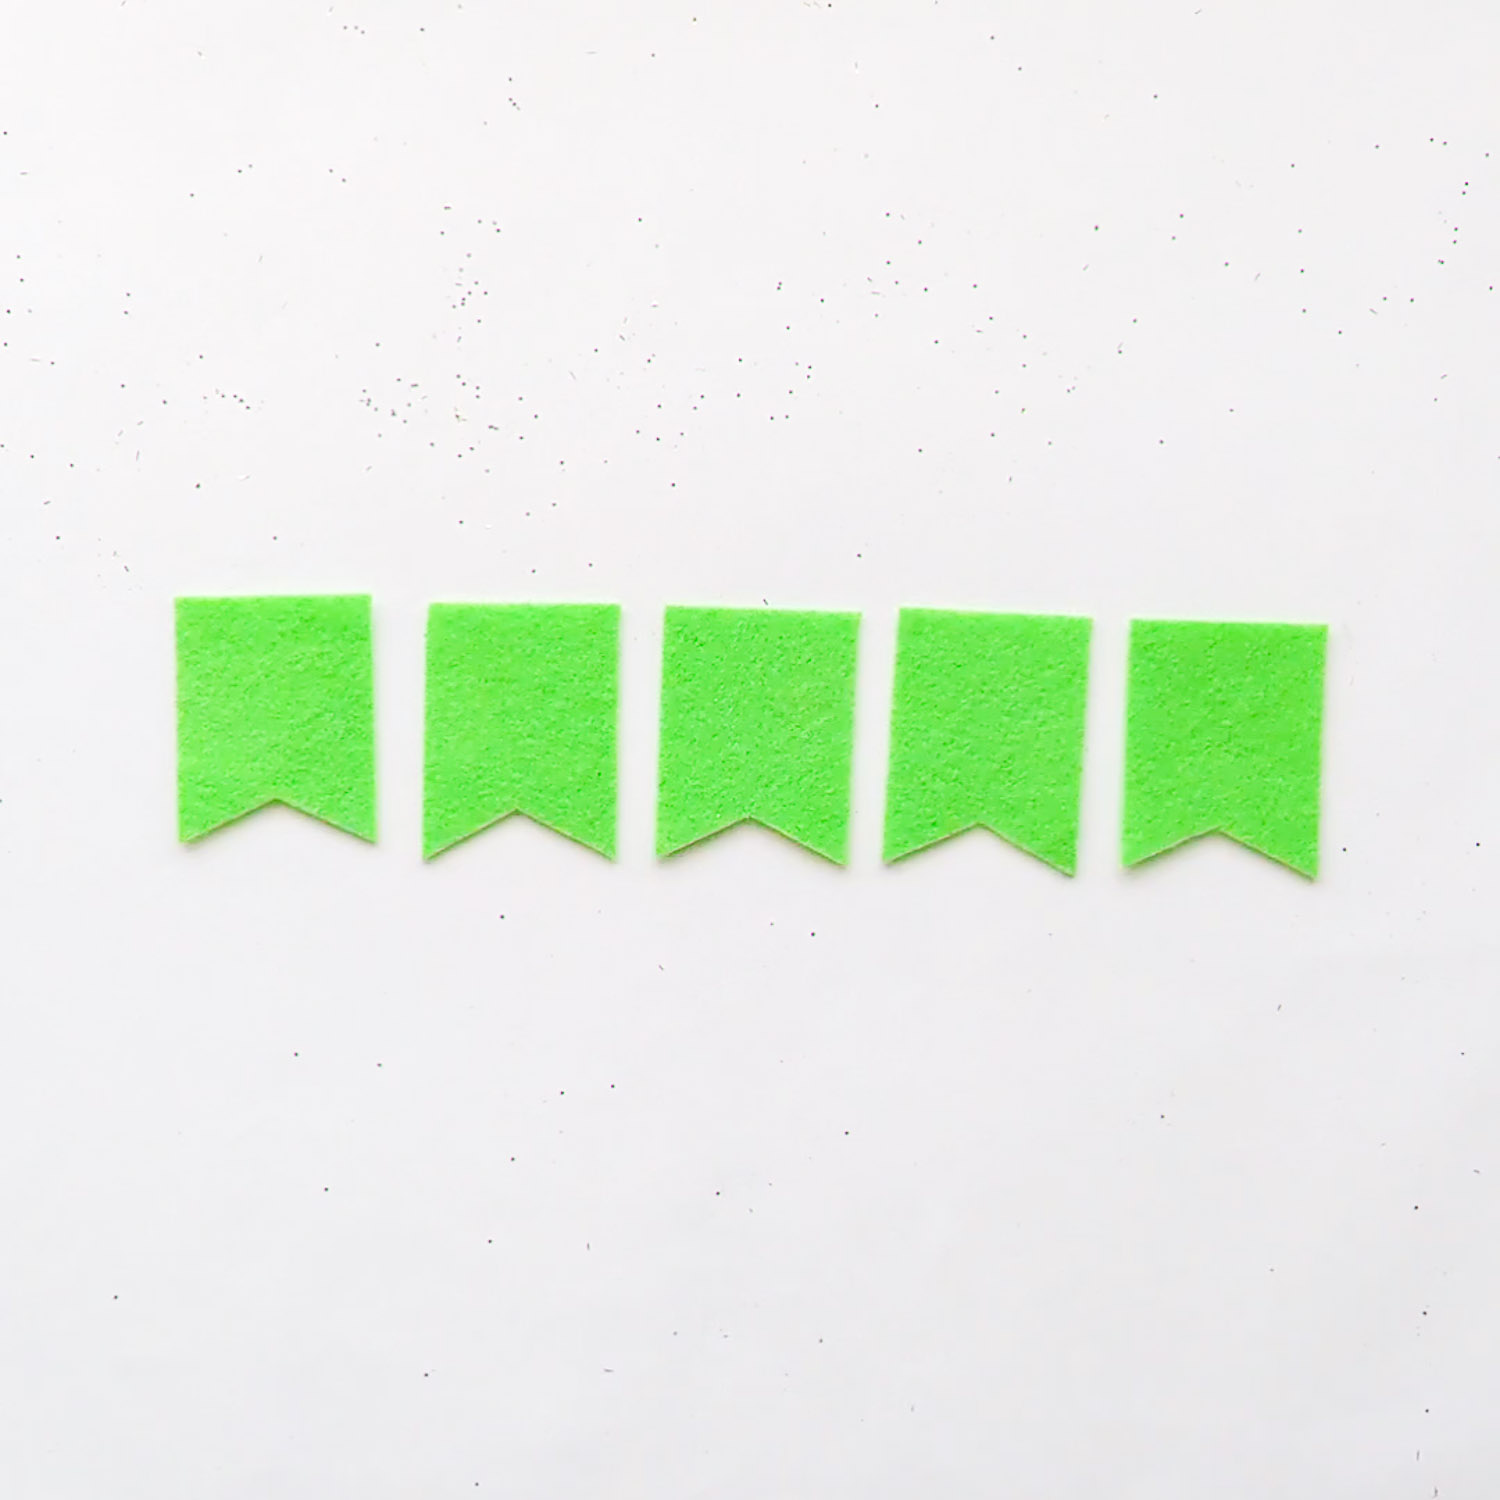
6. Make and attach “LUCKY” banner
Measure your wreath to estimate the size of the banner you want to make. Cut out 5 small pennants from the green felt. To keep them uniform, I sketched out the shape on a piece of paper and used that as my pattern. You can also use your Cricut machine to cut out felt!
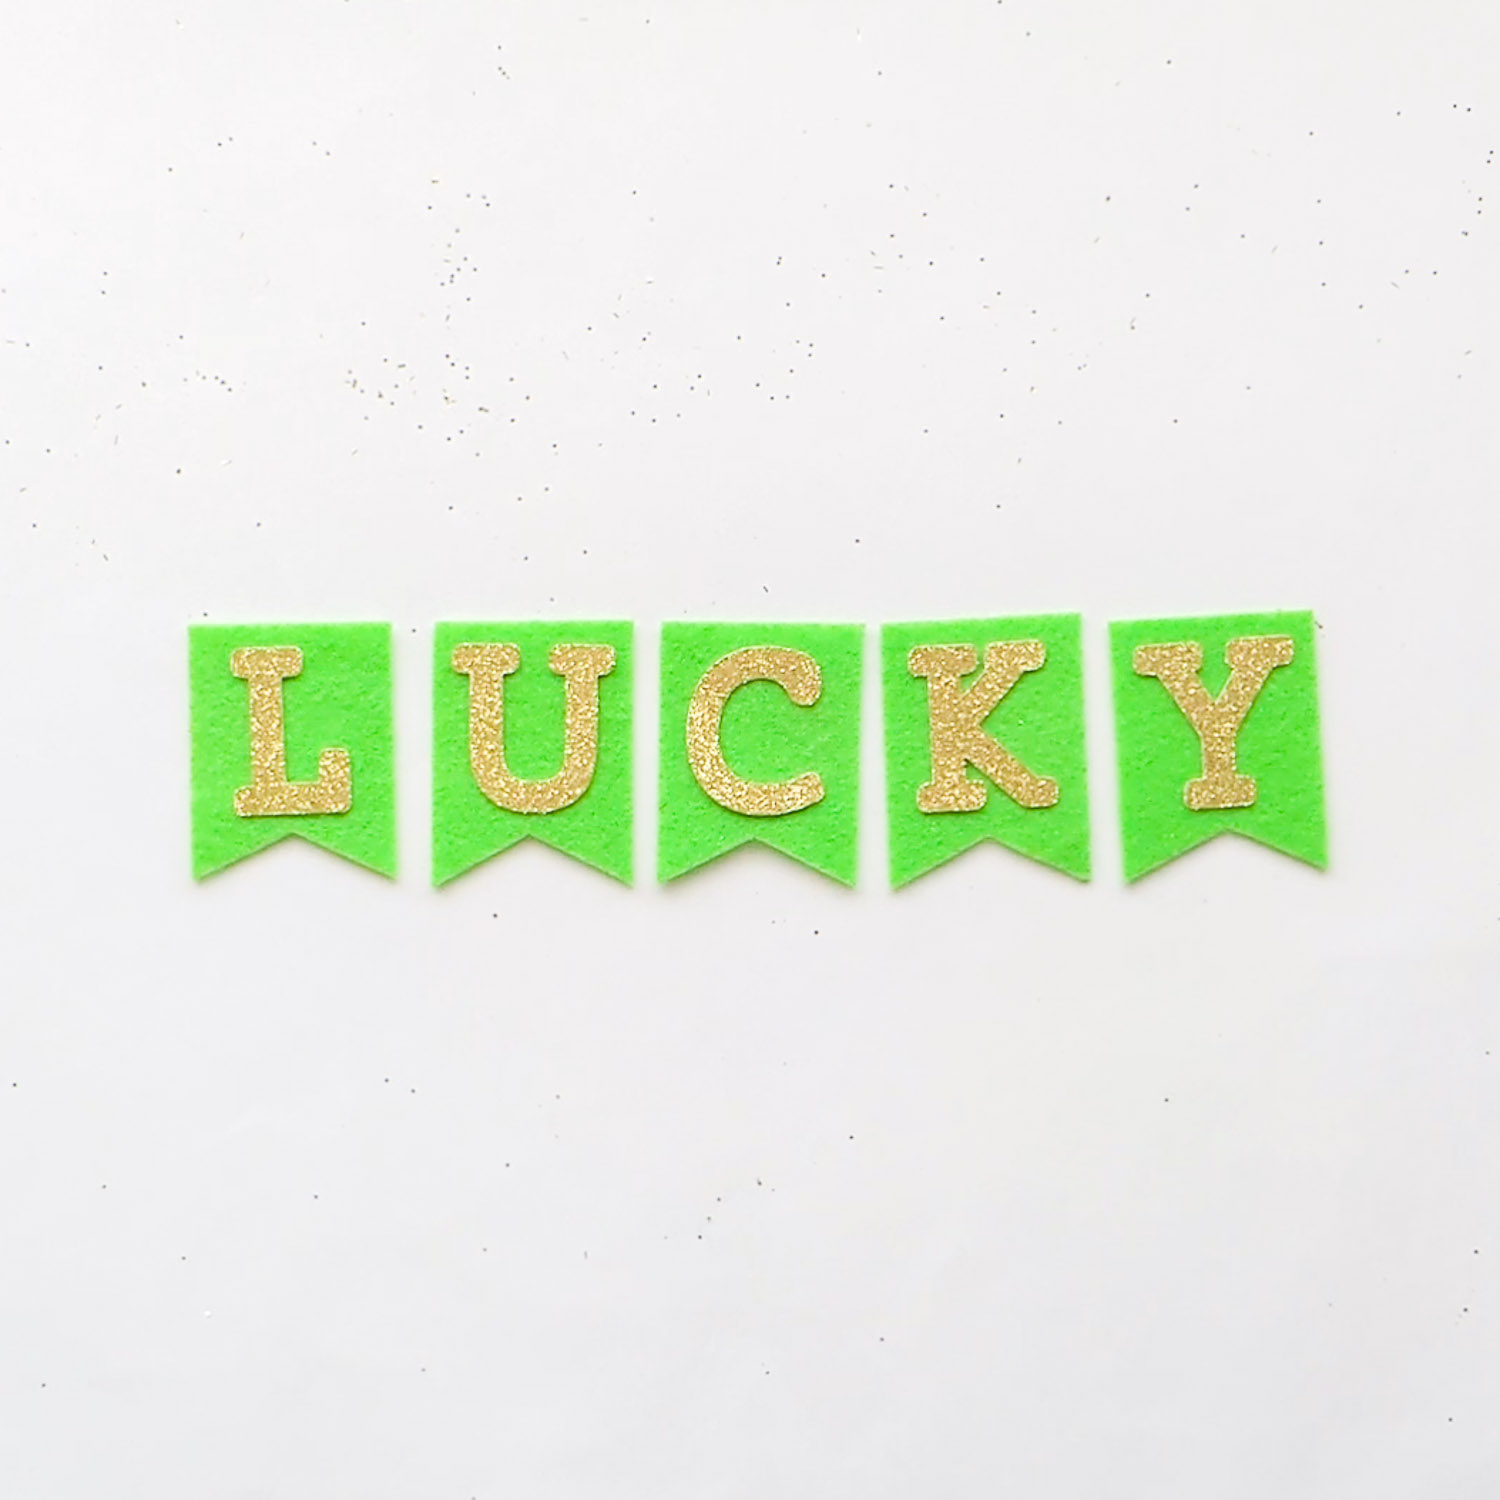
Next cut out “LUCKY” from gold glitter cardstock using your Cricut machine. As mentioned before you can also cut them out by hand or find letter cut outs at the craft store. Glue each letter to the center of each pennant using hot glue.
To make the banner, glue the top edge of the pennants to a length of string. Position the banner over the top portion of wreath and hot glue the ends of the string to the back.
Your St. Patrick’s Day Wreath is ready to attract all the luck!
Hope you enjoyed this DIY St. Patrick’s Day wreath tutorial. I’m already feeling pretty lucky just looking at it! If you make this project or something similar, tag me in your photos on Instagram. I would love to see and share your creations with my craft-loving community. Happy crafting friends!
Save this pin!
Ready to make more door decor? Check out my the Sunshine Door Decor project I made with the help of my Cricut.
Go back to my blog for more cute and colorful ideas!