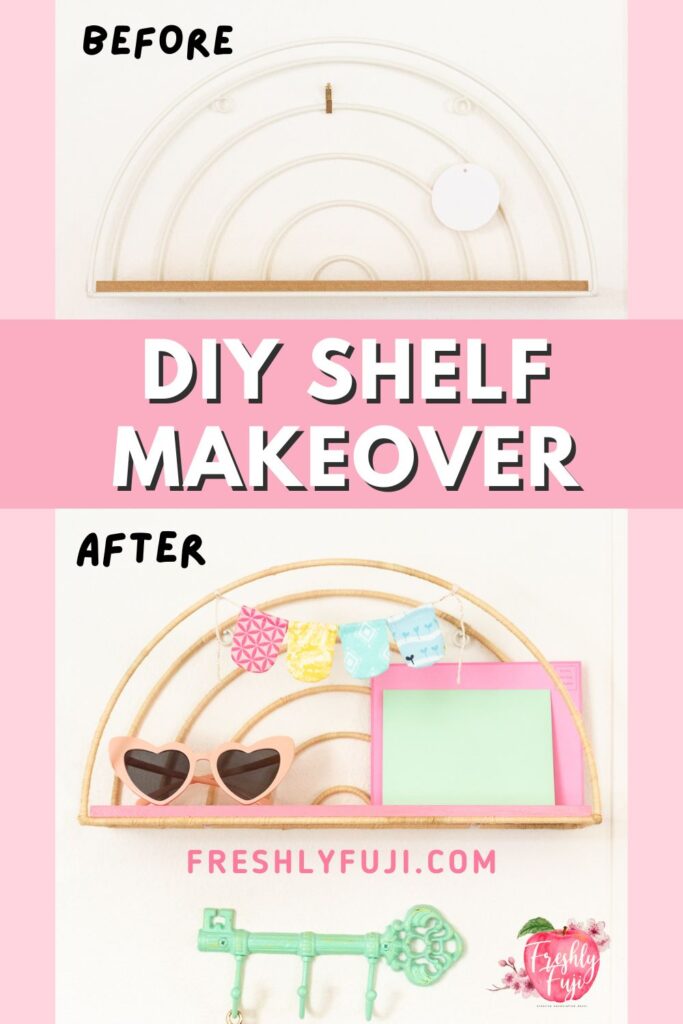
Rainbow Raffia Shelf Makeover

Learn how I transformed a plain wire shelf with raffia and a fun paint color. This shelf makeover was so fun and easy to do!
My local Big Lots closed a few months ago and before it did I went to their final closing sale. While my husband browsed the snack section, I made my way to the home section, not expecting to find anything at all. Most of the aisles were wiped out! When I spotted this rainbow wire shelf sitting amongst a pile of other random stuff, I almost dismissed it until I saw the price. The retail price was $16, but the home and garden section was marked 75% off, so it would cost a whopping $4 (plus sales tax)! Now I usually try not to buy anything on clearance without having a plan or place to put it, but this deal was too good to pass up!
The rainbow shelf made it home with us and after a few months I decided to tackle this project. The shelf was pretty plain, but I knew I could use what I had in my craft stash to give it a new look. I found leftover raffia from baby shower favors I made last summer and some leftover sample pots of paint to complete this project. I simply wrapped the metal wire frame in raffia and painted the wood part of the shelf a pretty coral color. I love how the raffia gives it texture and contrasts with my off-white wall, while the coral paint adds a nice happy pop of color. I also think it looks similar to those expensive rattan shelves you see at Anthropologie! This shelf makeover was super easy and these techniques can be easily adapted to other kinds of wire shelving.
Keep reading to find my step-by-step tutorial!
SAVE THIS PIN!
This post contains affiliate links. If clicked, I may make a small commission at no cost to you. As an Amazon affiliate, I earn from qualifying purchases.
Where to Find Wire Shelves
Decorating your home to suit your style does not have to be expensive! Since this is a makeover project I would suggest not buying anything brand new unless it’s a good price (like mine was!) or if you really, REALLY love the shelf and don’t think you’ll ever see something like it again.
Some places I like to shop for affordable items that can be made over include:
Thrift stores – Goodwill, Savers, Salvation Army Thrift Store, Hospice Thrift Store
Garage/Yard/Estate sales
Facebook Marketplace, Buy & Sell, Buy Nothing Groups
Supplies
MATERIALS
Wire shelf (Exact item I used)
Acrylic or interior paint
Polycrylic – optional (to protect shelf surface)
TOOLS
Screwdriver
Sand paper
Hot glue gun
Hot glue sticks
Paint brush or high density foam roller
Hair dryer – optional (to speed up drying time)
Instructions
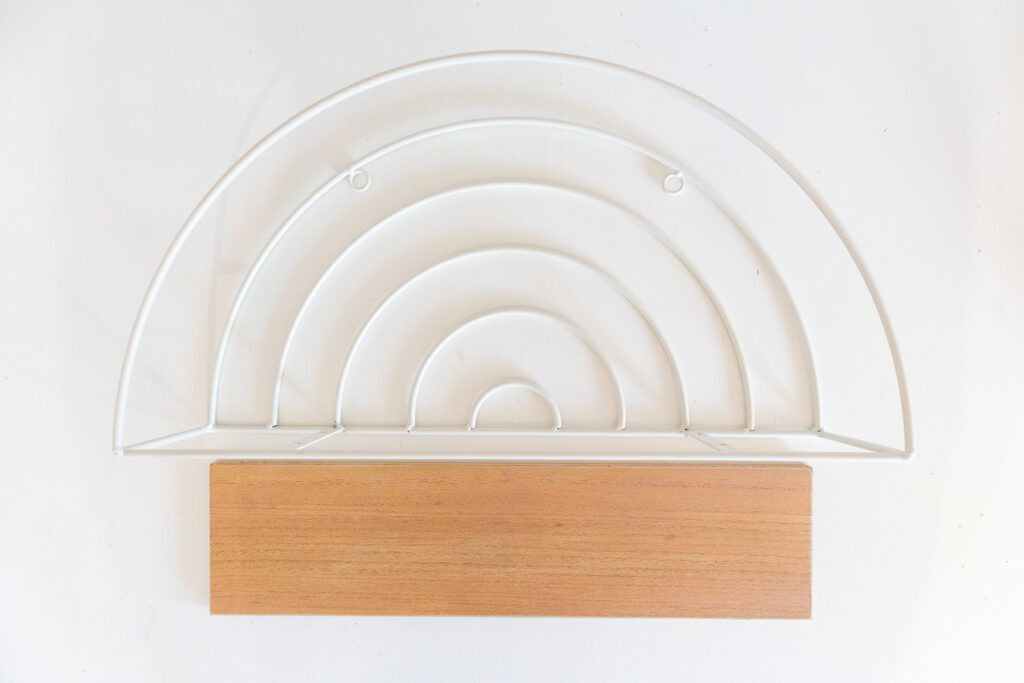
1. REMOVE WOOD SHELF FROM WIRE SHELVING UNIT
Use a screwdriver to remove the screws attaching the shelf to the wire unit. Save the screws for later
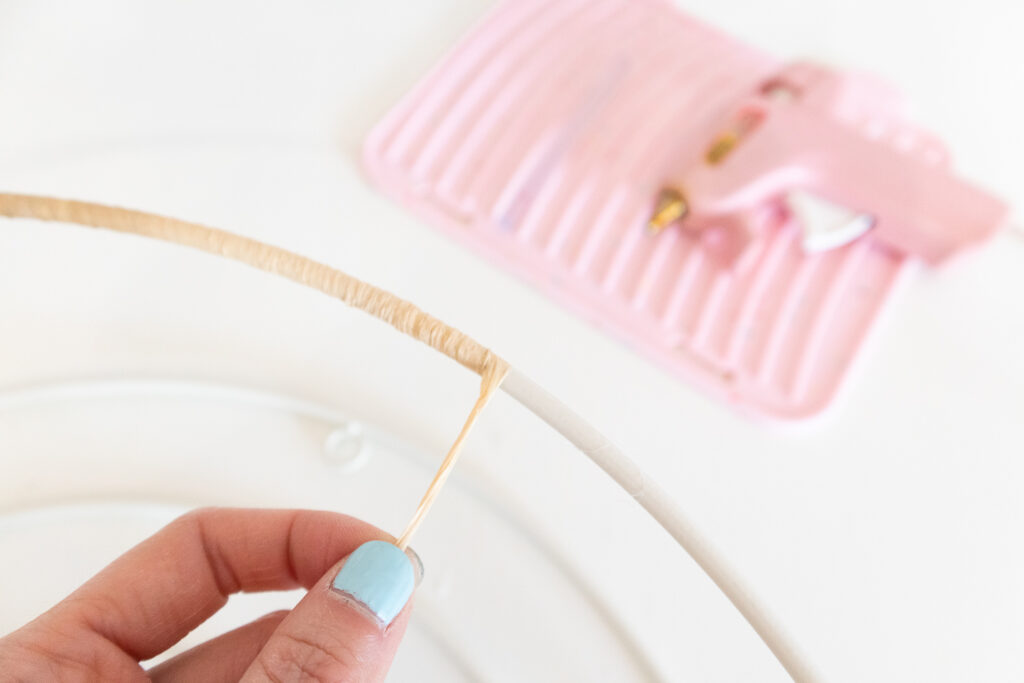
2. Wrap wire parts of shelf with raffia
Separate one strand of raffia. Apply a dot of hot glue to the back of the wire unit and attach the end of the raffia strand. Wrap the raffia tightly around the wire, overlapping if necessary to minimize any gaps. Once you get to the end, secure it to the wire with another dot of hot glue.
Repeat this process again, overlapping the second strand of raffia over the end of the first strand. Continue until the wire unit is completely wrapped.
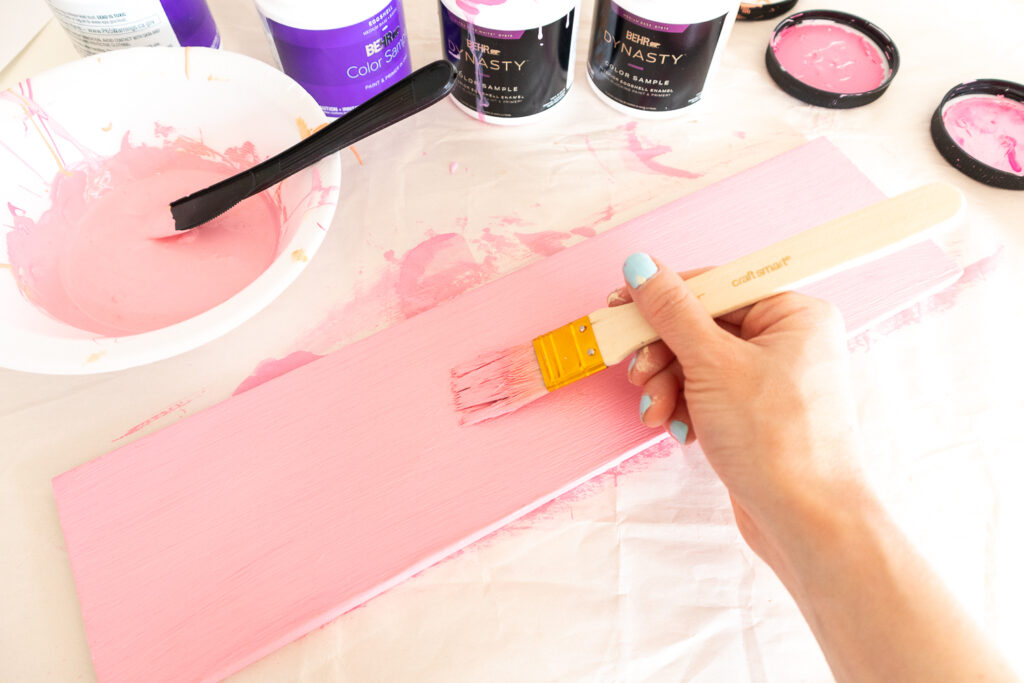
3. paint shelf
Sand top, bottom and all sides of shelf with sandpaper. Wipe away dust with a rag.
Apply a thin coat of paint to the shelf and allow it to dry. Tip: Use a hairdryer to speed up dry time. Apply additional coats until you are satisfied with the finish. Allow the shelf to dry completely. I used a paint brush for this project, but you could consider using a high-density foam roller intended for cabinets and doors to get a smoother finish minus the brush strokes.
Optional: Apply two coats of Polycrylic allowing to dry in between each coat. This further protects the wood and paint from chipping.
4. REassemble and hang shelf
Reattach the wood shelf to the wire unit. Hang on wall in the desired location. I used white trim nails to hang my shelf to blend in with the existing wall color.
5. ATtach other decorative items
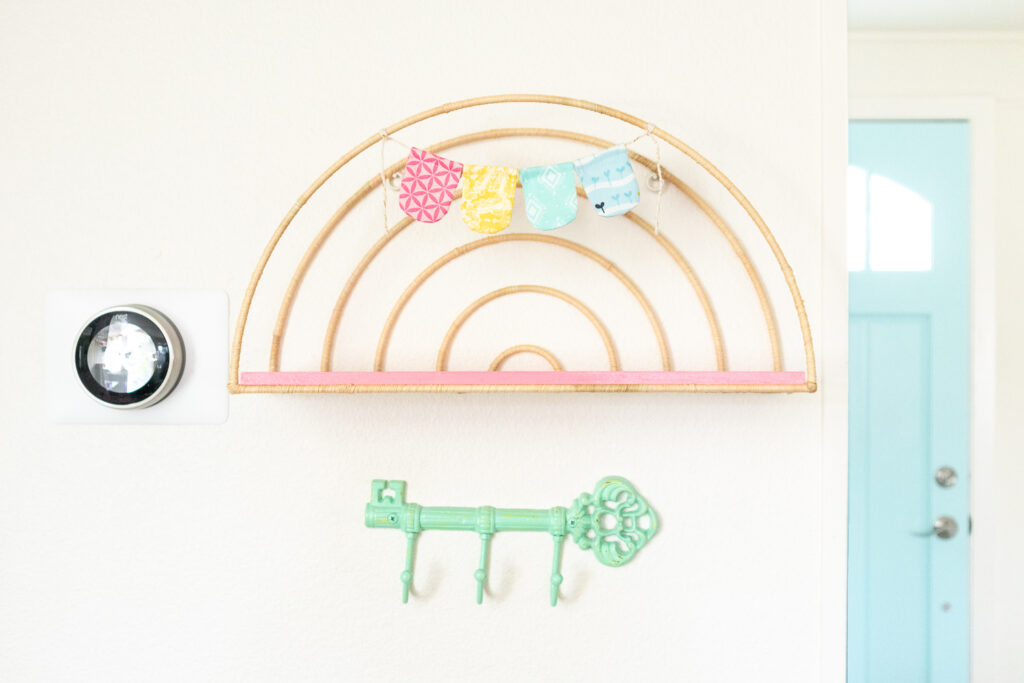
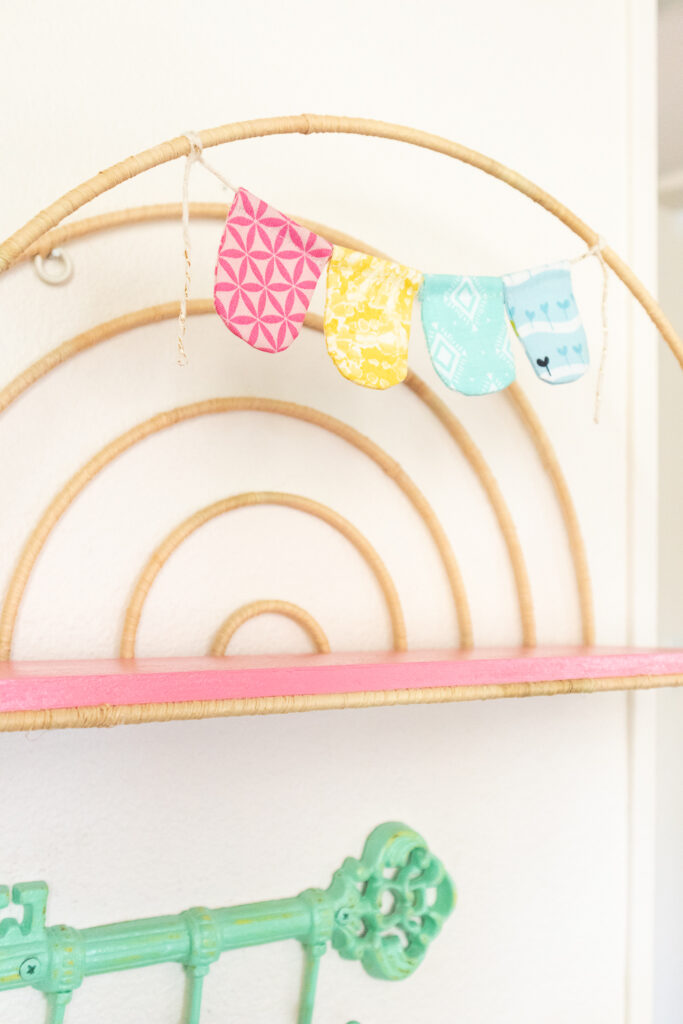
I whipped up a scalloped banner using some fabric scraps and tied it to the top of the shelf. Other fun ideas are shared below!
Style and admire your new shelf!
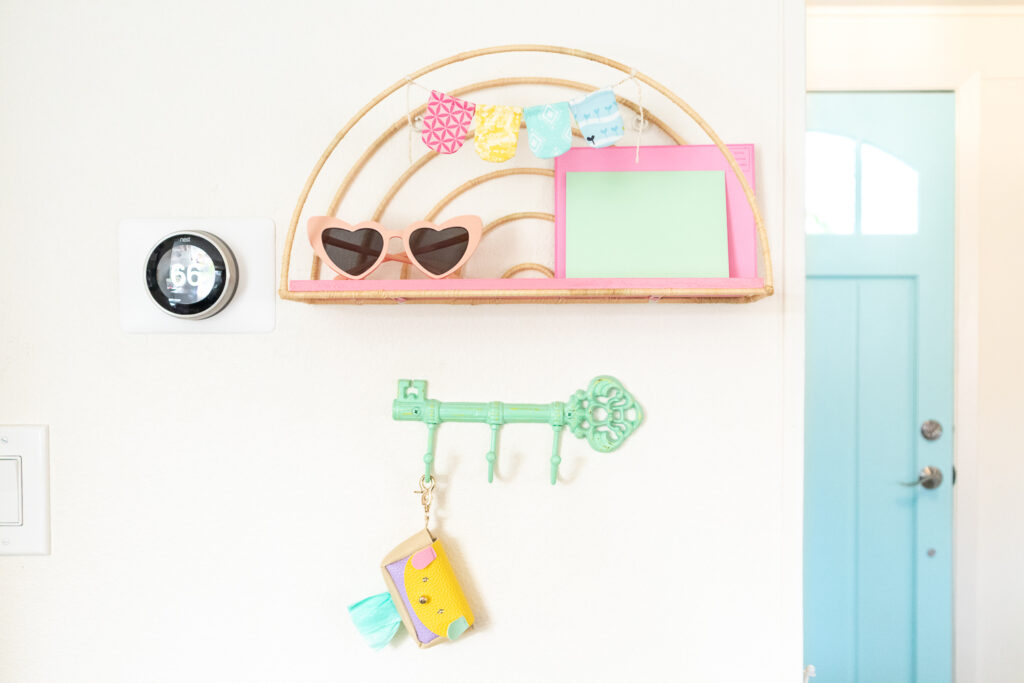
I’m using my shelf in our home’s entryway to hold sunglasses and outgoing mail. I also think it could be used to display art, small decorative objects, picture frames or even tiny plants!
The puppy poop dispenser in the photo above is DIY project too! Find out how to make one here: Puppy Poop Bag Dispenser.
Other Variations and Ideas
COLOR BLOCKING WITH RAFFIA – Wrap your shelf with different colors of raffia for a cool color-blocked effect.
USE OTHER MATERIALS – If raffia is hard to find or not your jam, consider other materials to wrap your wire shelf. Some ideas include yarn, embroidery floss, and twine. These tend to come in a wider array of colors too!
ADD POM POMS – Craft some pom poms and attach them to the wired portion of your shelf.
ADD MINI CLOTHESPINS – Use colorful clothespins to attach notes or instant photos to your shelf.
If you loved this raffia shelf makeover, let me know! Share a comment or tag me in your photos on Instagram. I would love to see what you create!
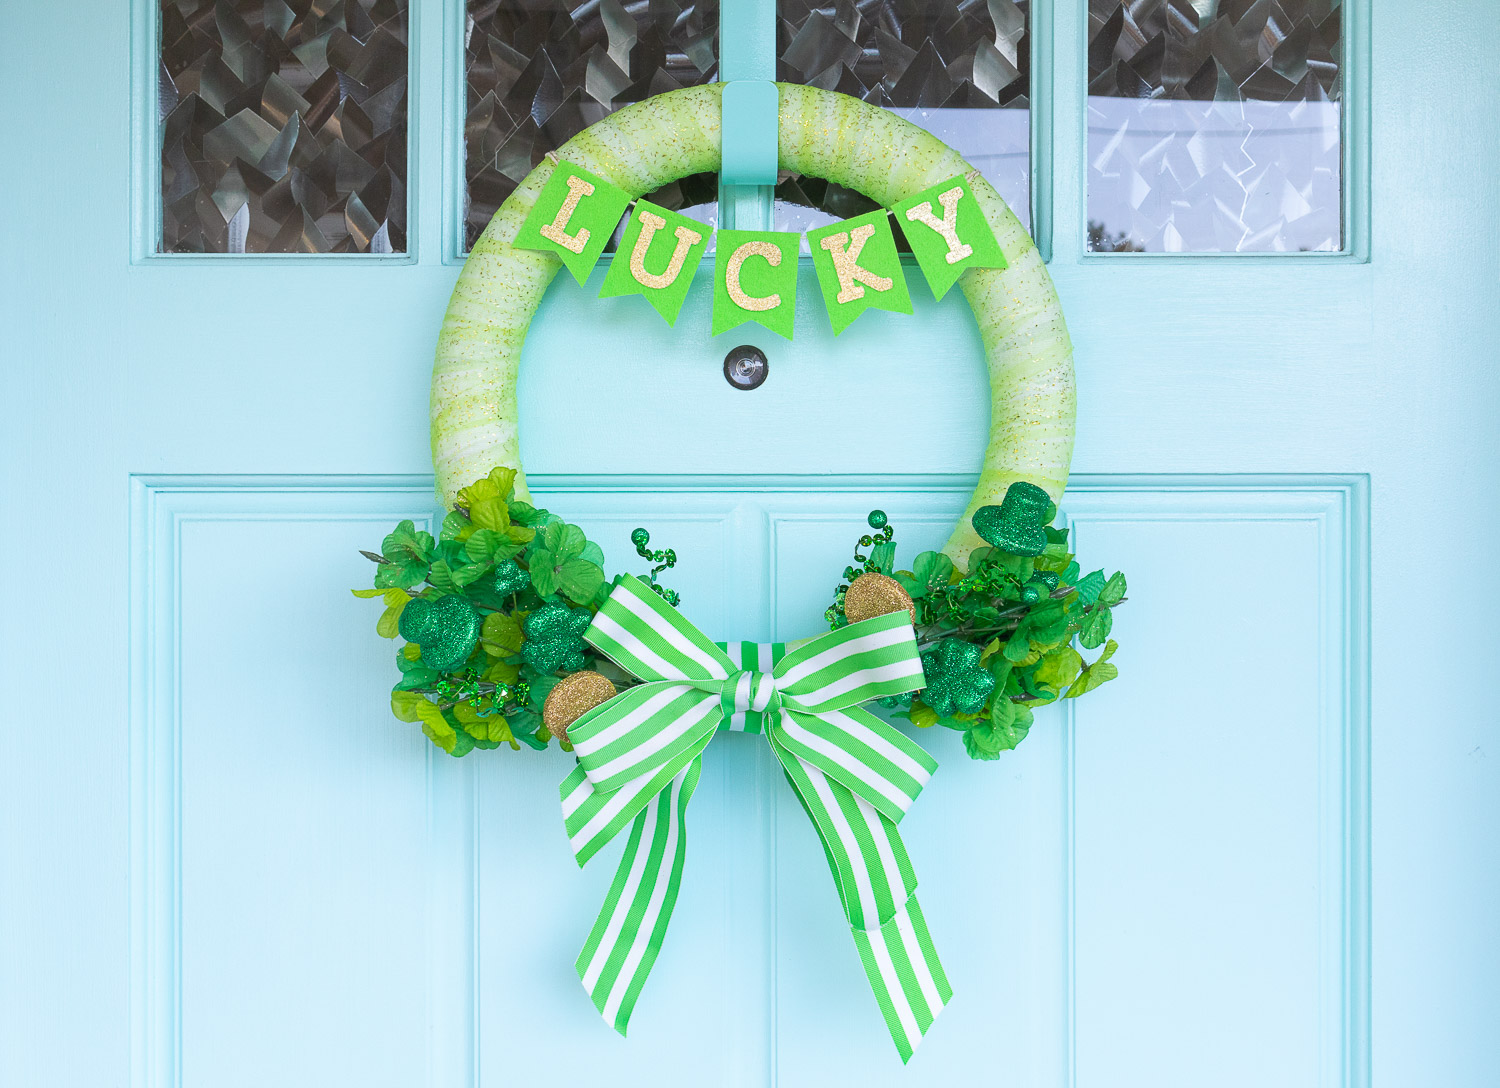
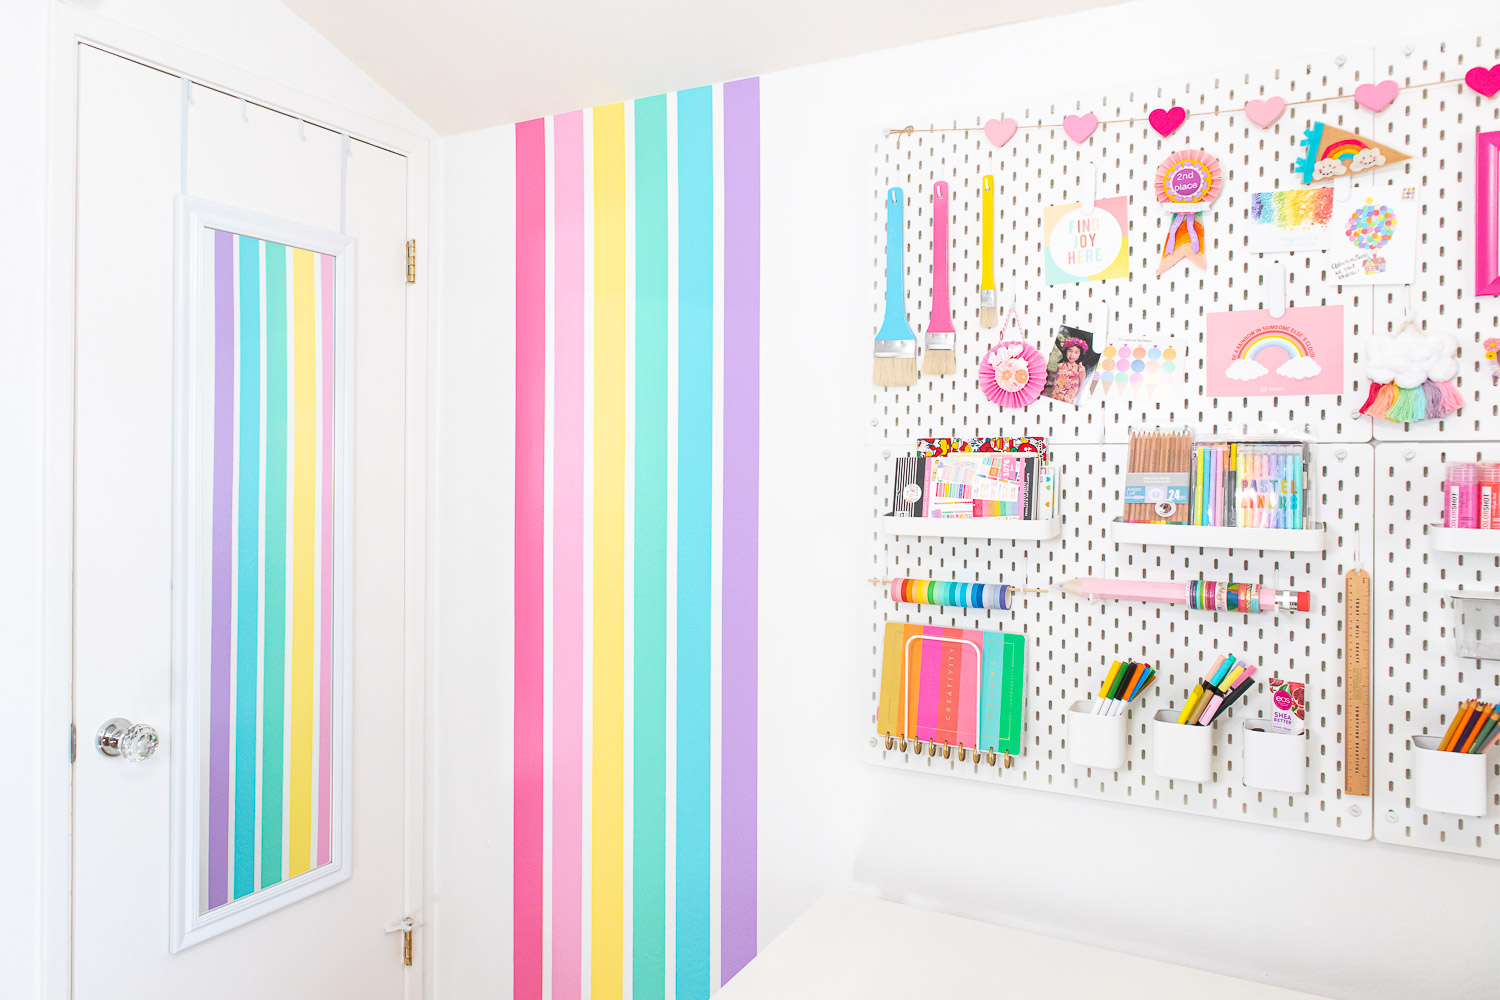
If you’re looking for another fun and colorful DIY home project, check out: How to Paint a Rainbow Stripe Wall.