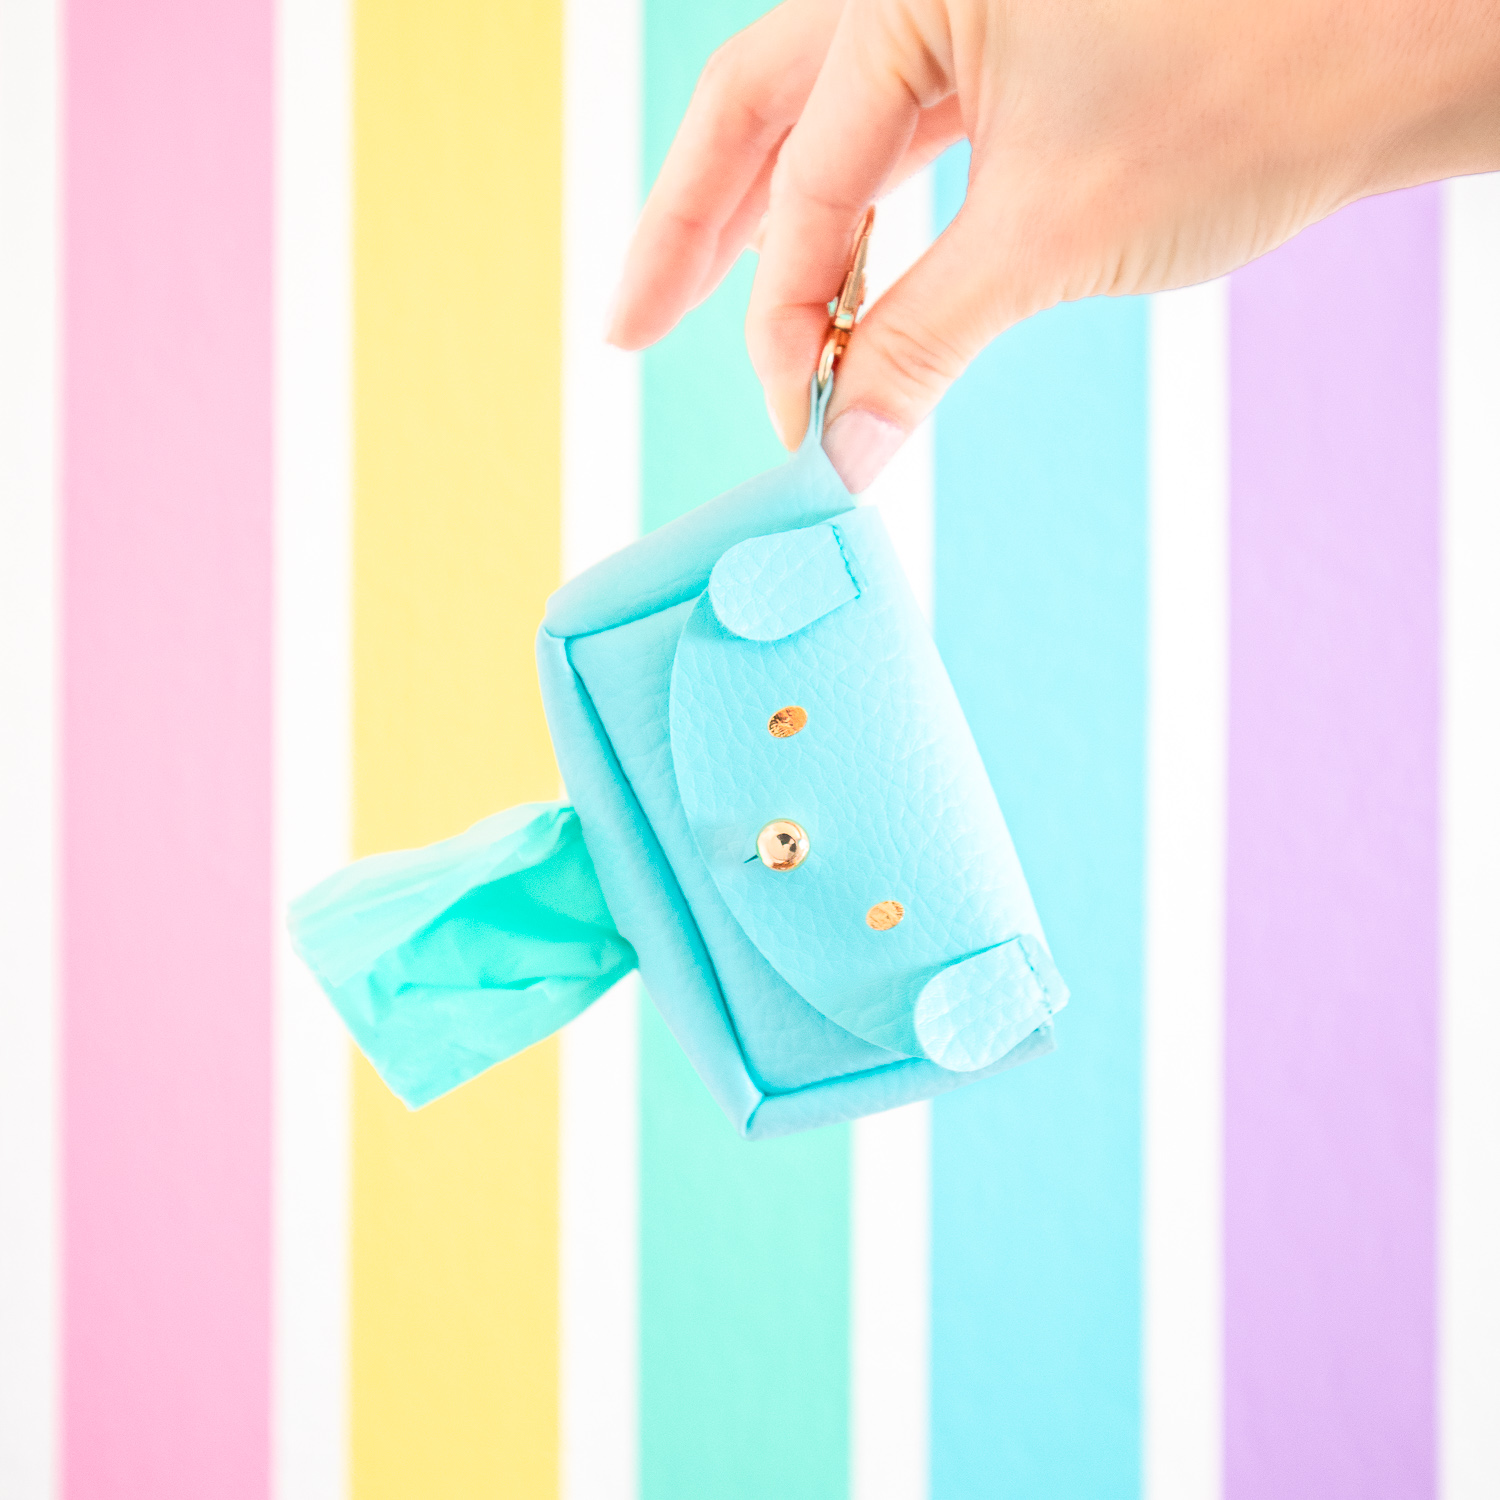
Puppy Poop Bag Dispenser
About This Project
This puppy poop bag dispenser was originally designed for Cricut Craftfest in February 2022. The pouch is made from faux leather and is cut with a Cricut machine. The pieces are sewn into a pouch using a sewing machine and the eyes are applied with heat.
Ways to Use this Pattern
This pattern can be adapted to be used in two ways!
1. WASTE BAG DISPENSER – Hold and dispense plastic waste bags (for dog poop or baby diapers) on the go! They can fit standard waste bag rolls approx. 2.5″ W x 1.5″ D. Attach the keyring clasp to your dog’s leash or to a diaper bag.
2. POUCH – Store small items such as hand sanitizer or large lip balms. Attach the keyring clasp to a purse or backpack for easy access.
Check out Other Variations and Ideas for more creative ideas!
Where Can I Find the Cut File?
The puppy poop bag dispenser SVG cut file can be purchased in my shop! Included with your purchase is a PERSONAL USE LICENSE. See the product page for more details.
Which Cutting Machines Can I Use to Make this Project?
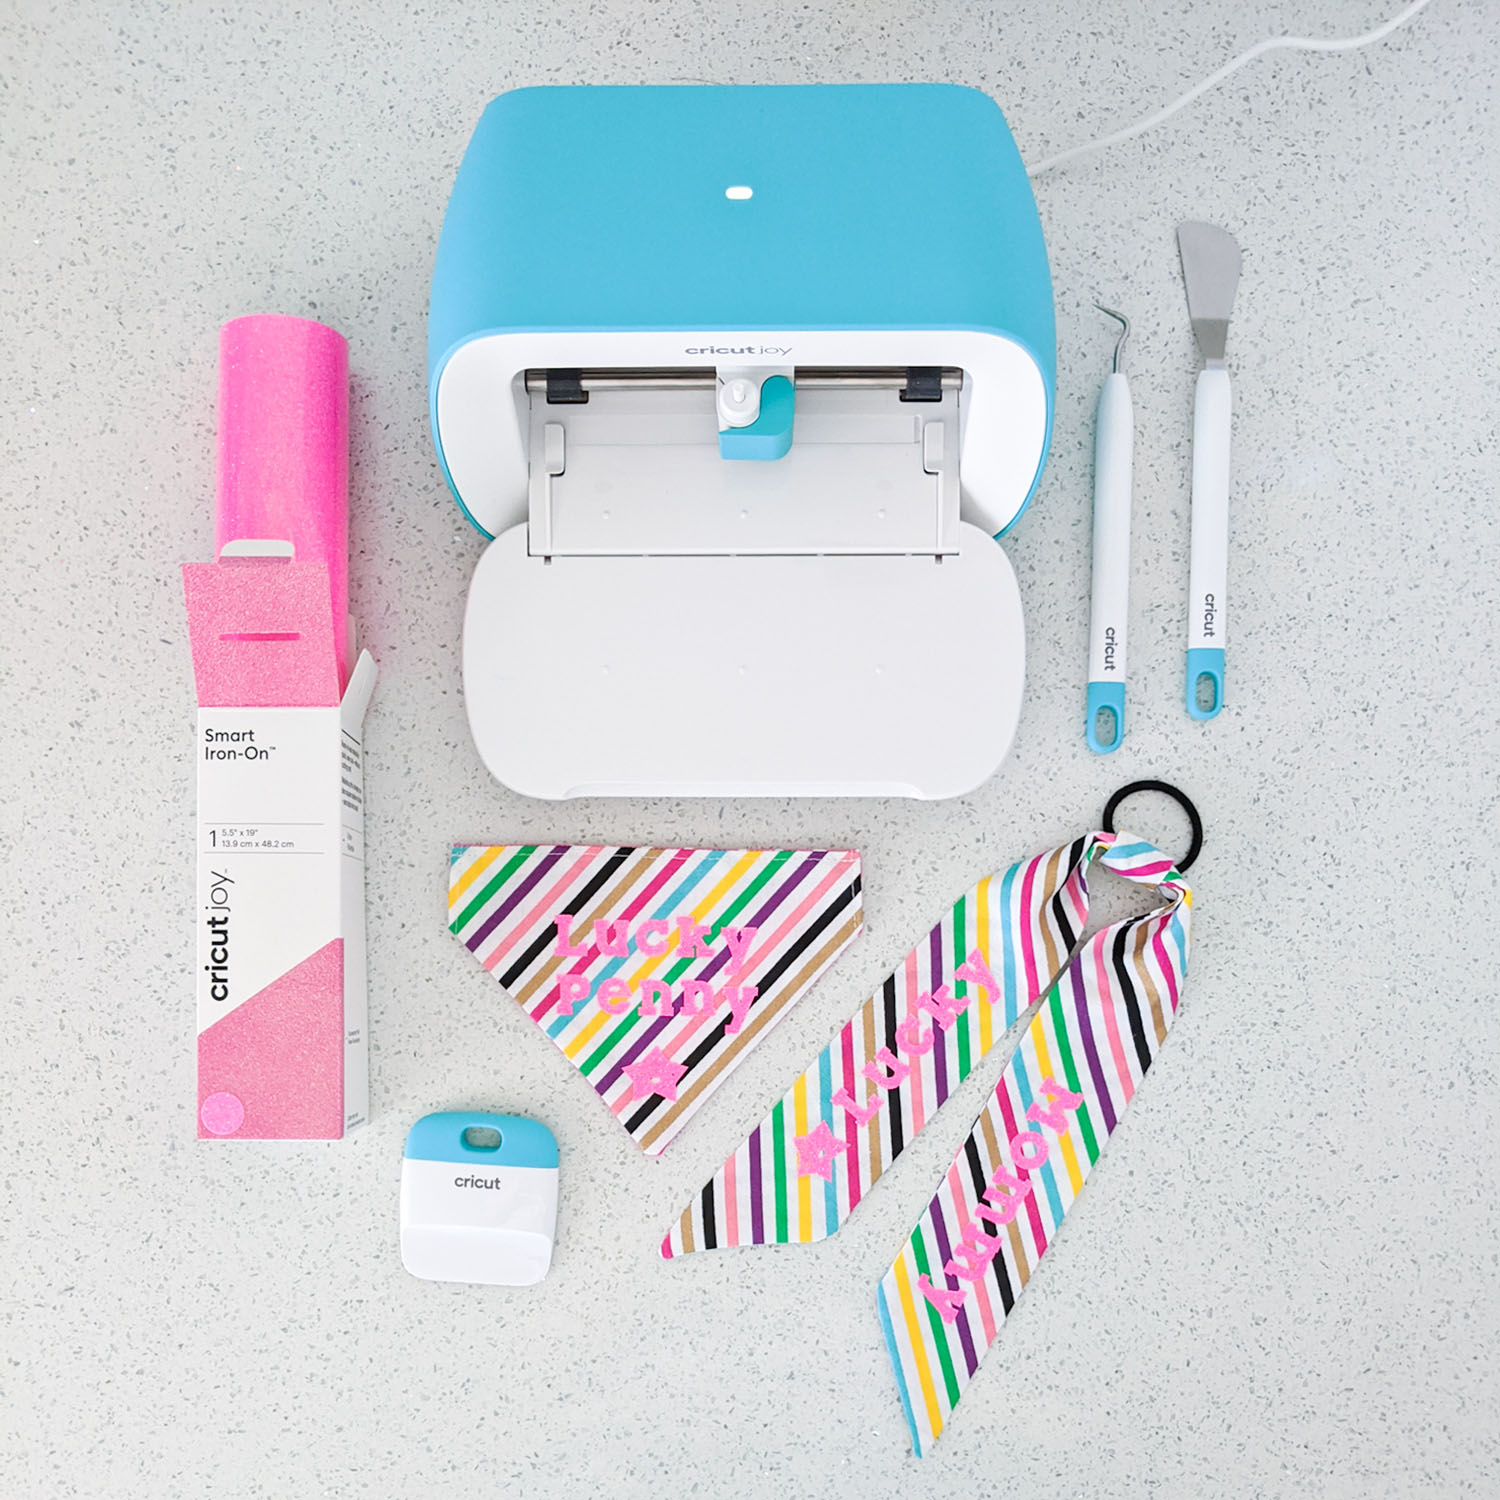
This project requires a cutting machine and a sewing machine. Cricut Explore, Maker, and Joy models have been tested with this project. *For the Cricut Joy, keep in mind that since the mat size is smaller, you will need to trim your faux leather and prepare several mats.
You can opt to use a different cutting machine (ie. Brother, Silhouette), but modifications to the design and cutting procedure may be necessary.
A standard sewing machine with a heavy duty needle will work just fine for this project.
An Easy Press Mini or small household iron is ideal for this project.
SAVE THIS PIN!
This post contains affiliate links. If clicked, I may make a small commission at no cost to you. As an Amazon affiliate, I earn from qualifying purchases.
Supplies
MACHINES
Sewing Machine
EasyPress Mini or small household iron
MATERIALS
Faux leather sheets around 8″x10″ – Note that heavily textured leather may make it difficult to apply the iron-on eyes
- Smooth faux leather
- Lightly pebbled faux leather (exact one used in video)
Matching thread
Gold swivel clasp
TOOLS
Pressing cloth
Scissors
Washi tape
Heavy duty sewing needle 100/16
Pen
How to Make a Puppy Poop Bag Dispenser
WATCH MY YOUTUBE VIDEO HERE!
These written instructions are just an overview and serve to complement my video tutorial. Photos are included for your convenience and may not capture the steps in as much detail.
1. Upload SVG file to Cricut Design Space
Unzip the downloaded file and save the svg somewhere on your computer. Open Cricut Design Space and start a new project. From the left panel, select the UPLOAD button. Locate the svg file on your computer and follow the program prompts to add it to your canvas. The dimensions of the file should be 7.969″ x 10.16″.
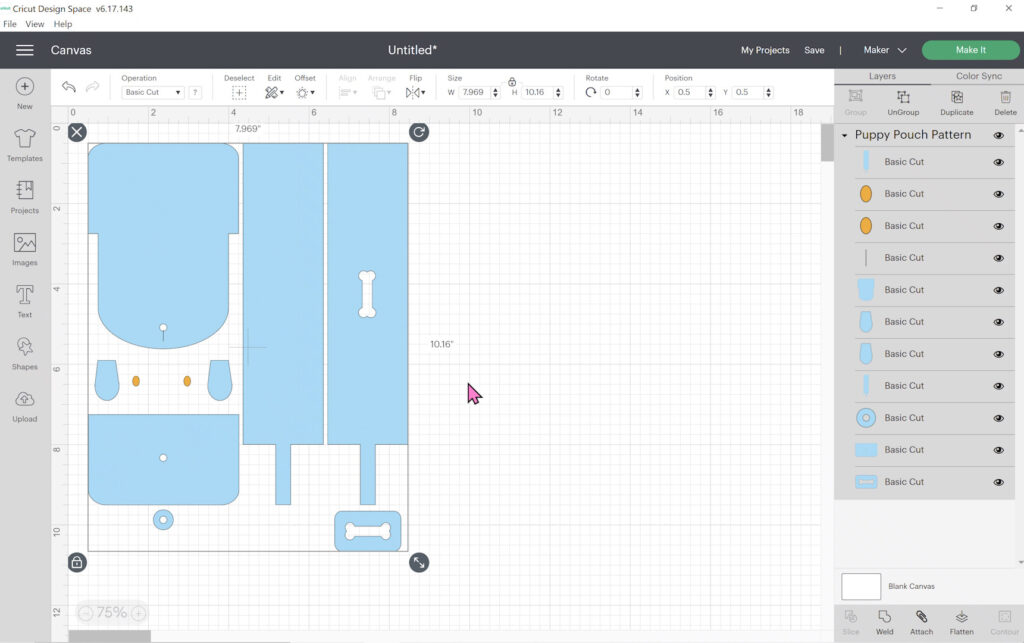
2. Edit the design to prepare for cutting
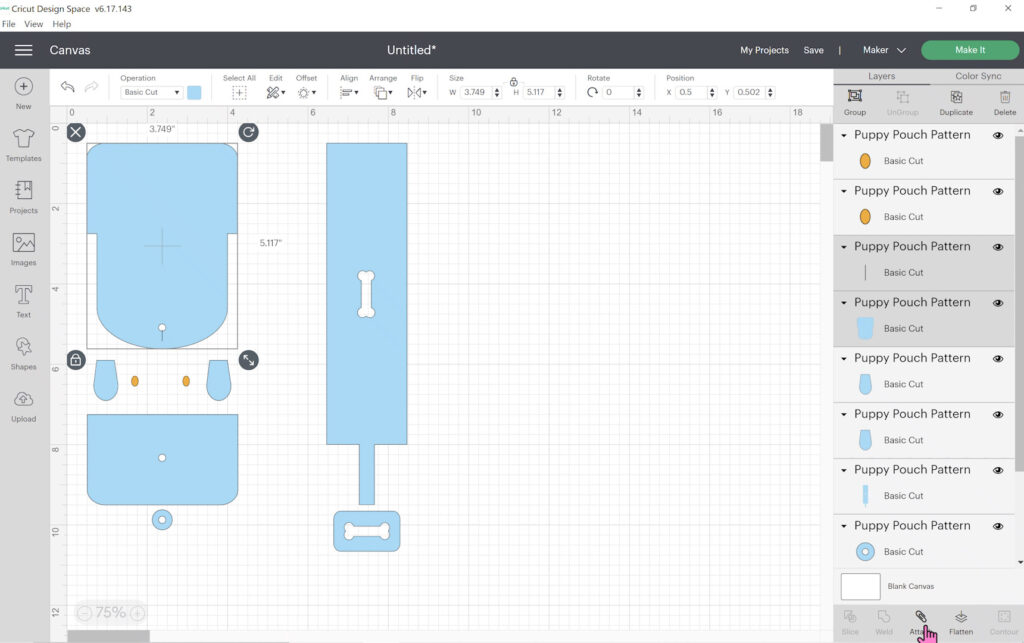
UNGROUP the entire design. Decide if you’re making a poop bag dispenser OR pouch and delete the unneeded pieces.
- If you’re making a poop bag dispenser, delete rectangle strip without the dog bone opening
- If you’re making a plain pouch, delete both the rectangle strip with the dog bone opening and the small dog bone reinforcement piece
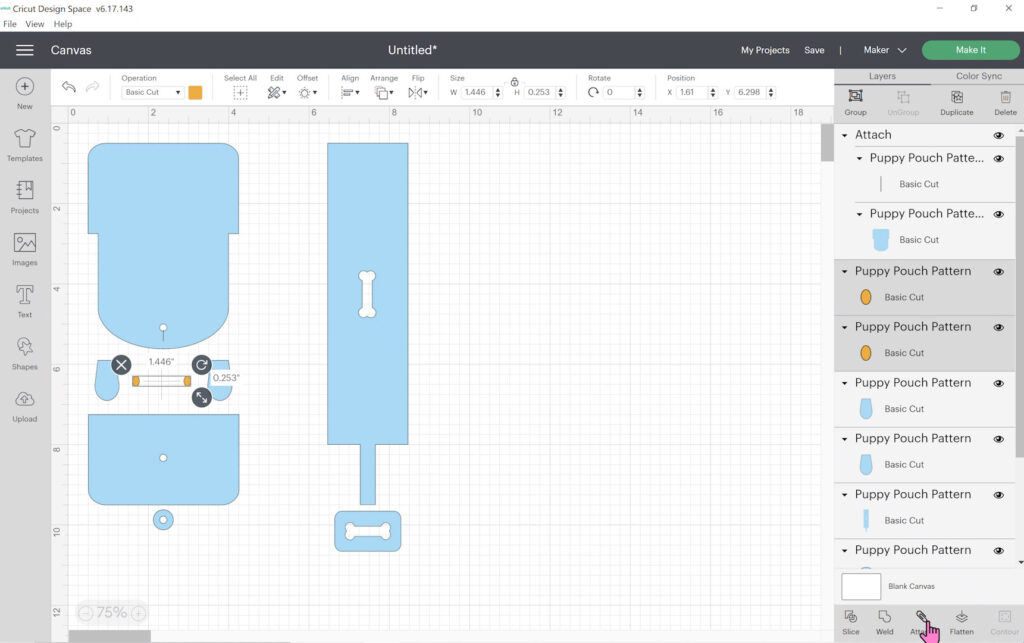
Highlight and ATTACH the small cut line to the larger rounded rectangle.
Highlight and ATTACH the gold oval eyes together.
3. Cut faux leather
Select the machine you’ll be using and click the green MAKE IT button. Select the mat containing the pouch pieces.
Change the material size to match your faux leather sheet and rearrange pieces as needed.
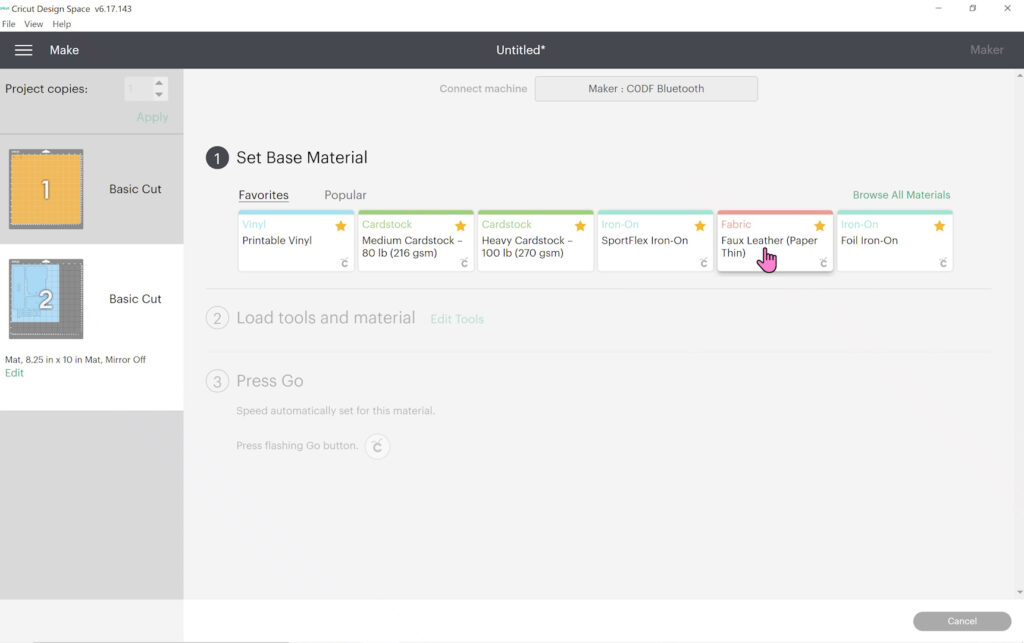
Set base material to Faux Leather.
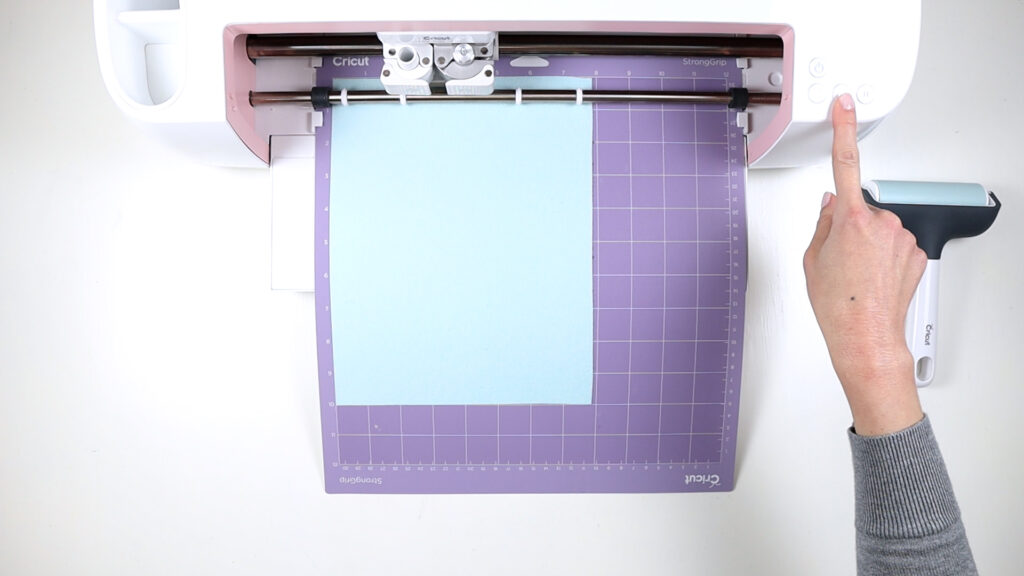
Place a sheet of faux leather onto a StrongGrip mat with the nice side down. Use a brayer to smooth out any bubbles.
Load a fine point blade into clamp B. Load the mat into your machine. Press Cricut Go button to start cut.
Once your machine has finished cutting, peel off a corner of faux leather to check if it cut through all the way. If not, press the Cricut Go button to repeat the cut. If it has cut through cleanly, press the double arrow button to unload your mat.
4. Cut iron-on material
Select the mat containing the two eyes.
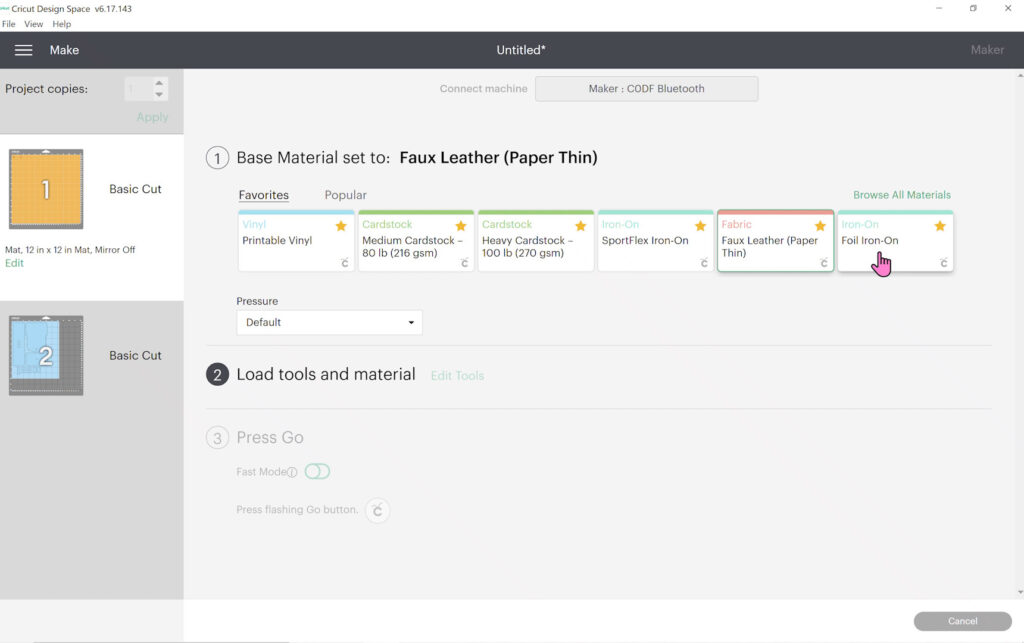
Change base material to Foil Iron-On.
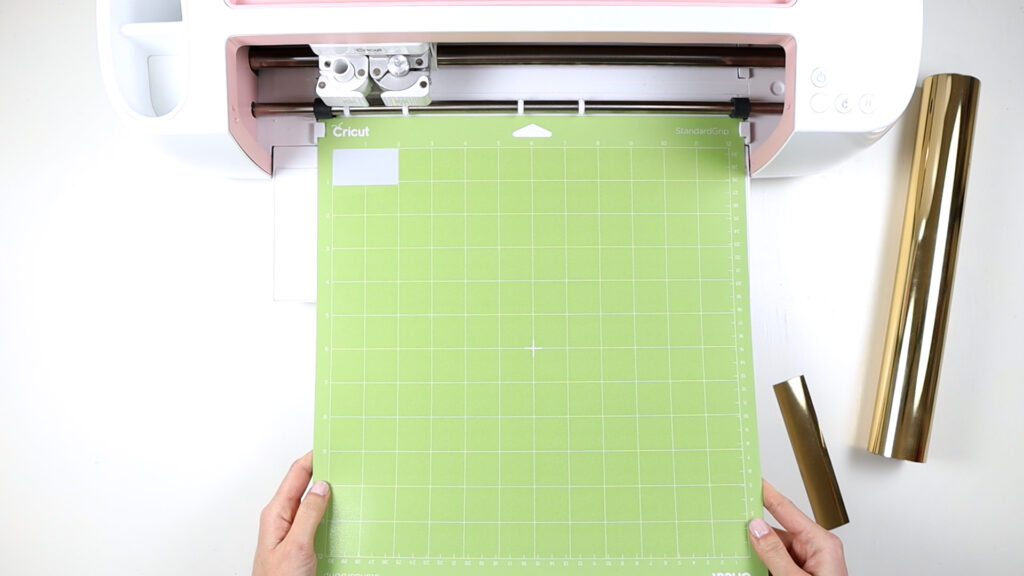
Place a small piece of iron-on onto a StandardGrip mat with the colored, shiny side down.
Load the mat into your machine. Press Cricut Go button to start cut.
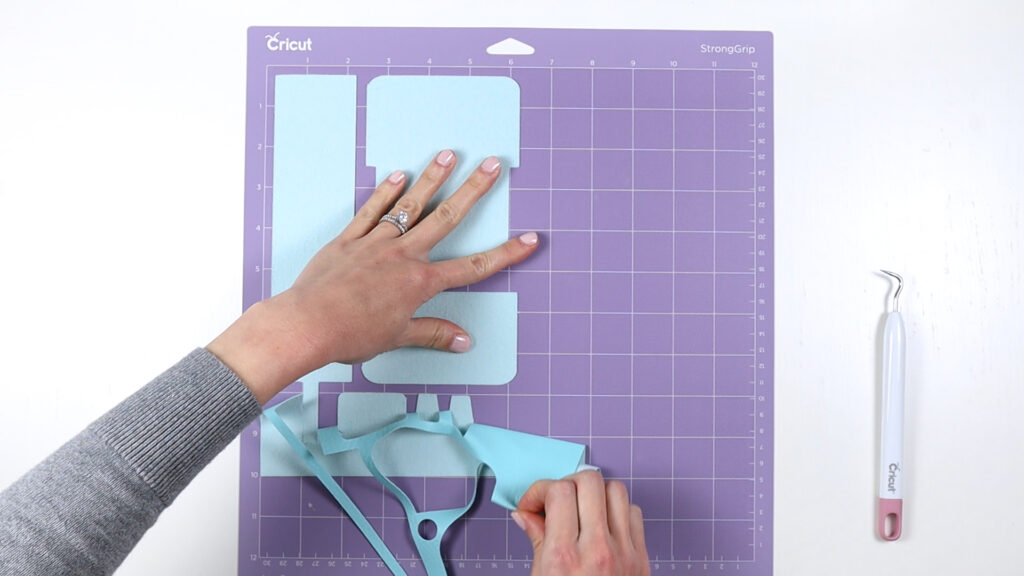
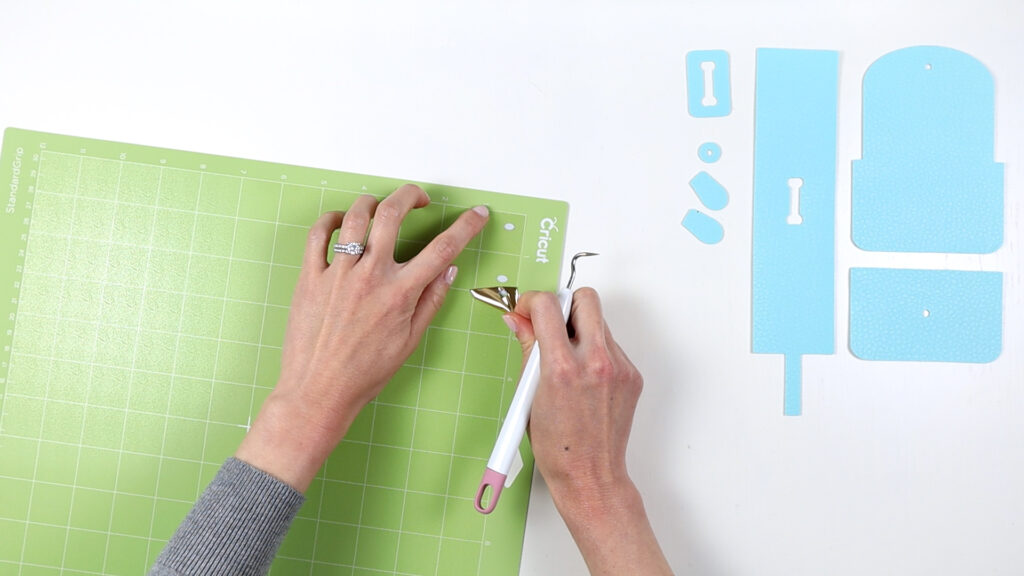
5. Remove pieces from the mats
Peel off excess faux leather from the mat. Carefully remove the pouch pieces
Use a weeder tool to help remove excess iron-on material, leaving the eyes on the clear liner.
6. Attach reinforcement piece
Apply E6000 glue to the back of the bone reinforcement piece and attach it to the back of the long rectangular strip. Allow to dry 1-2 hours or until completely cured. Wait 24 hours for best results.

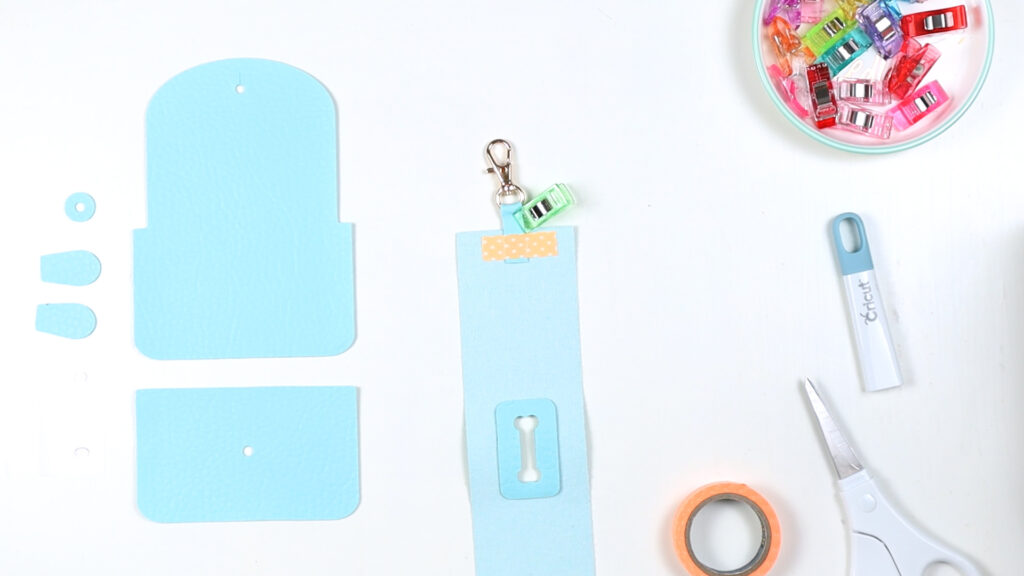
7. Attach the clasp
Slide clasp onto the thin strip at the end of the long rectangular piece and fold it over by ~1/2 inch. Hold it in place with washi tape and sew.
8. Sew together pouch
Use sewing clips to attach the rectangle strip to the larger rounded rectangle piece, right sides together. Sew them together with a 1/4 inch seam allowance.
Repeat this process for the smaller rounded rectangle piece. Flip pouch right side out.

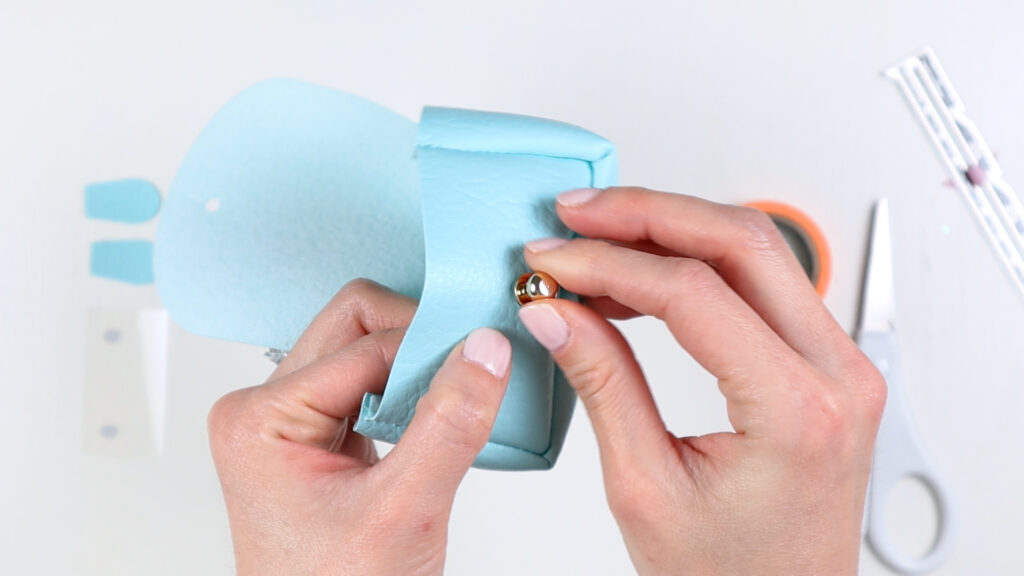
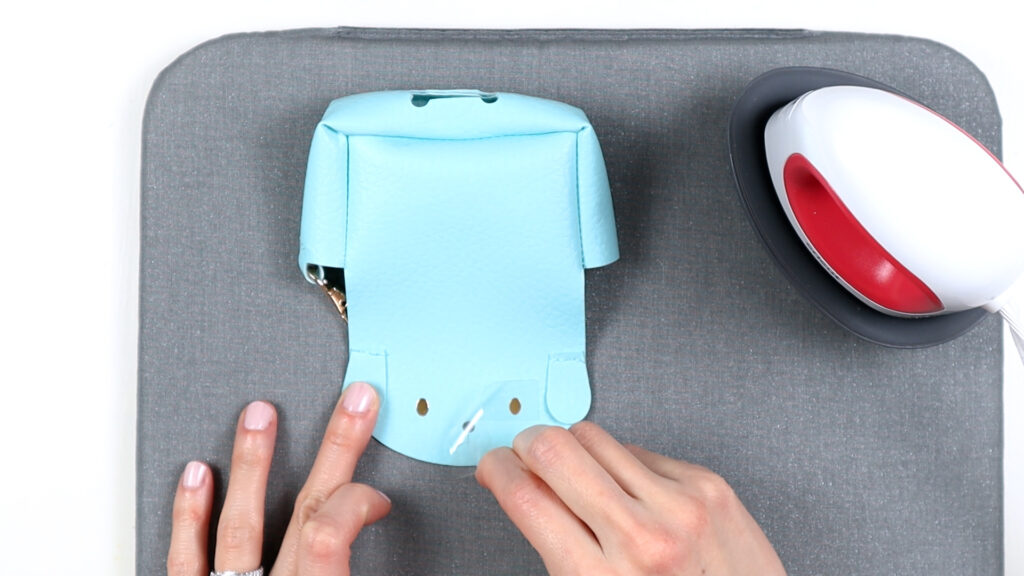
9. Attach button stud to pouch
Insert the screw end of the button stud through the round reinforcement piece. Thread the screw through the small hole from inside the pouch. Screw on button head to secure.
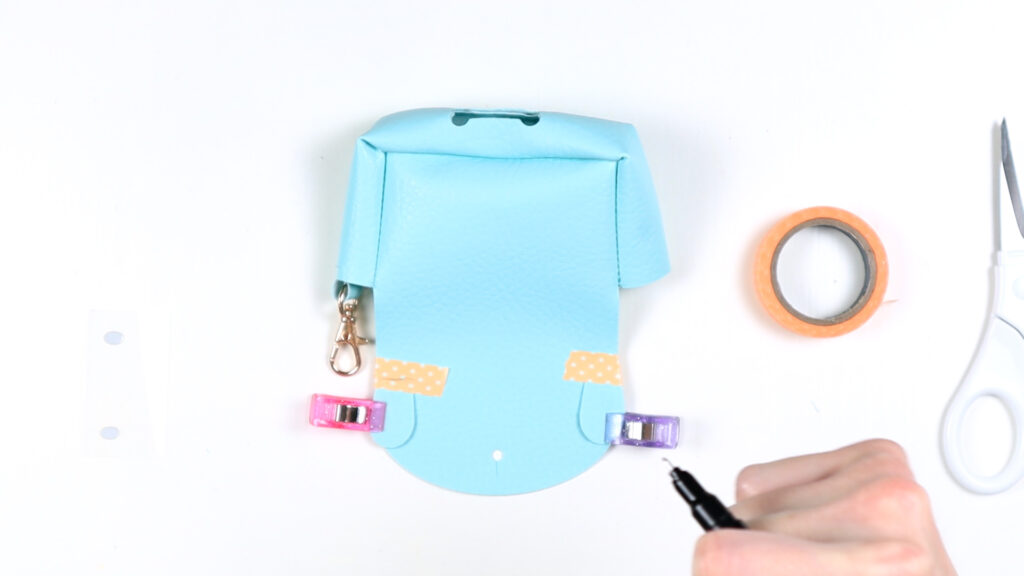
10. Attach ears to pouch
Position ears onto the front flap and hold in place with washi tape. Use a sewing gauge or ruler to help you align them. Draw lines onto the washi tape (so you know where to sew), then sew the top of the ears to the pouch. Carefully remove the washi tape.
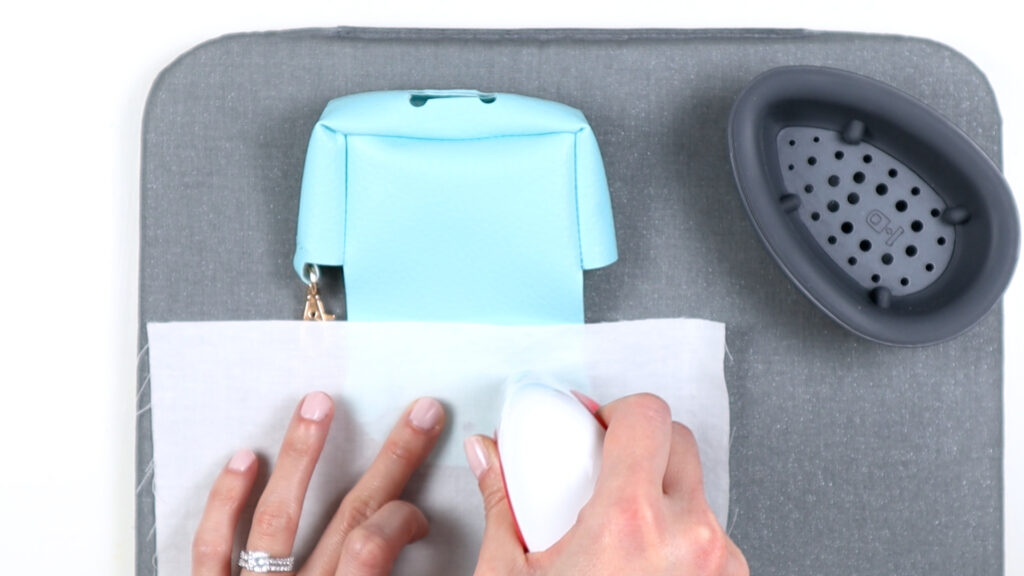
11. Apply iron-on eyes to pouch
Preheat EasyPress Mini to low heat. Place a cotton cloth over the flap and preheat the eye area for 5 seconds.
Position design on pouch, using a sewing gauge or ruler to help you align them. Cover with a cloth and press lightly with EasyPress Mini for a total of 30 seconds. Remove liner, cover with cloth, and press again for 10-15 more seconds.
Wait until it’s completely cooled before peeling off the clear liner.
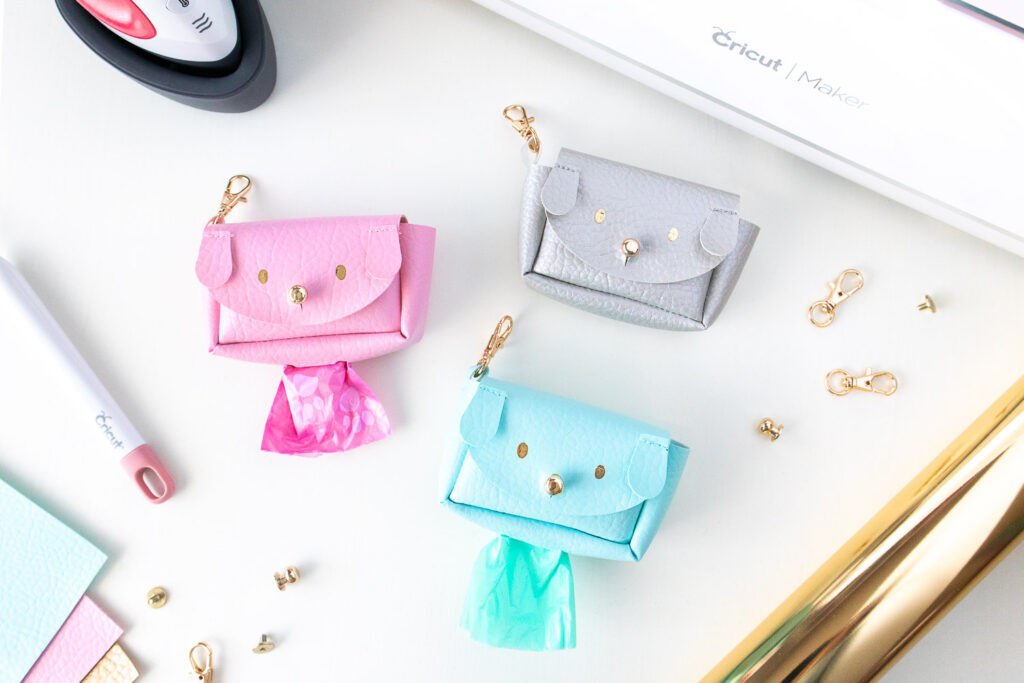
YOUR PUPPY POUCH IS COMPLETE!!
For using as poop/diaper bag dispenser: Insert plastic waste bag roll inside pouch and pull out one end through the dog bone opening. Press the flap onto the button stud to close.
For use as a pouch: Insert personal items, then press the flap onto the button stud to close.
Other Variations and Ideas
TRY COLOR BLOCKING – Use different colors of faux leather for a cool color blocked effect! It’s also a great way to use up your scraps.
PAWSONALIZE IT – Use your Cricut to cut out your pup’s name from iron-on vinyl. Apply to the back of the pouch for a PAWsonalized touch!
COORDINATE – Make different pouches to coordinate with your pup’s different outfits. Now who’s the most stylish pup in town?
GIVE AS PAWTY FAVORS – Make a bunch of these as favors for your next dog party. Guests will think they’re so fetch!
GIFTS FOR DOG LOVERS – Gift these to your favorite dog walker, pet sitter, veterinarian, or animal lover.
HAND SANITIZER POUCH – Make the pouch with no opening and insert your favorite hand sanitizer. The Bath and Body Works PocketBac Hand Sanitizers do fit in here!
LIP BALM STORAGE – Are you always searching for your lip balm? Make the pouch with no opening at the bottom. The EOS ball lip balms fit in here!
REUSABLE BAG STORAGE – Fold up your nylon reusable shopping bag and pop it in this pouch. Attach to your purse so you’ll never forget to bring one to the store again.
DIAPER BAG HOLDER – Store plastic bags for stashing stinky diapers on the go. These would be a sweet gift to expecting parents or parents with young children.
If you loved this project, let me know! Share a comment or tag me in your photos on Instagram. I would love to see what you create!
If you’re looking for another fun Cricut sewing project, grab my ebook: Easy Fabric Heart Coasters For Cricut Maker.