Tips for Using Cricut Infusible Ink Transfer Sheets
I received free product from Cricut for this project. Content and opinions are all my own. This post contains affiliate links. I may earn a small commission when you click on the links, at no cost to you.

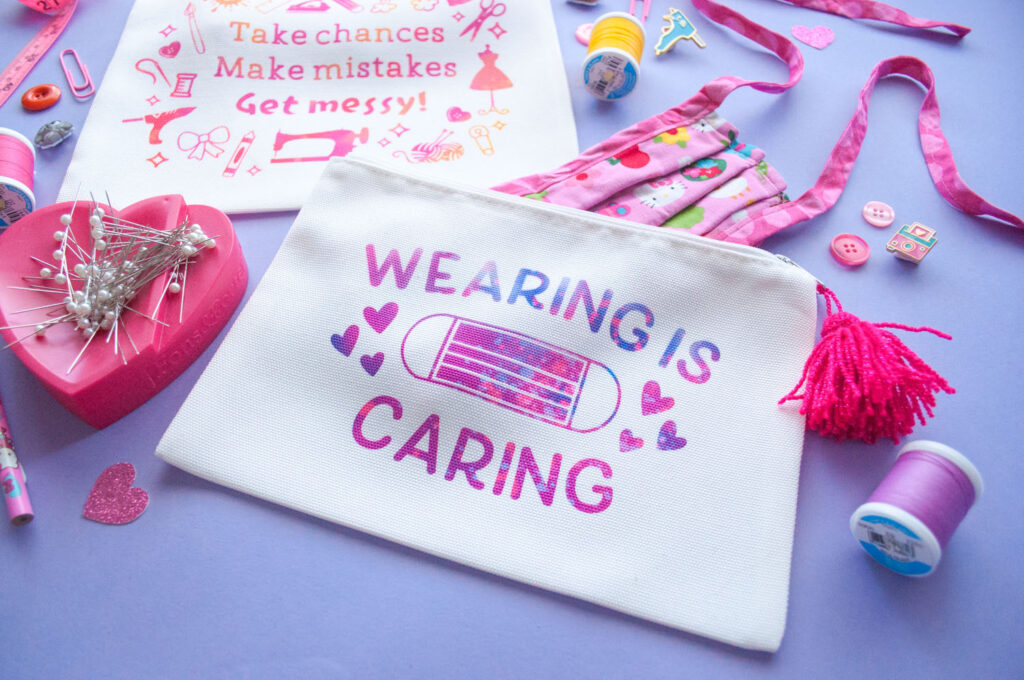
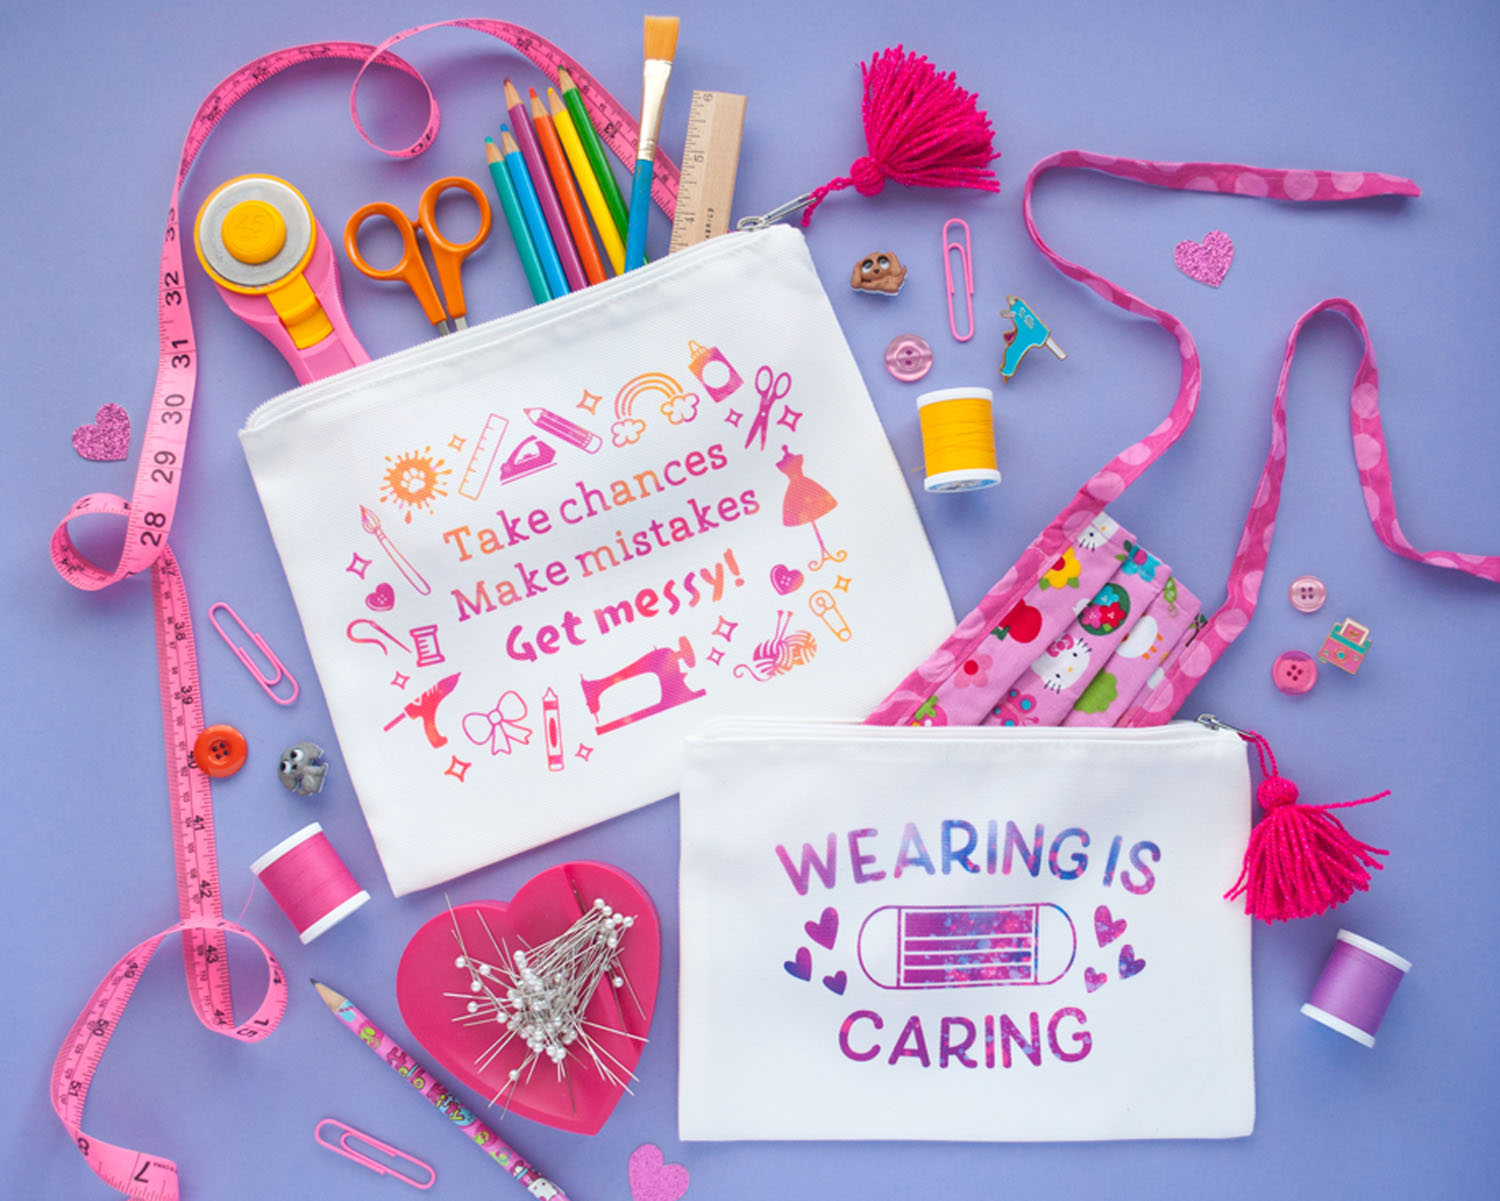
These fun pouches were my first projects using Cricut’s Infusible Ink Transfer Sheets and I definitely learned a lot in the process. Anyone remember The Magic School Bus? This quote, “Take chances. Make mistakes. Get messy!” is Ms. Frizzle’s infamous catchphrase which definitely applies to crafting! I encountered some speed bumps while taking this design from Design Space to real life, but that didn’t discourage me from pressing the gas! All puns aside, I’m pretty proud of the mess I created! Today I’m sharing with you some tips for working with Infusible Ink Transfer Sheets so you can ace your project on the first try.
But first, let’s talk about Infusible Ink!
What are Infusible Inks?
Infusible Inks are heat transfers that permanently fuse with the base material. The end results are professional, vibrant and seamless. Infusible Ink comes in two varieties: Transfer Sheets and Pens.
- Transfer Sheets are ink-infused paper with a plastic liner. You apply them similarly to Iron-on vinyl, except all of the transfer material gets peeled off once the design has been applied.
- Pens help create a hand-drawn effect. You can insert the pens into your Cricut machine to have it write, draw, and color for you. Once heat pressed, the design gets sealed into your material.
What’s the difference between Infusible Ink Transfer Sheets and Iron-on vinyl?
Unlike vinyl, Infusible Ink will not peel, crack or flake. It is designed to stretch and move with the material. You can machine wash Infusible Ink projects over and over without worrying about ruining the design.
- Iron-on vinyl comes in a ton of different designs and finishes including licensed art (eg. Disney, Martha Stewart, Sanrio).
- Infusible Transfer Sheets also come in a lot of colors and patterns, but in less variety. If you want a foil, glitter, or holographic finish, you’ll have to use Iron-On.
What can I use Infusible Ink on?
You should only apply Infusible Ink products to Cricut blanks. They are designed to react specifically with the Cricut blank materials. That being said, I have seen a few other crafters apply Infusible Ink to non-Cricut products with success. I personally cannot recommend this method since I have not tried it out for myself.
There are a variety of Cricut blanks available at Cricut online. Recently, I have noticed my local craft stores have been low on inventory and selection, so you might consider purchasing online.
- Apparel: Men, Women, Youth, Toddler, Baby
- Bags: Tote bags, Cosmetic bags
- Home: Pillow covers, Wine bags, Coasters
Note that these blanks are all white/cream in color with the exception of two gray t-shirt varieties. If you’re looking to create something on a darker material or non-Cricut blank, you should use Iron-on vinyl instead. For this project, I used the Cricut cosmetic bags which come in a pack of 3. Although they are labeled as such, I thought they were perfect for storing craft supplies and my face mask. I love that I can wash the bags to keep my masks clean!
What machines can I cut Infusible Ink with?
Infusible Ink Transfer Sheets can be used with ALL Cricut Machine varieties. I used my Cricut Explore Air (older model) for this project and it worked out just fine. If you’re using the Cricut Joy, make sure you choose the Infusible Ink Transfer Sheets specific to that machine.
How do I apply Infusible Ink?
The basic steps for applying Infusible Ink Transfer Sheets are very similar to applying Iron-on vinyl:
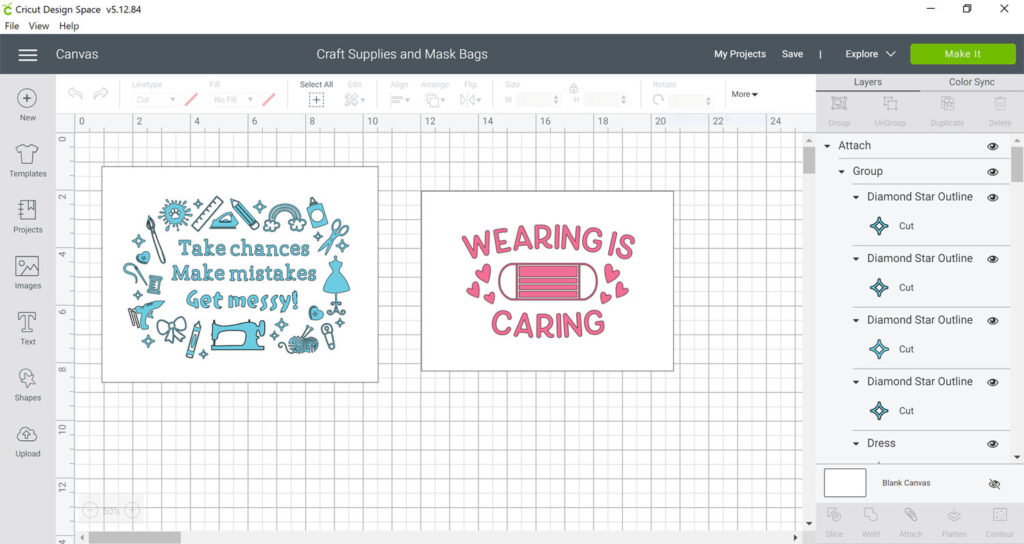
- Create your Design in DesignSpace
- Cut with your Cricut machine (Explore Air 2, Explore 3, Maker, Maker 3 or Joy)
- Weed excess material
- Apply with Cricut EasyPress
Watch my video below to learn how to apply Infusible Ink
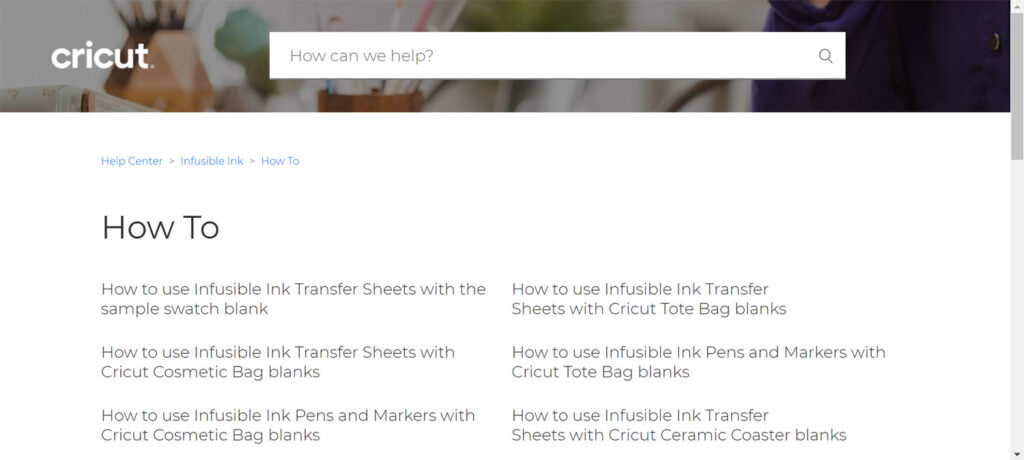
The Cricut website has an entire help section covering How To’s, troubleshooting and FAQs (frequently asked questions) for Infusible Ink. Their How To section covers application of Infusible Ink Transfer Sheets on all of the blanks listed above. I highly recommend checking it out before starting your Infusible Ink project.
Now that we’ve covered the basics, let’s talk about the tips and tricks I learned while making this project.
Tip #1: Choose a simple design!
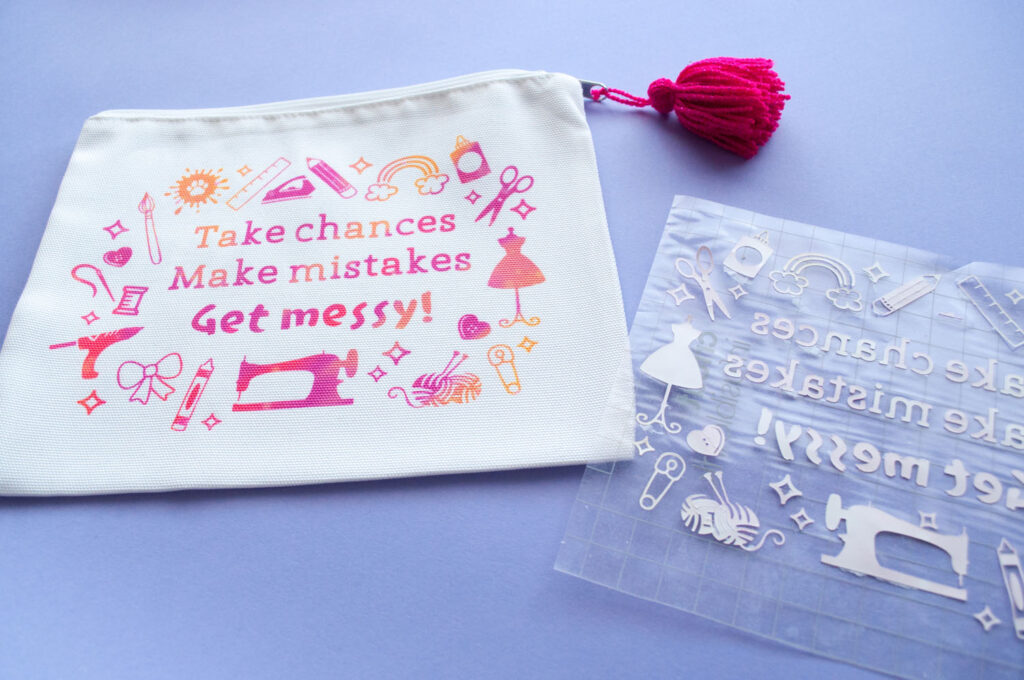
When designing for Infusible Ink in Design Space, consider that the weeding process for Infusible Ink is a little trickier than for paper or vinyl. Cricut recommends you use your fingers rather than the weeding tool so getting small pieces out can be a challenge. Key takeaway – it’s best if you use less intricate designs! I wanted to use A LOT of tiny designs for my craft pouch (I needed to have ALL the craft supplies!) and definitely paid for it when I was weeding. I did end up using the weeding tool (against the recommendation. Shh!) and tweezers and was able to make it work in my favor. Weeding was so much easier for the simpler mask pouch design.
To get these designs in Design Space, click HERE
Tip #2: Check your cut before you hit “Unload”
On my first few cuts, I noticed that the some parts of the Infusible Ink Transfer Sheet did not cut all the way through to the liner (even though I was using a new blade and the correct settings). This made it difficult to weed and left torn bits of paper stuck to the liner. I ended up tossing some of the first ones because they were that bad. Such a waste!
If you’re cutting a transfer sheet for the first time, wait until your machine stops cutting and DO NOT unload your mat. See if you can peel off a corner of the transfer paper to check if it has cut all the way through. (It helps if you trim your sheet to close the final dimensions before you load your mat.) If you peel the corner and it has not cut all the way through, hit the Go button again and allow your Cricut machine re-cut your design. The second time should do the trick. This tip should hopefully save you a lot of time and frustration!
Tip #3: Check the position of your EasyPress when pressing your design
When pressing your design, make sure the plate of your EasyPress 2 is covering and making contact with your entire design (with butcher paper in between of course). If there’s anything bulky (ie. zipper on cosmetic bag, handle on tote bag), part of your design may not transfer completely. Move it so the plate rests just below the zipper. You can see the comparison between the two pouches I created below. Note that the one on the left is less saturated at the top because I didn’t position the EasyPress 2 properly.
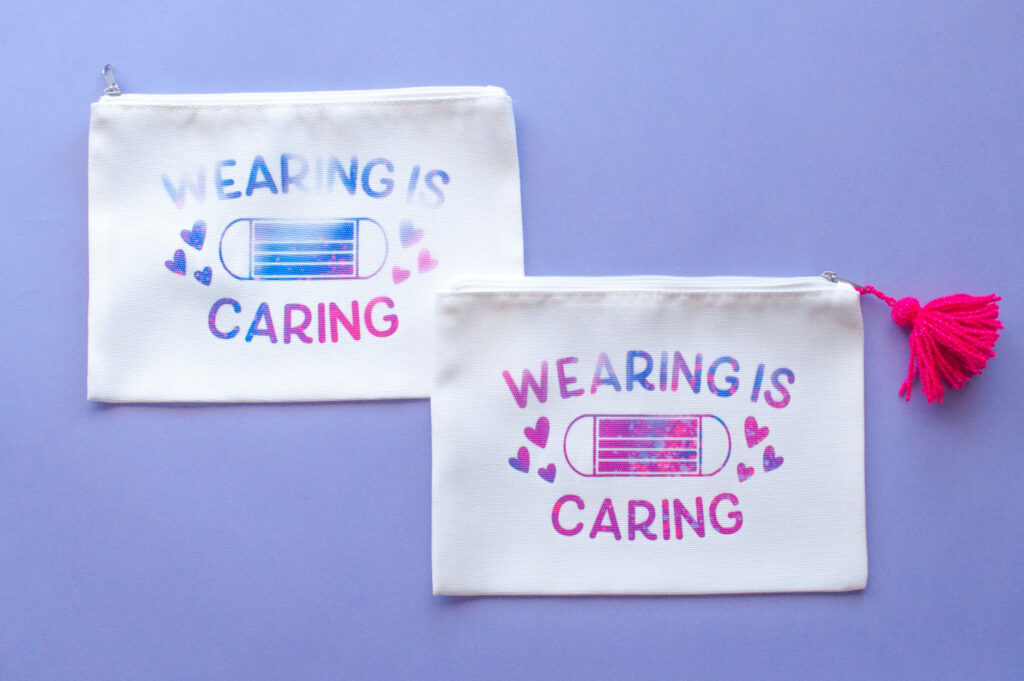
You’ll want to get this right on your first try because you should not reuse a transfer sheet after the first heat transfer. Extended heating can destroy the pigments of your Infusible Ink and a second heat application may produce an unwanted ghosting effect.
Tip #4: Read the instructions FIRST
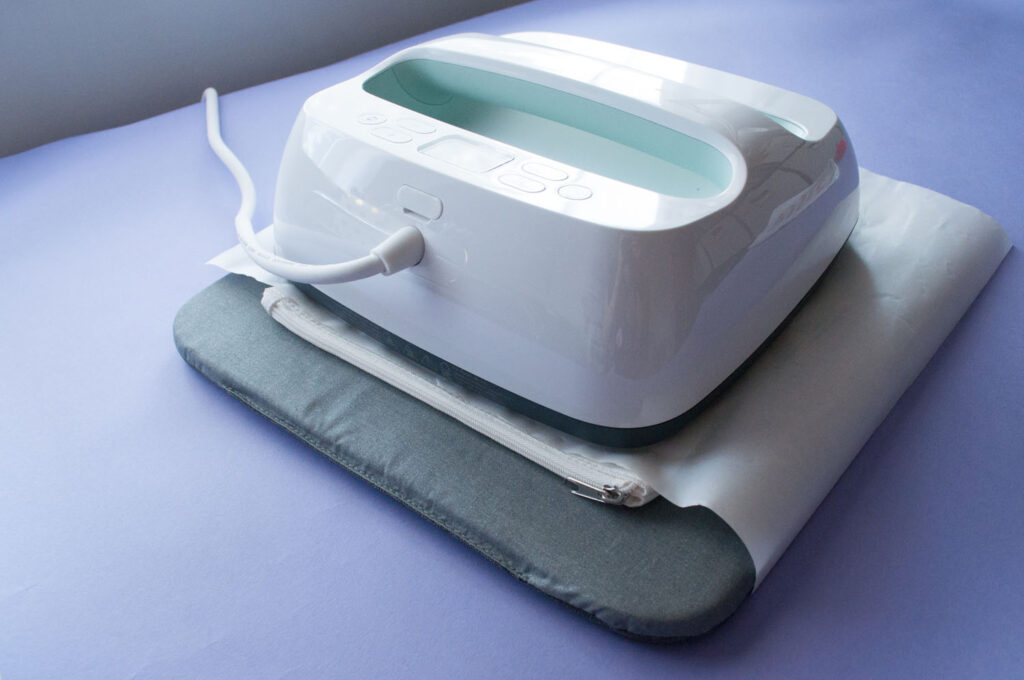
I cannot stress this enough! There are definitely some nuances when it comes to using Infusible Ink. Take time to read this help section to get familiar with the whole process before starting your project. The instructions are tailored to the Cricut blanks and will help your project go much smoother. I did not realize using a Cricut EasyPress Mat was mandatory until I read this section! Luckily I was able to run to my Michael’s just before closing to pick one up!
Hopefully I’ve answered your questions about Infusible Ink. If you have any more, leave them in the comments. There’s definitely a learning curve as a first time user, but by following the instructions and the tips I’ve provided, you’ll be set up for success! Happy crafting!
Check out my other Cricut projects: Sunshine Front Door Decor and Pet Bandana