Back to School Pencil Craft
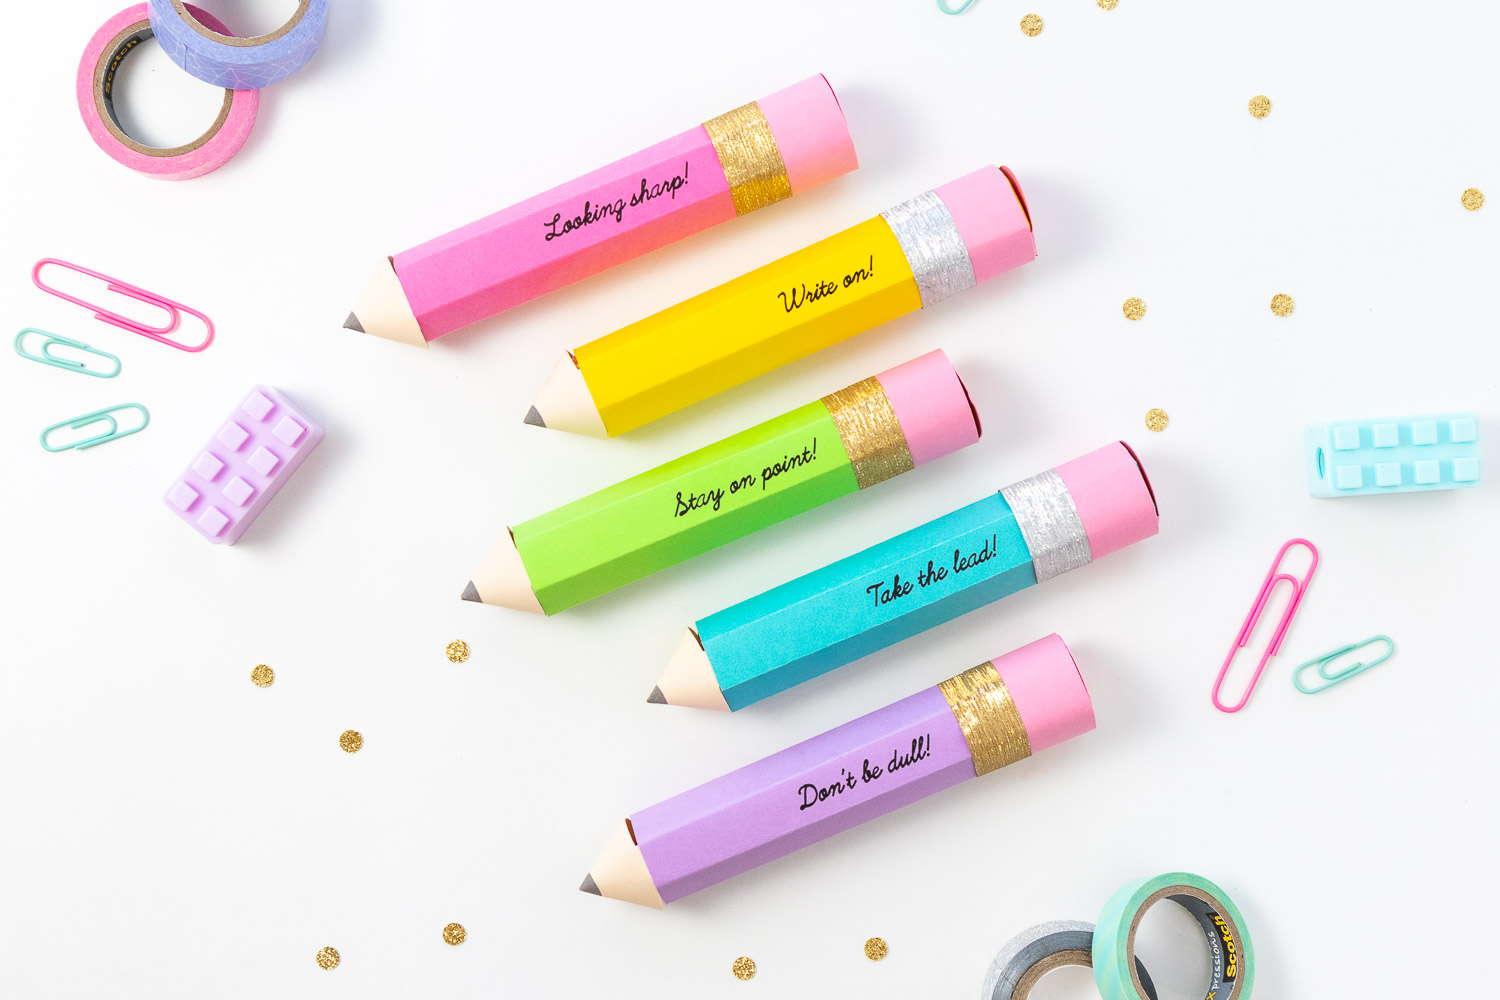
This pencil craft is the perfect, inexpensive back to school gift for the student or teacher in your life. A few years ago I made a version of this for a back to school themed party and it was a hit! To make this project a breeze I designed it so you can whip it up on your Cricut machine…no measuring or math necessary! I even added some silly puns for extra credit. 😉 This project was designed to fit Rolo candy rolls, but you can opt to add different goodies inside if you wish. This pencil craft project is super easy, super cute and such a fun way to celebrate going back to school!
Keep reading for my step by step tutorial!
Some of the below links are affiliate links and if clicked, I may make a small commission at no cost to you. As an Amazon Associate I earn from qualifying purchases.
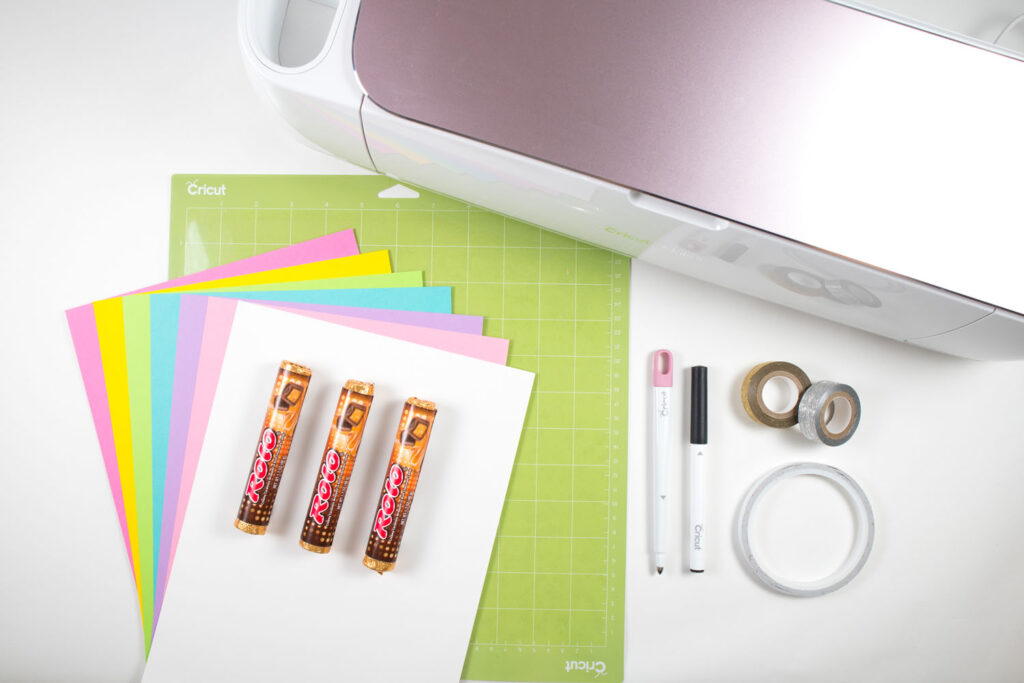
Materials
Cricut machine (Explore Air 2, Explore 3, Maker, Maker 3)
Cricut 0.4 Tip Pen in black
Scoring Stylus (for Explore and Maker) or Scoring Wheel (For Maker only)
Cardstock in assorted colors (for pencil body)
White cardstock (for pencil tip)
Pink cardstock (for eraser)
Washi tape 0.5” in silver and gold metallic for the ferrule (metal part). You could select other colors and prints for more fun!
Double sided tape 0.25”
Rolo candy 1.7 oz. rolls (or other small goodies)
Instructions
1. Open and Edit Design Space File
Open my Pencil Candy Holder file in Cricut Design Space. Click Customize if you want to change anything in the file. Otherwise click Make It and skip to step 2.
To customize phrases:
If you would like to change any of the phrases (or use names instead), click on the large rectangle (pencil body) and click Detach. Now you can edit the phrase. Be sure to position your phrase/word 1.5” or more from the right edge to allow space for the eraser and washi tape ferrule. Double check that Pen and Black Fine Point are still selected as your operation. Highlight the rectangle, score lines and phrase and click Attach. This will “attach” the score lines and phrase to your pencil body piece so they are placed exactly as shown. Repeat the process for all phrases you want to change.
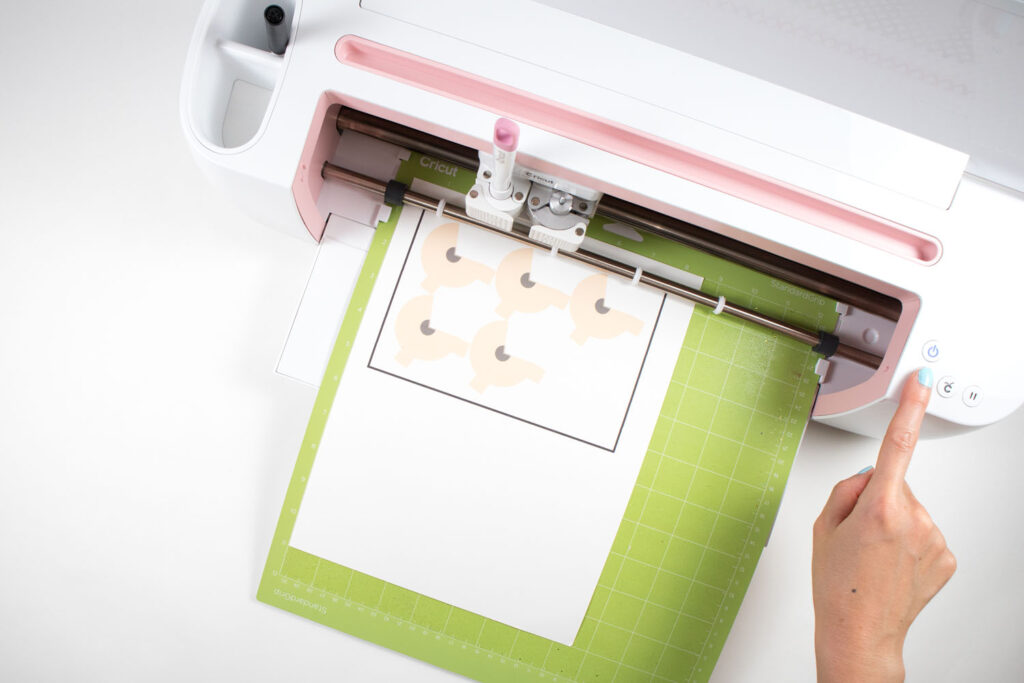
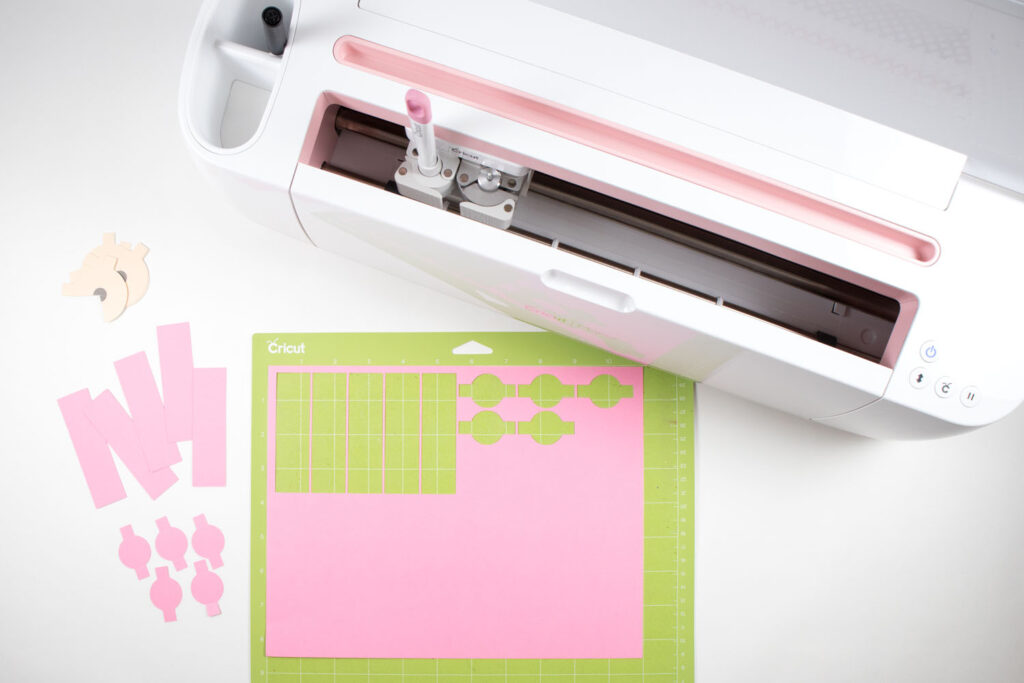
2. Cut Designs with Cricut Machine
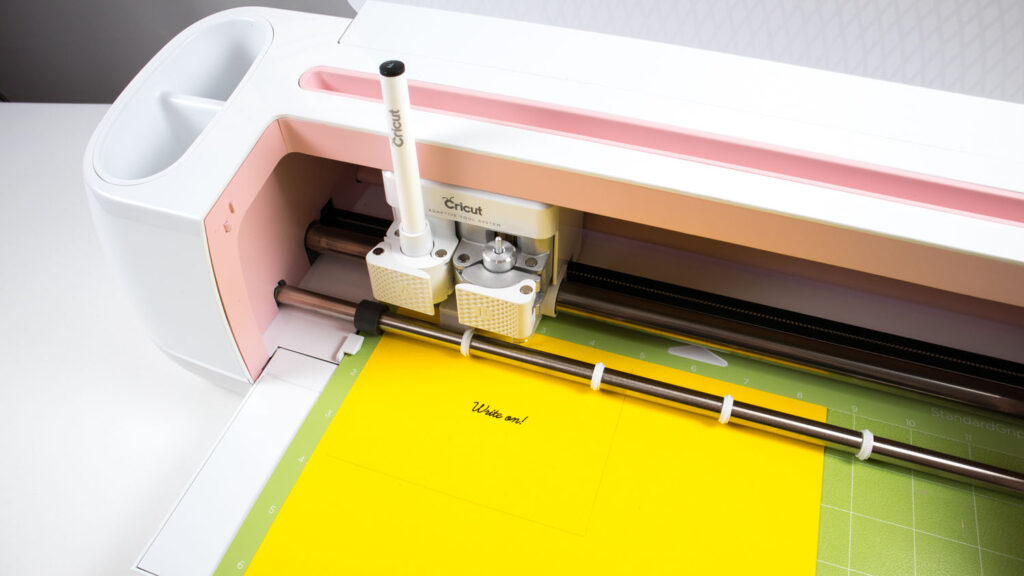
After you have finalized your design, click the Make It button to proceed with cutting them. The first design will be the pencil tip and will utilize the Print then Cut feature. First start by loading white cardstock into the printer, then click Continue, followed by Send to Printer. Make sure Add Bleed is turned on then click the Print button. After the pencil tip images have printed, place the sheet onto a Standard Grip mat. Set base material to cardstock. Load the scoring stylus (or wheel) into Clamp A and the fine point blade into Clamp B. Load the mat into your machine using the flashing double arrow button. Click the flashing Cricut Go button to start cutting. After your machine has finished cutting, unload the mat and remove the cardstock pieces.
Follow a similar process for the rest of the pieces, loading the colored paper and tools as requested by the program.
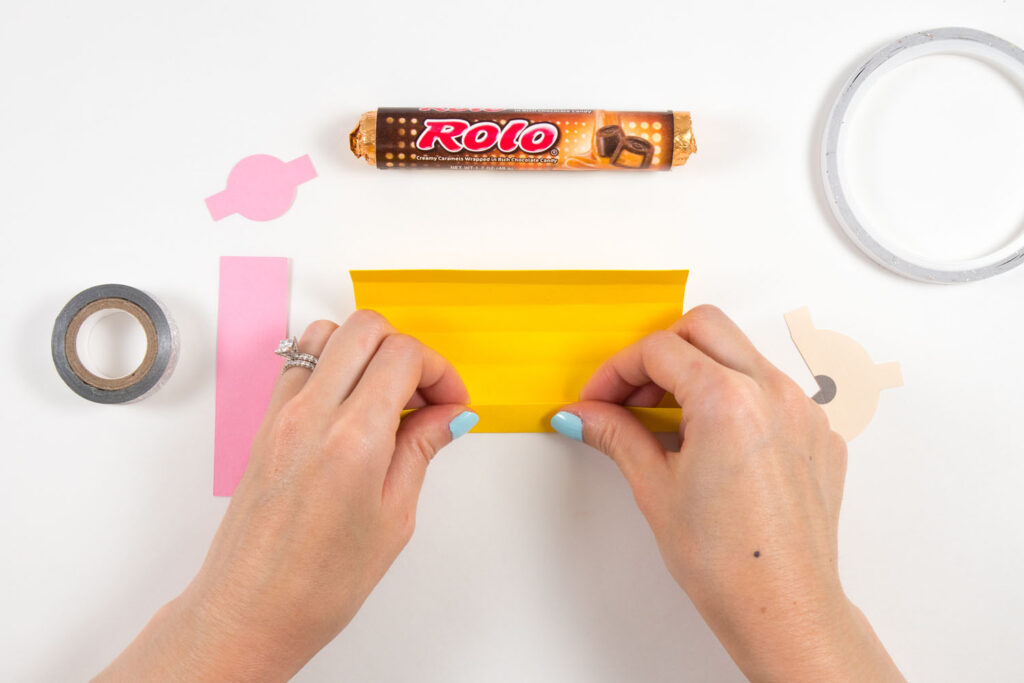
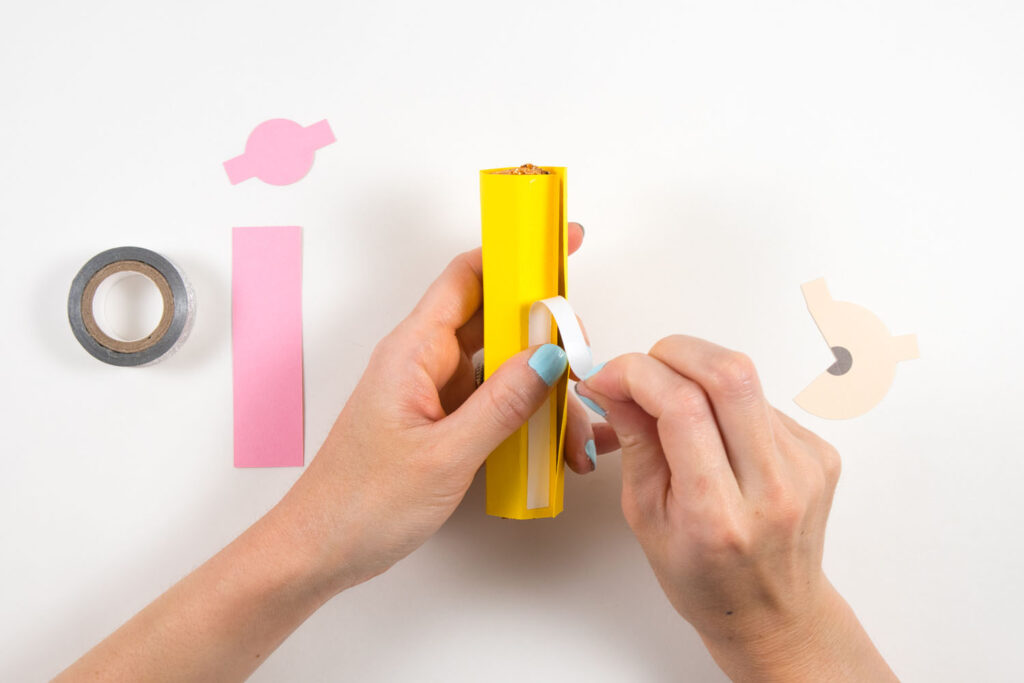
3. Assemble Pencil Body
After all pieces have been cut, remove them from the cutting mat. To make the pencil body, fold the colored cardstock rectangle along the score lines with the phrase side out. Apply a strip of double sided tape to one edge leaving the paper liner on. Insert Rollo candy, then remove the tape liner and attach the other edge of the cardstock.
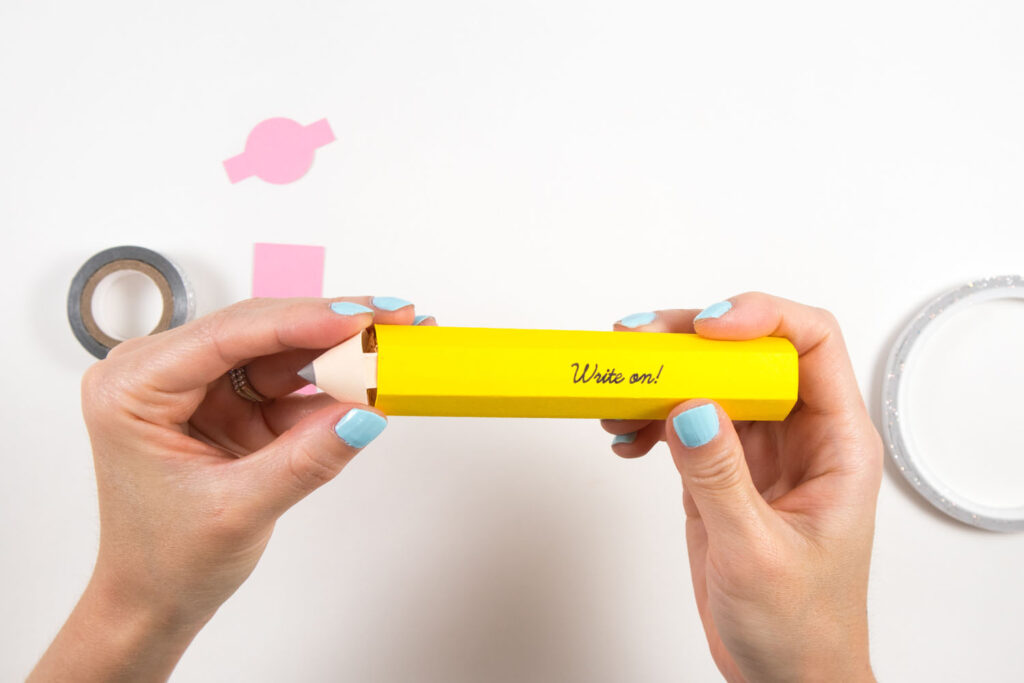
4. Attach Pencil Tip to Pencil Body
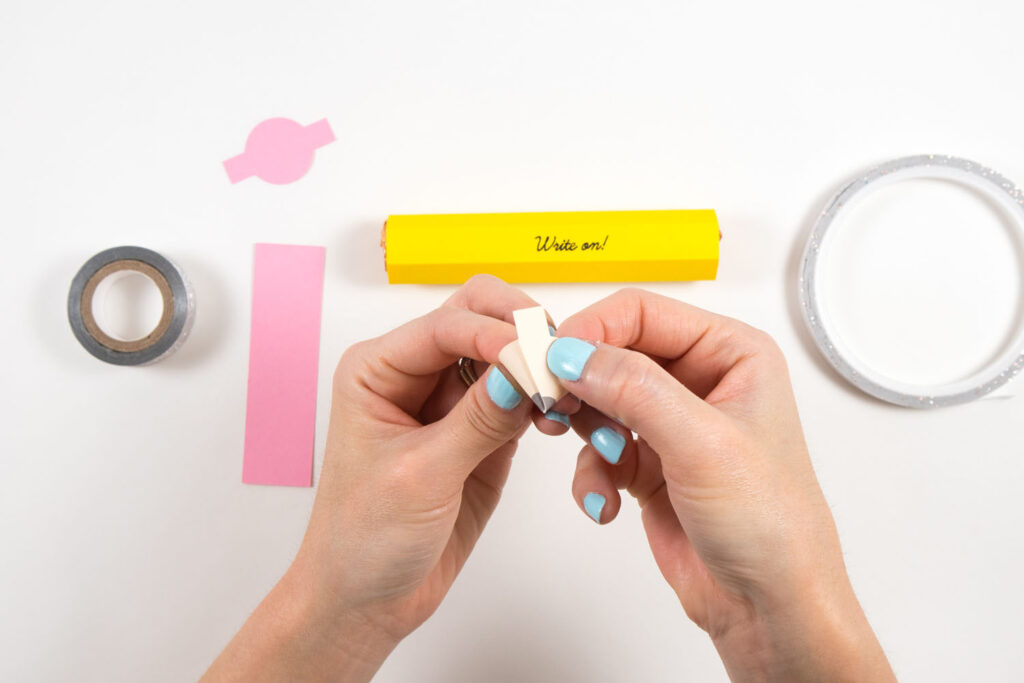
First fold the cut out image into a cone shape (printed side out) so that the straight edge with the flap aligns with the scored line. Secure with double sided tape. Apply double sided tape to the flaps and attach them to the left inside opening of the pencil body.
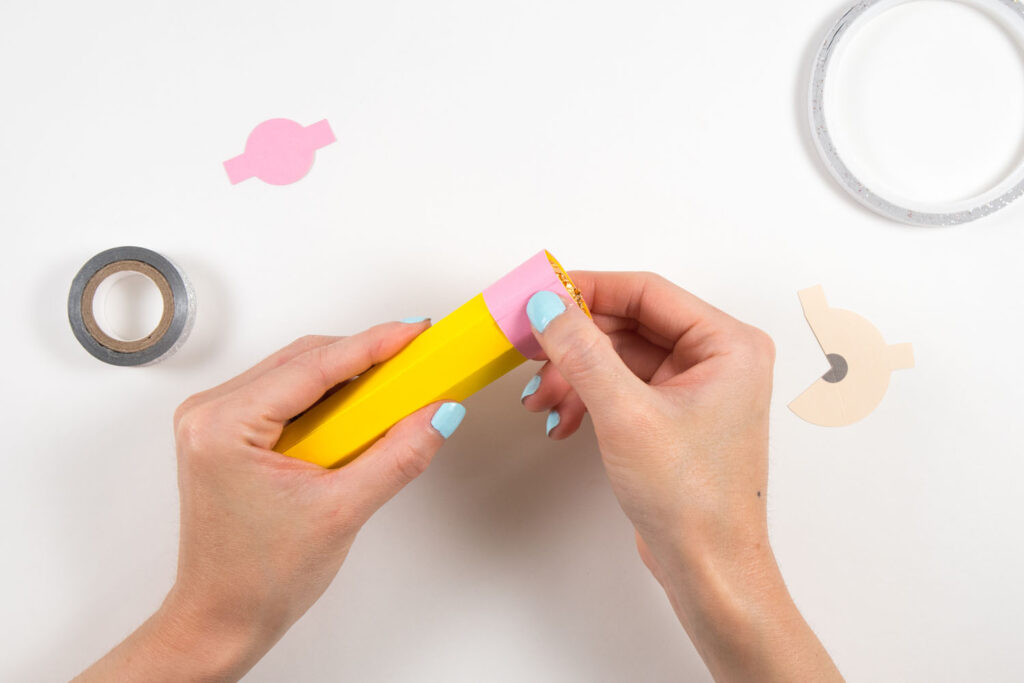
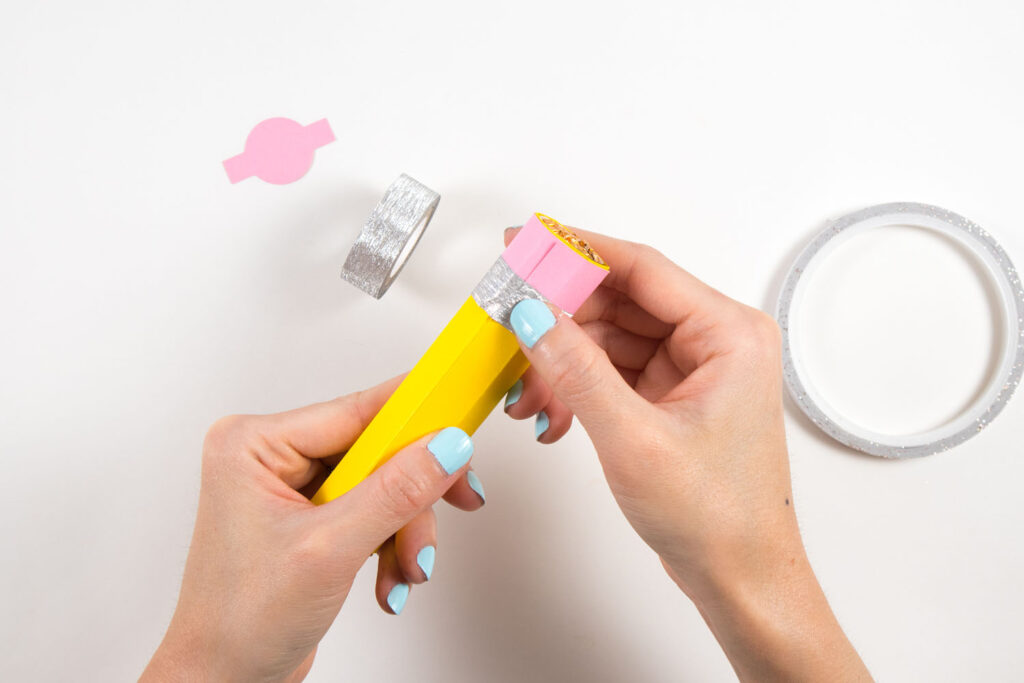
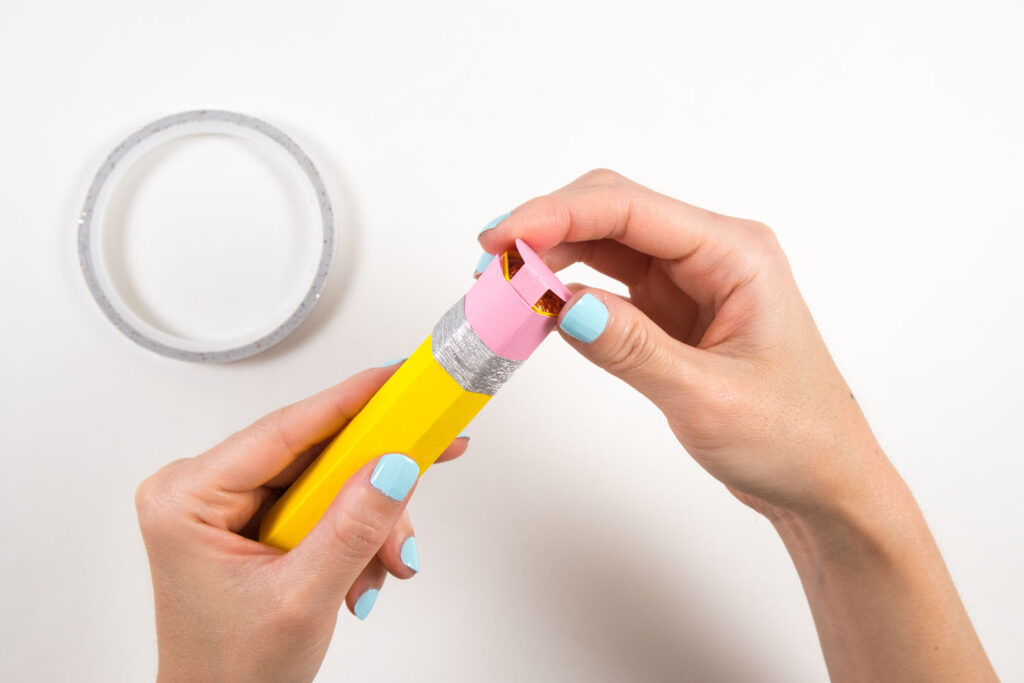
5. Attach Eraser and Ferrule to Pencil Body
Wrap the pink rectangle strip around the top of the cardboard tube and secure with double sided tape. Wrap washi tape around the seam of the pencil body and eraser. Finally, fold in the small flaps of the round eraser piece, then apply double sided tape to attach it to the inside top of the eraser.
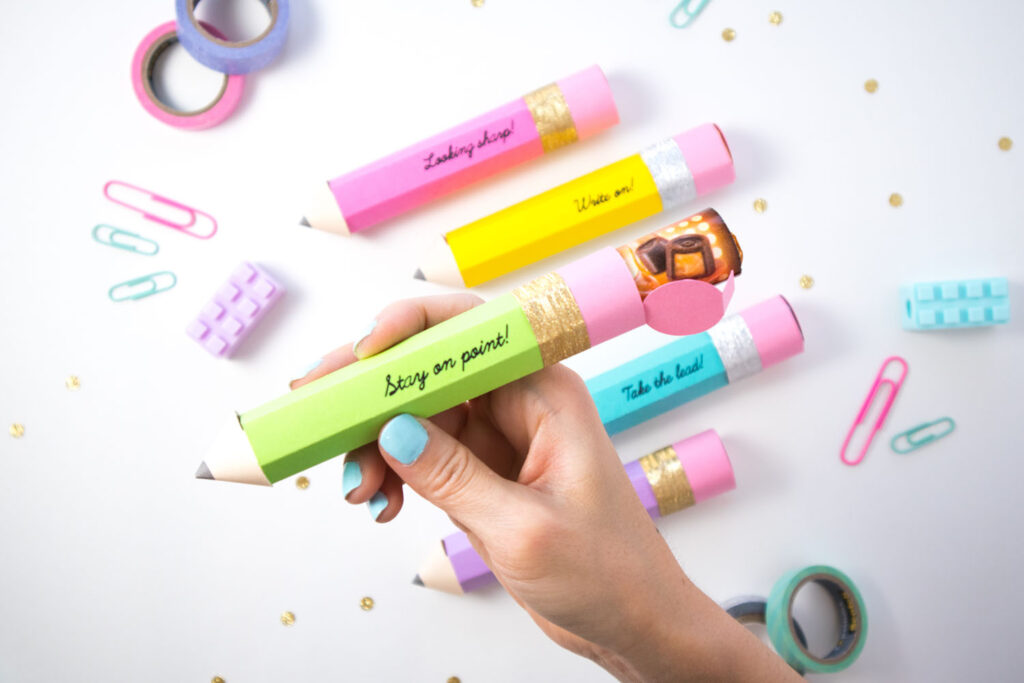
Your pencil craft is complete!
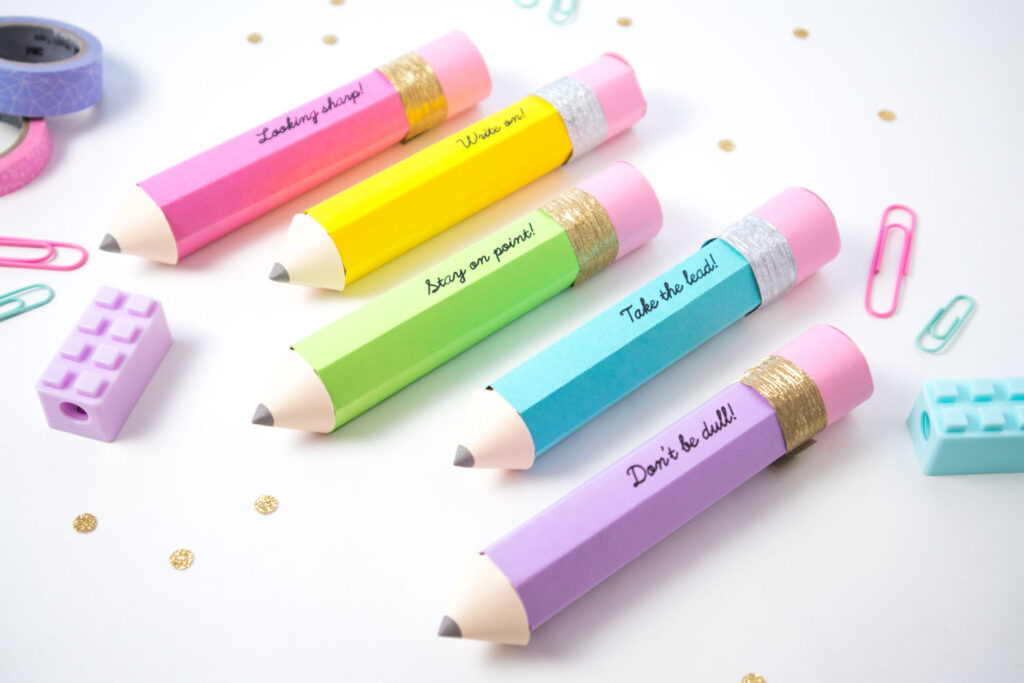
Aren’t these the cutest? I hope you enjoyed this back to school pencil craft project as much as I did! If you end up making these pencil candy holders, tag me on Instagram. I would love to see and share your creations!
If you’re looking for another reason to use your Cricut machine for school stuff, check out my Tips for Using Cricut Infusible Inks Transfer Sheets. It includes a quick demo on making a pencil/craft supplies case using Infusible Ink.
Creative Crafts – Back to School Edition
This project is a part of Team Creative Crafts: Back to School Edition. Me and a bunch of bloggers are sharing our back to school crafts, DIYs, printables and SVG files. Click the image below to see all the different projects!
Go back to my blog for more colorful projects and inspiration.
Lisa
Awesome pencil craft!
Blaire
Thanks Lisa! So glad you like it! 🙂
Pingback: Creative Crafts Linky Party #56 - Bella Crafts Publishing
Beth
Hi Blaire, We are featuring you this week at the Team Creative Crafts Linky Party starting on Wednesday!
Blaire
Wow! Thank you so much! Can’t wait to see what other fun stuff is shared. 🙂
Pingback: 40+Best Back to School Crafts and Free Printables - Bella Crafts Publishing
Pingback: 39+ BEST Back-to-School Crafts and Free Printables - Creatively Beth
Elise
Gahhhh. The colors! The gift! The carmel chocolate!!! I love this project.
Blaire
Thanks for the love Elise!! 🙂
Beth
FABULOUS project and tutorial Blaire! Thanks for joining in the Team Creative Crafts FUN. Creatively, Beth
Blaire
Thanks for letting me join the fun!