How To Make Your Own Ms. Frizzle Costume
I’ve brought “The Friz” into 2020 with this pandemic-edition Ms. Frizzle costume! Even though I’m well past my trick-or-treating years, I LOVE dressing up for Halloween! My fascination with DIY costumes started in middle school and has lasted through my adult years. I love being able to make one-of-a-kind costumes you can’t find at the big box stores and sharing my creativity with the neighborhood. My husband and dogs are not exempt from my costume making obsession!
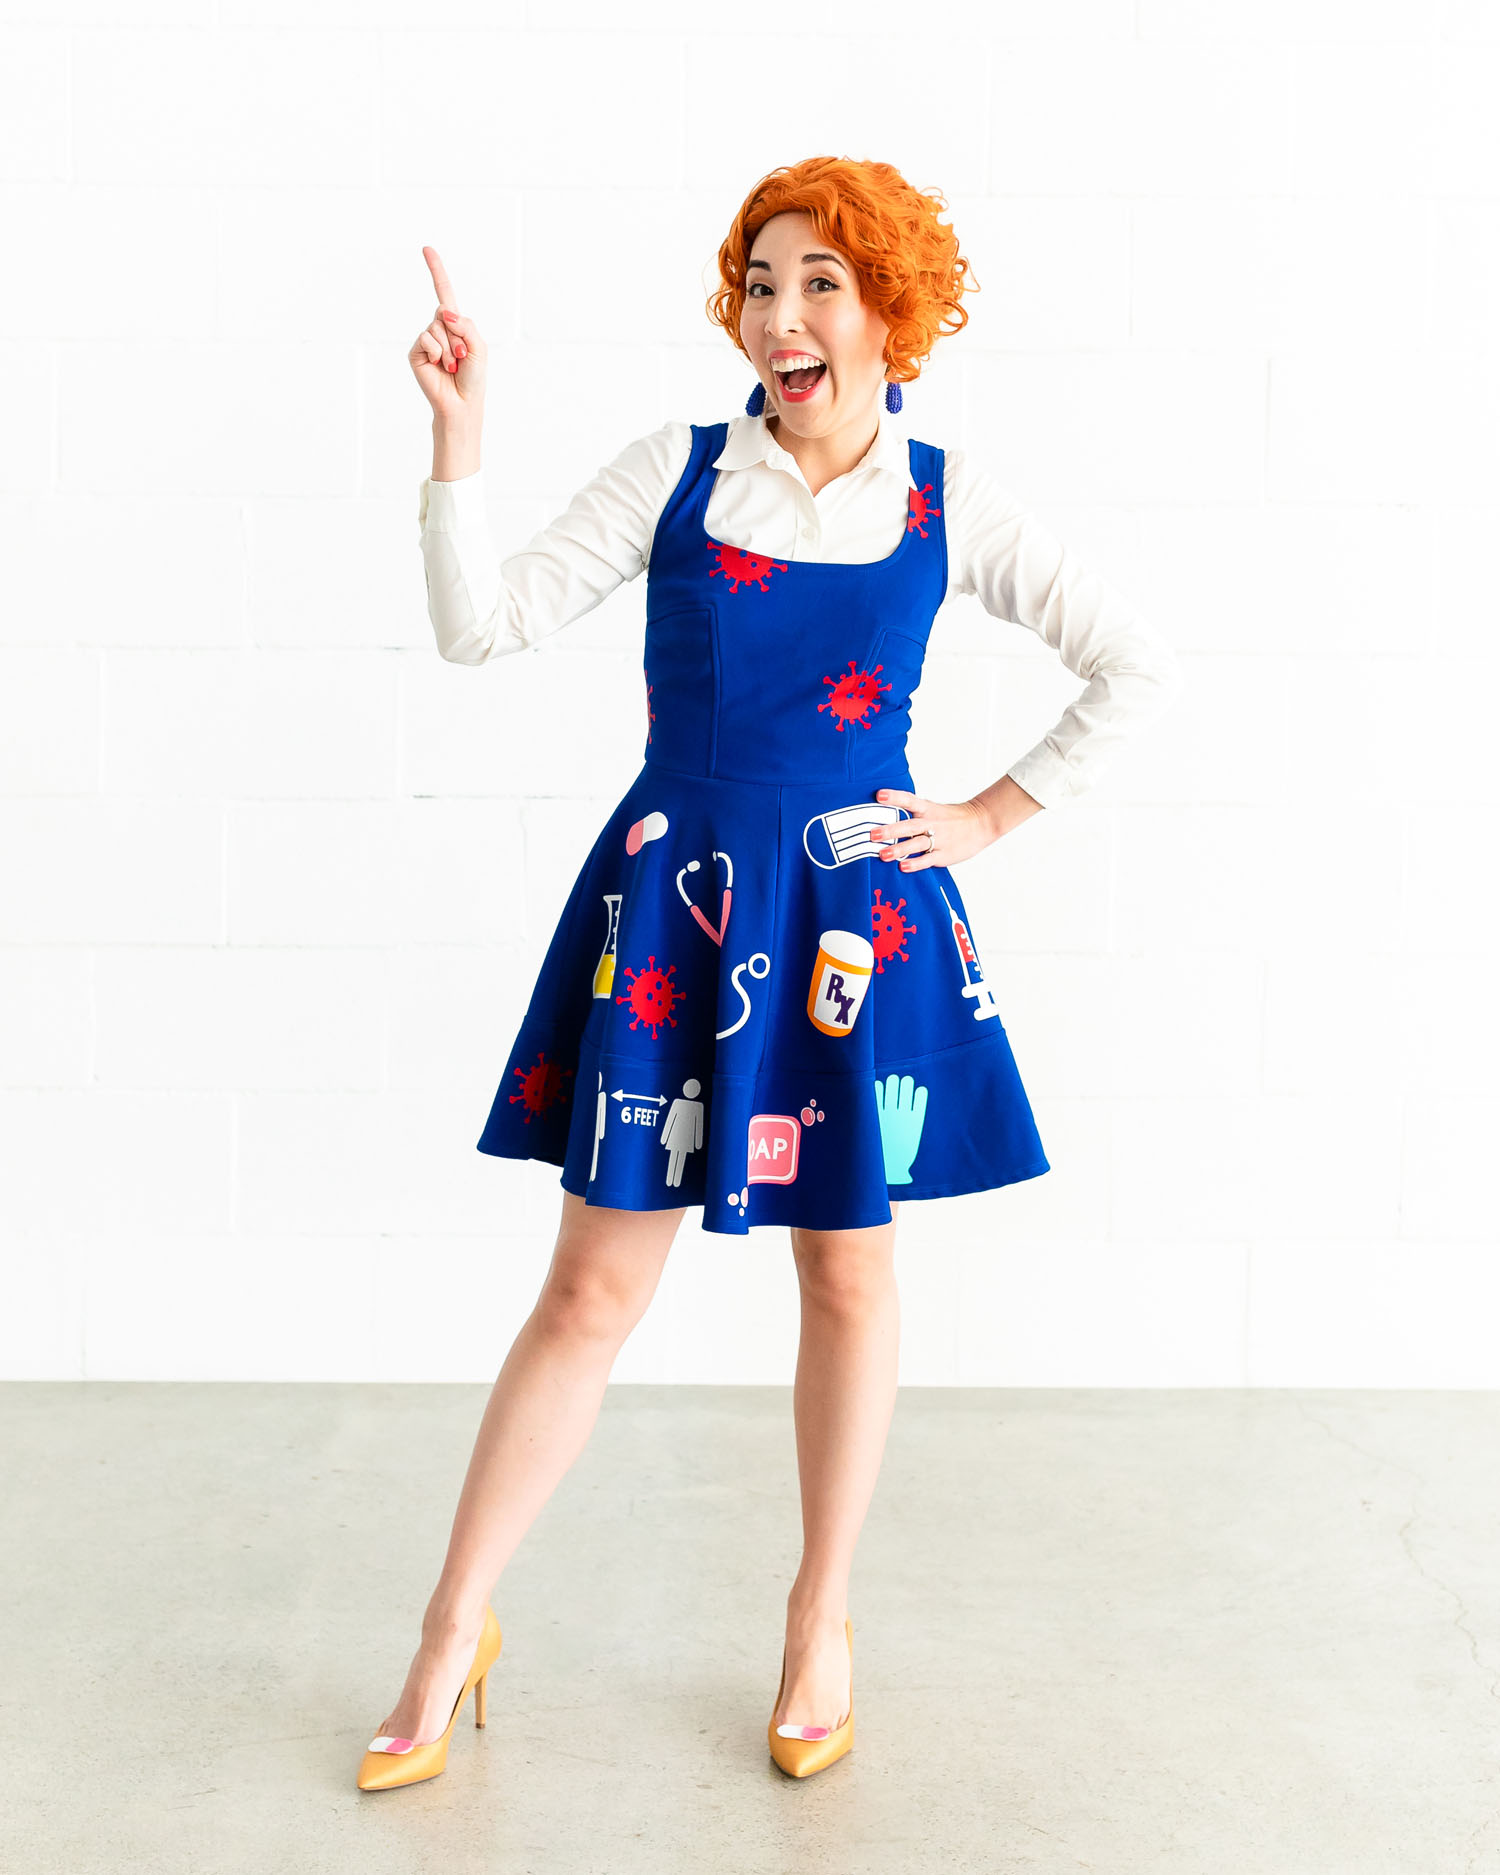
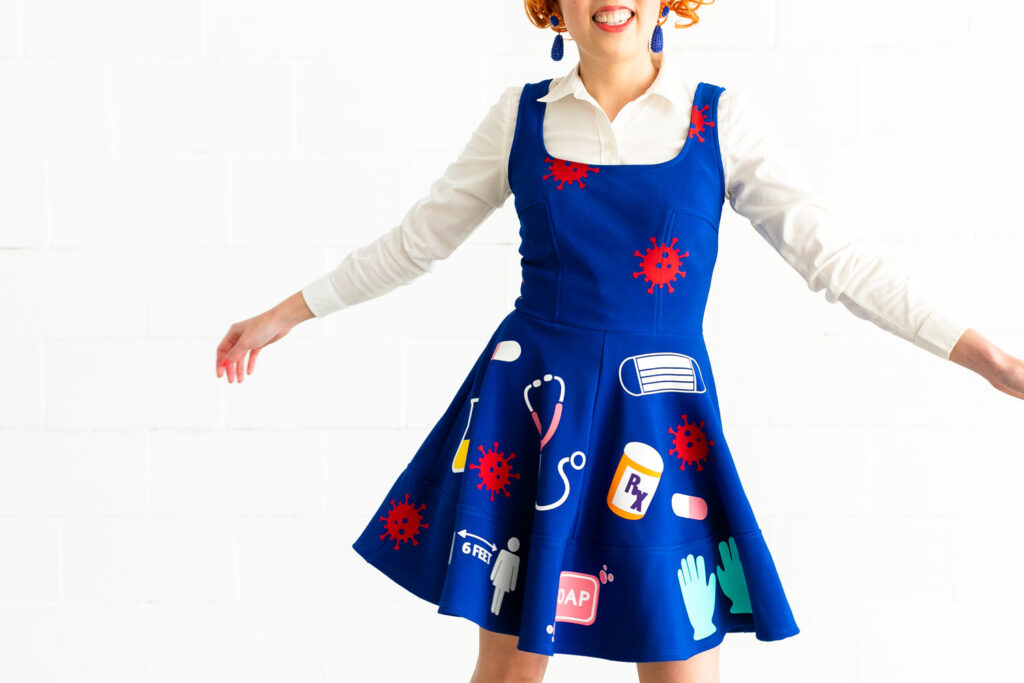
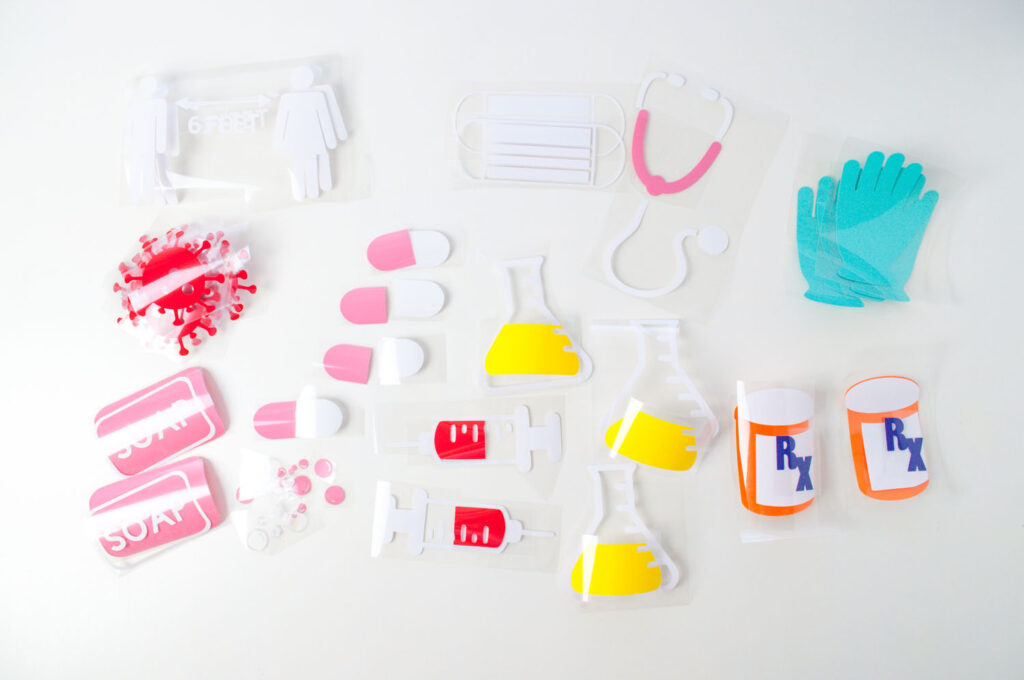
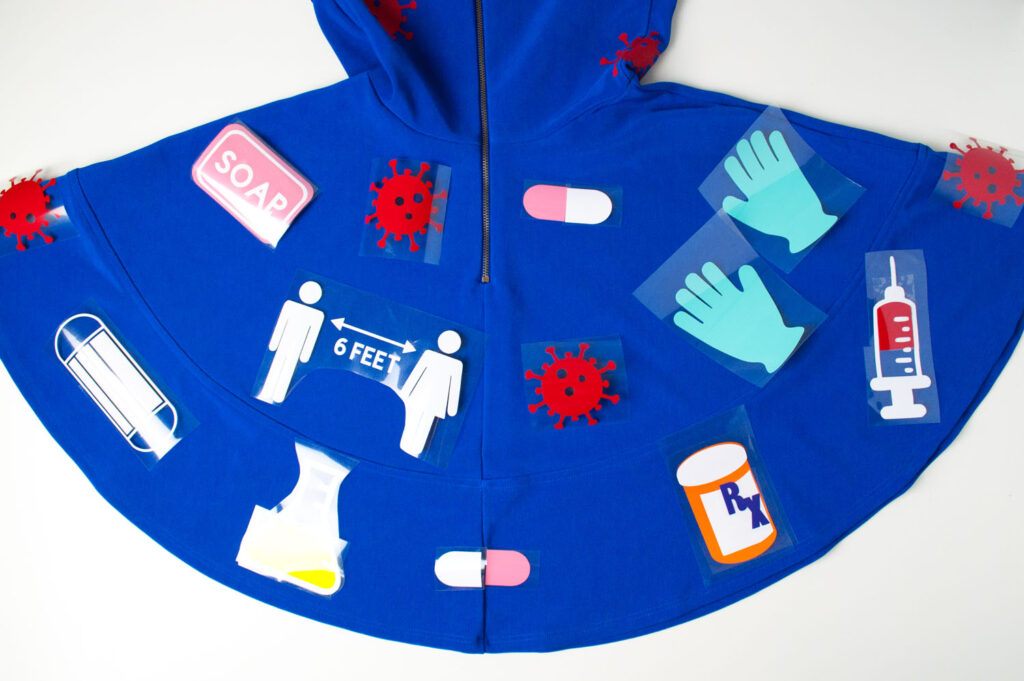
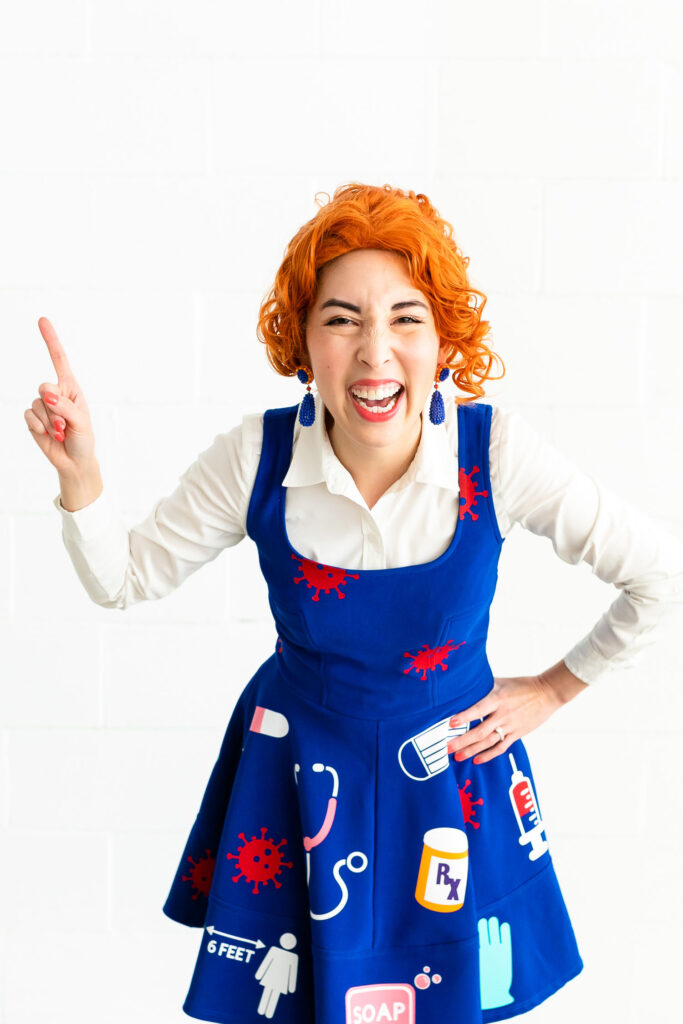
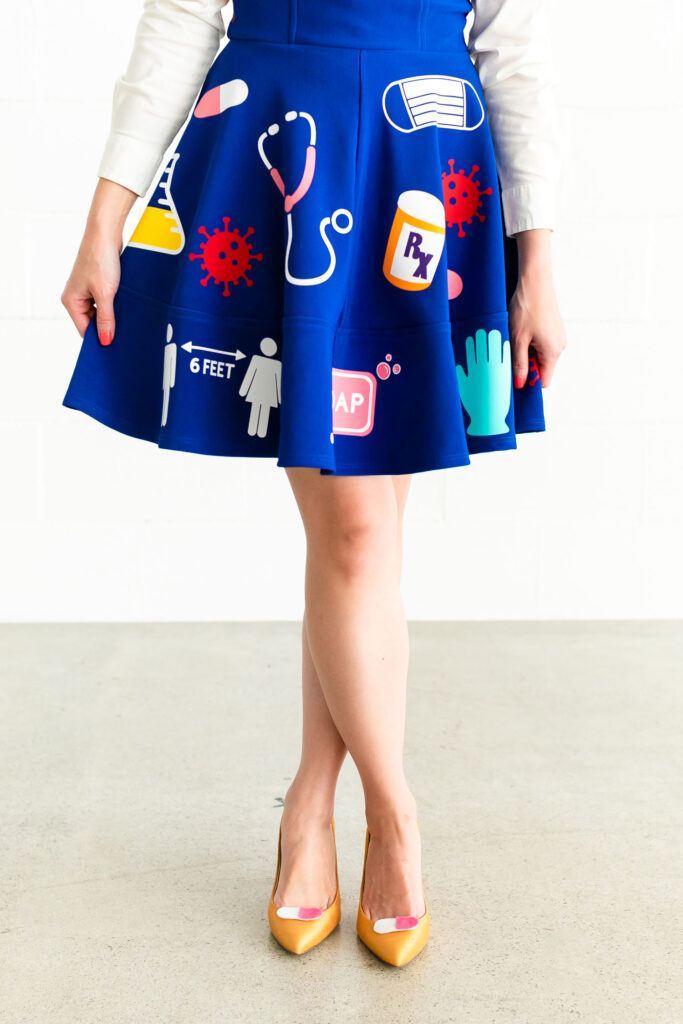
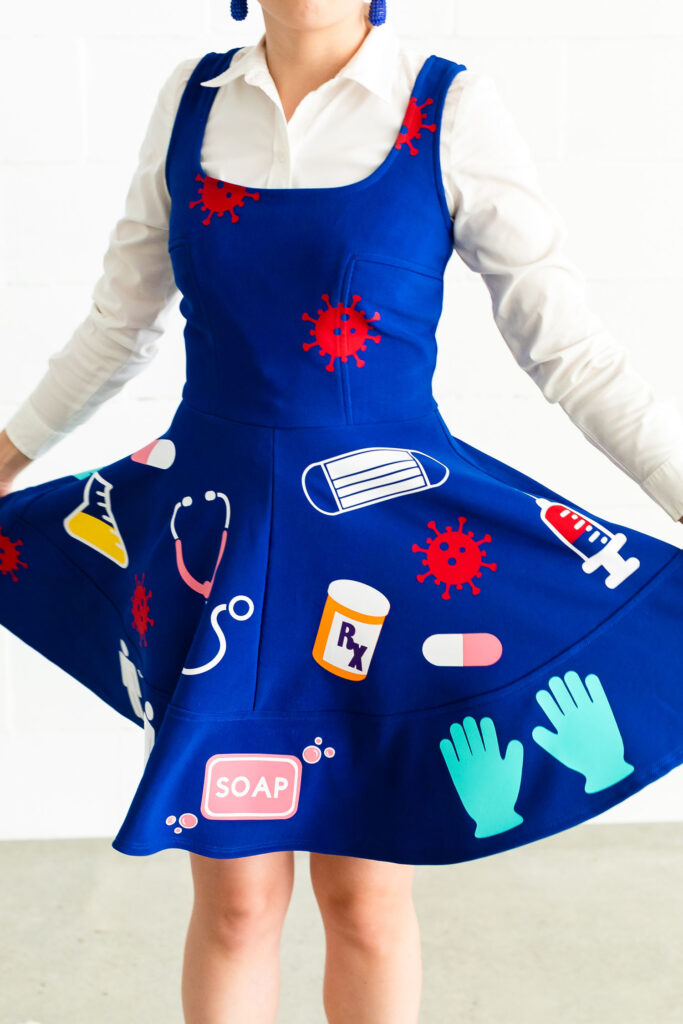
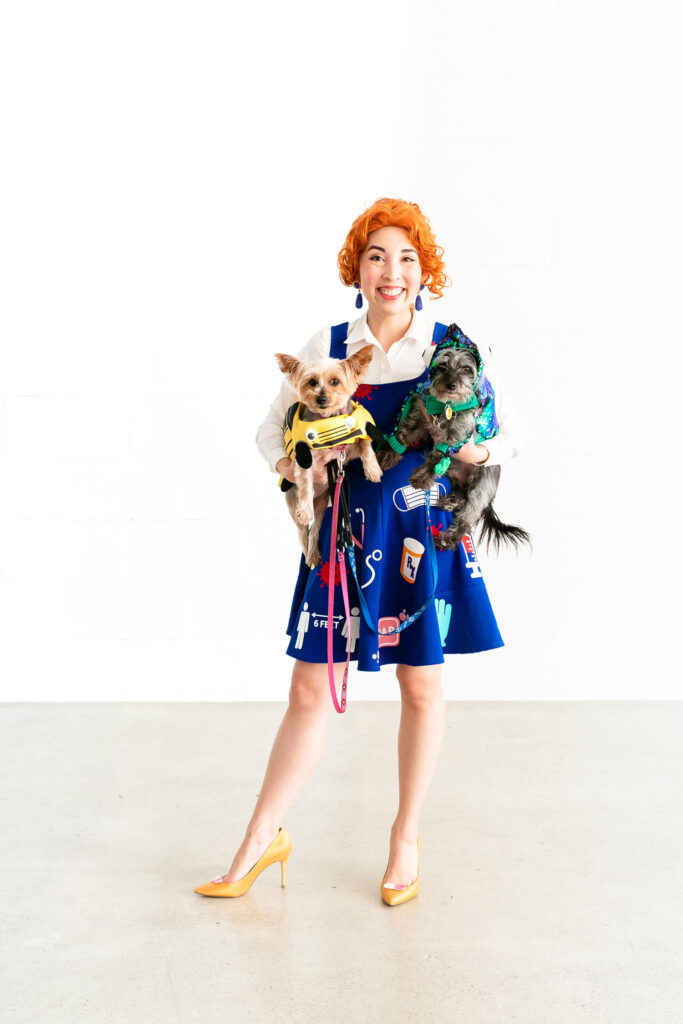
This year with the COVID-19 pandemic in mind, I wanted to design a costume that was fun and reflective of the times. I thought back to watching The Magic School Bus on PBS in the 90’s and remembered Ms. Frizzle’s quirky wardrobe! She always wore a colorful dress with a fun print related to her lesson. I went to work designing this pandemic-edition Ms. Frizzle dress using Cricut Iron-On and a blue dress I found at Savers. It’s covered in viruses, masks, beakers and other pandemic-centric designs. This Ms. Frizzle costume would be so perfect for wearing to your Zoom Halloween party, virtual classroom, or anywhere else you want to make a statement!
If you want to learn how to make your own Ms. Frizzle dress, hop on board and buckle up! More outfit details are shared at the end of this post.
This post contains affiliate links. If clicked, I may make a small commission at no cost to you. As an Amazon affiliate, I earn from qualifying purchases.
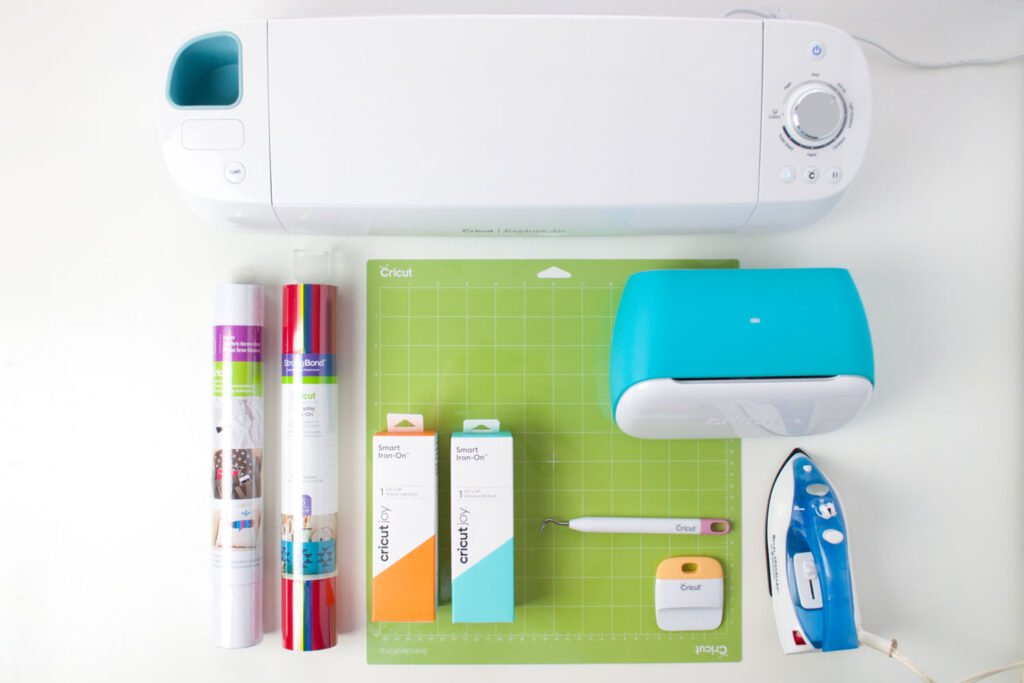
Materials
- Solid colored dress – This blue one was found at Savers.
- Cricut machine – You could also use any of these machines – Explore Air 2, Explore 3, Maker, Maker 3 (I used both my Explore Air and Cricut Joy for this project.)
- StandardGrip mat
- Fine Point blade
- Cricut Iron-on – I used the Everyday Iron-On Rainbow sampler and Smart Iron-On in Carrot & Bright Teal
- Weeder tool
- Cricut EasyPress Mini or household iron
Instructions
Watch this video to see how I made this Ms. Frizzle dress!
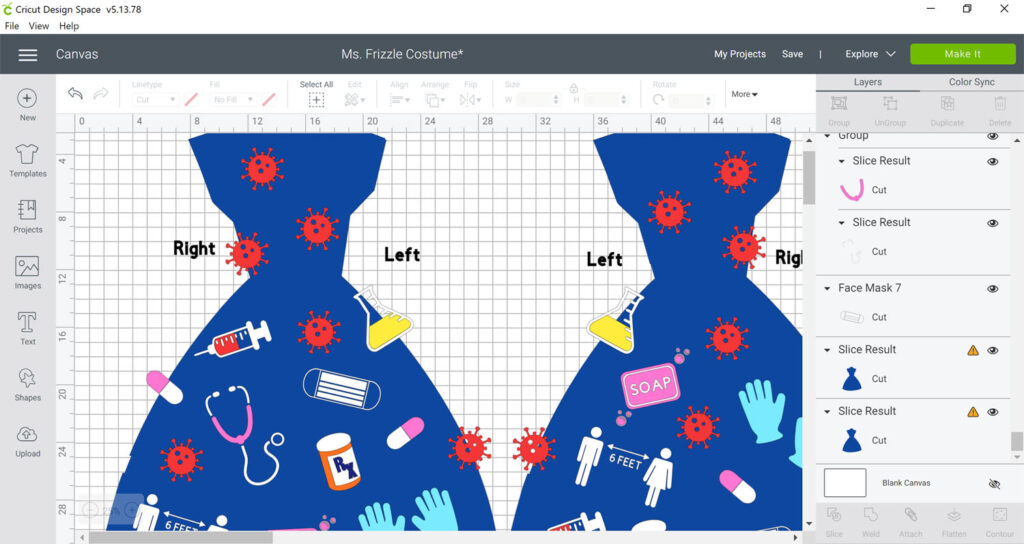
Unfortunately Cricut Design Space does not support the sharing of canvases containing uploaded graphics and fonts (like this one) due to potential for copyright infringement. You can use this tutorial as a guide for customizing your own Ms. Frizzle dress. It won’t be exactly the same as mine, but it’ll be uniquely yours!
1. Edit Design
Take measurements of your solid colored dress. Find a similar dress in the image library and add it to your canvas. Then resize it to match the scale of your actual dress (this does not need to be perfect) and duplicate it to create the front and back. This will serve as templates and will help you visualize your finished dress. Find the designs of your choice in the image library (or upload your own) and place them all over the dress, adjusting the scale and colors to your liking.
2. Cut design using Cricut machine
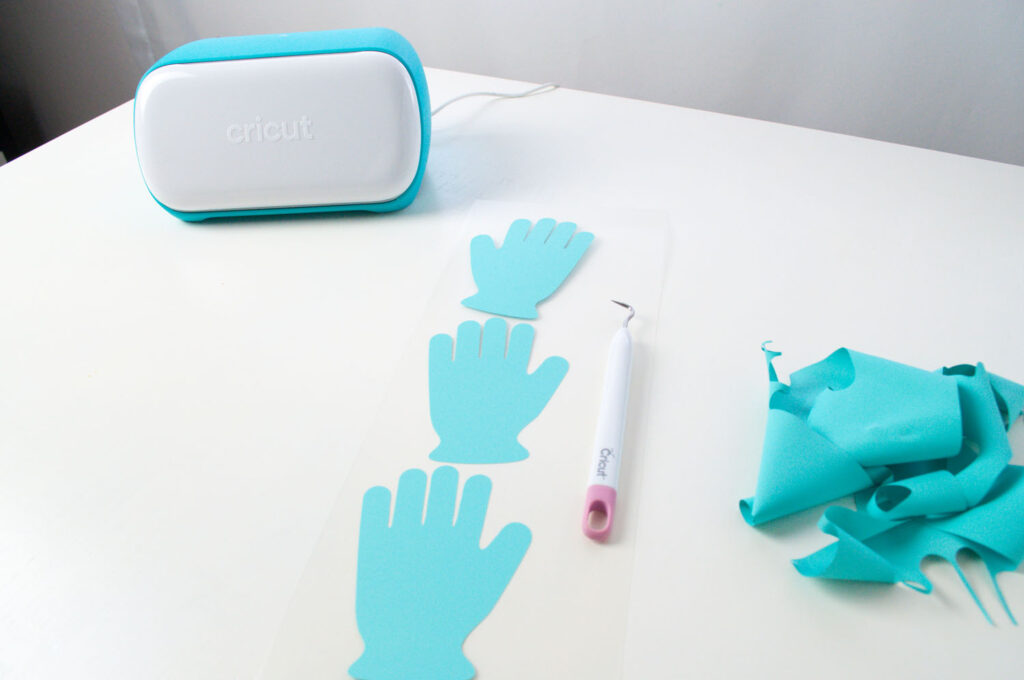
Once you’ve finalized the layout of your designs, it’s time to cut! Remember to hide the dress templates before cutting by clicking on the eyeball icons on the layers panel. I ended up using both my Explore Air and Joy because I had to purchase two types of Iron-On (due to store availability). I’m explaining the application process for both below.
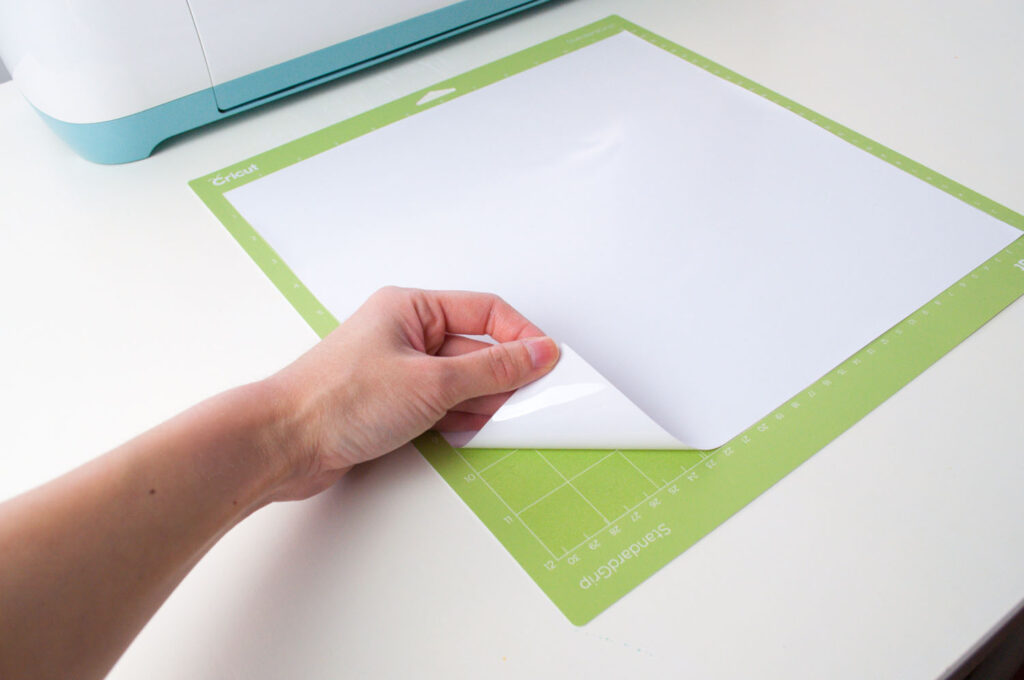
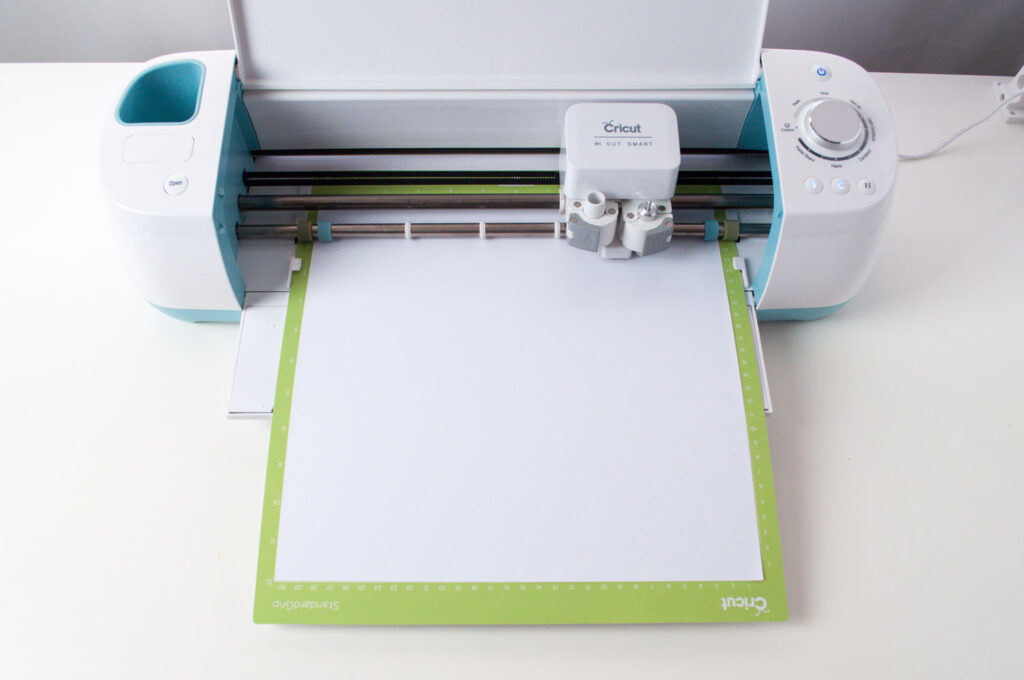
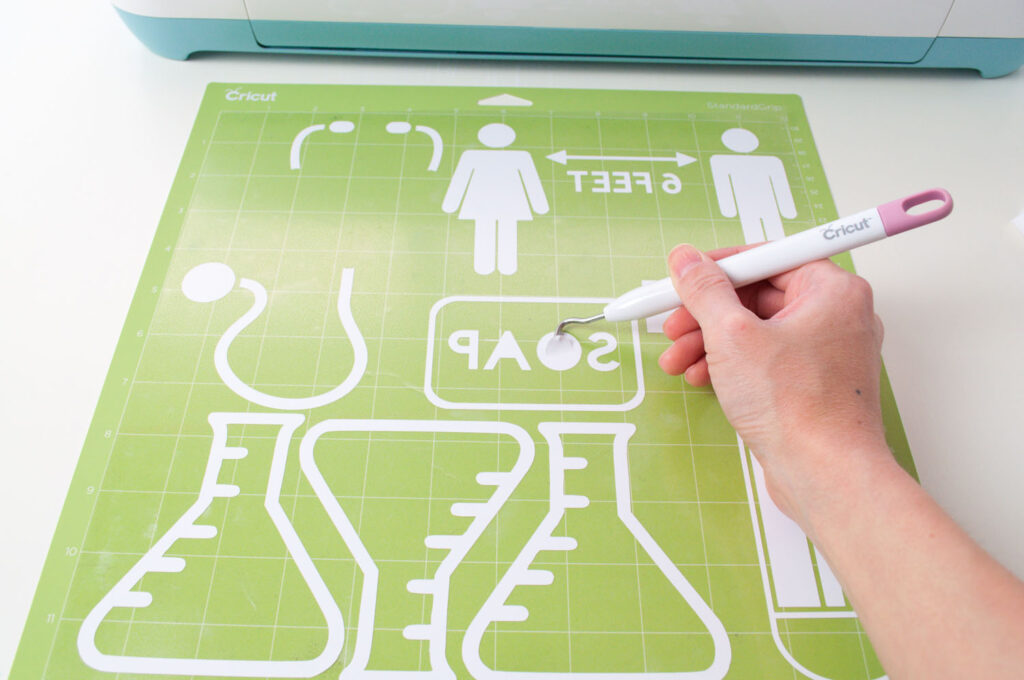
- For Cricut Explore Air or Maker : Hit the green “Make It” button. The projects will be sorted by material color. Next select the mat you want to cut then hit continue. Design Space will connect with your machine. Rotate the dial on your machine to “Iron-On” and make sure to turn Mirror On. Place Iron-On liner side down onto the StandardGrip cutting mat and load it into your machine with the arrow button. Hit the Cricut Go button on your machine and allow it to cut. Weed excess material using weeder tool.
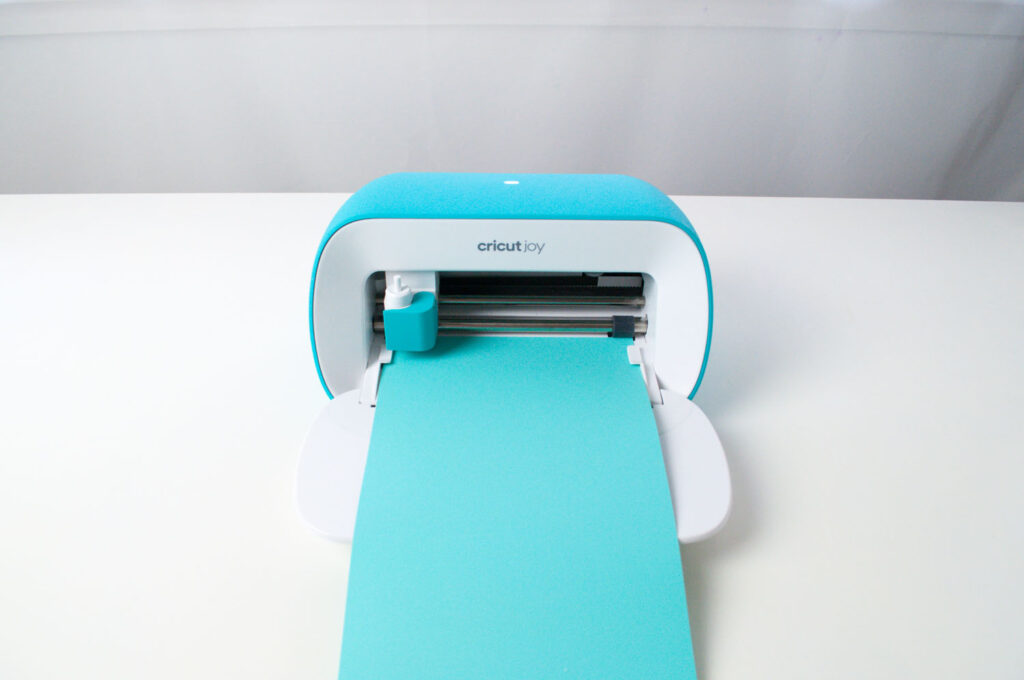
- For Cricut Joy: To cut using your Cricut Joy, change your machine to “Joy” at the top menu. Hit the green “Make it button” and select the mat you want to cut. Select “Smart Iron-On” and make sure to turn Mirror On. Load your Smart Iron-On liner (shiny) side down directly into the machine (no mat required). The machine will automatically pull in and measure your material. Hit “Go” on your screen to begin cutting. Weed excess material using weeder tool.
3. Sort and position vinyl pieces
Sort all of the designs you just cut. Arrange them on your dress to test their placement before applying heat.
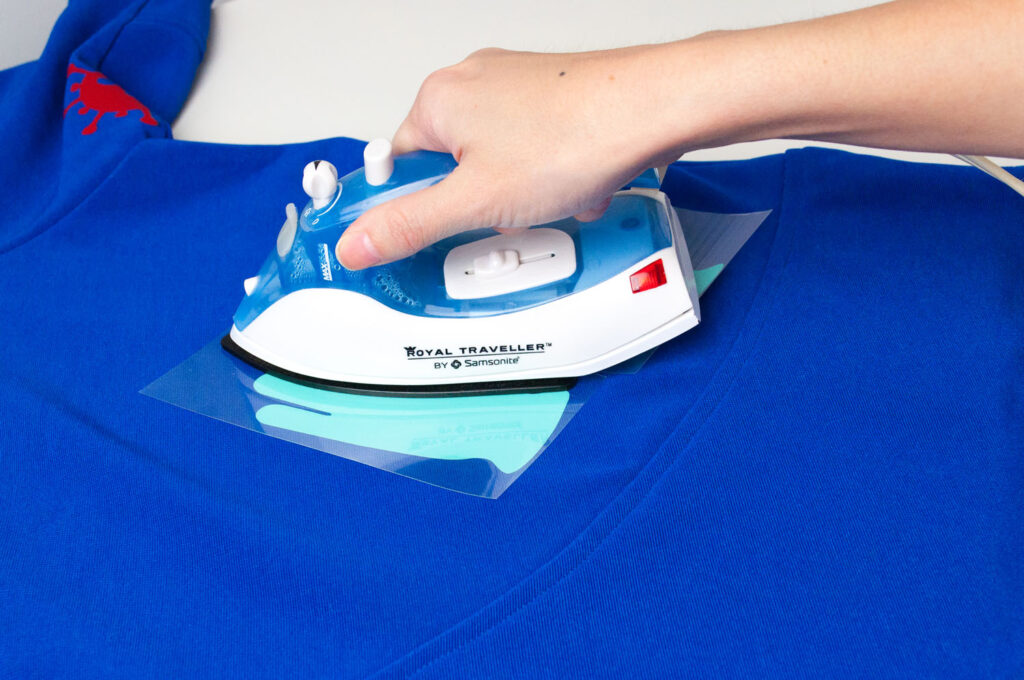
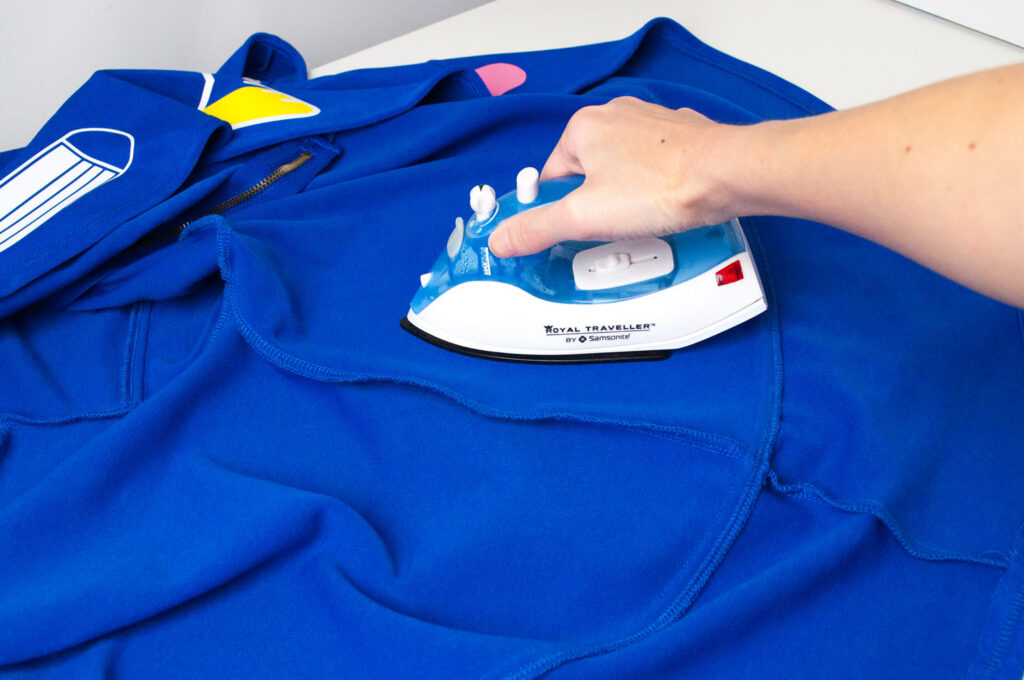
4. Apply vinyl pieces
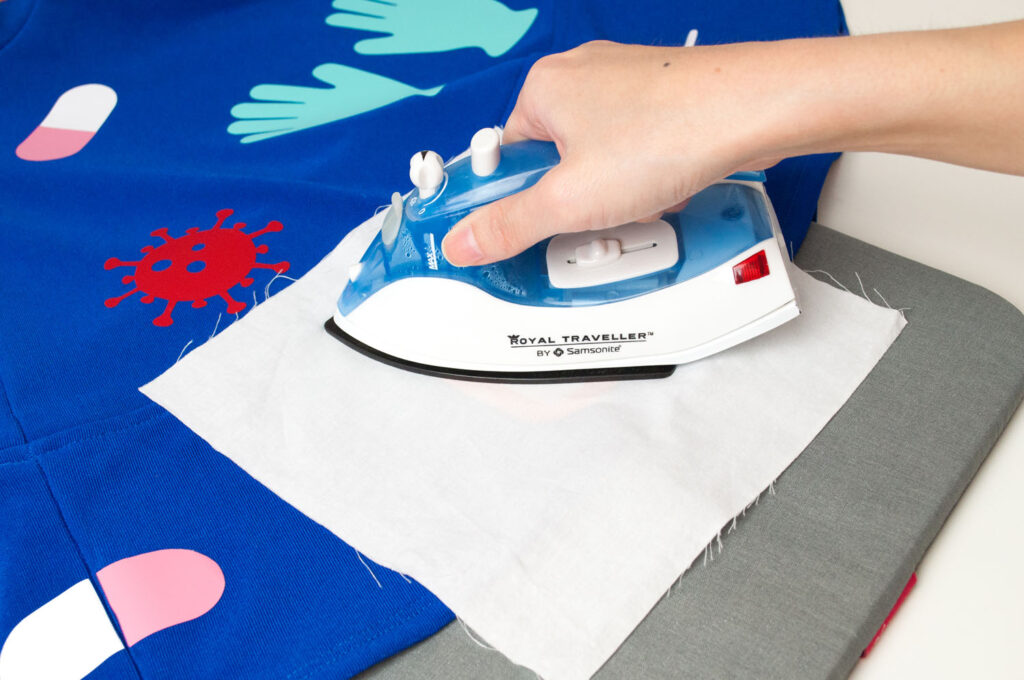
Check out the Cricut Heat Guide for specific instructions for your base material and Iron-On material before proceeding.
The basic steps are as follows:
- Preheat base material
- Place design (liner side up) and press
- Press reverse side
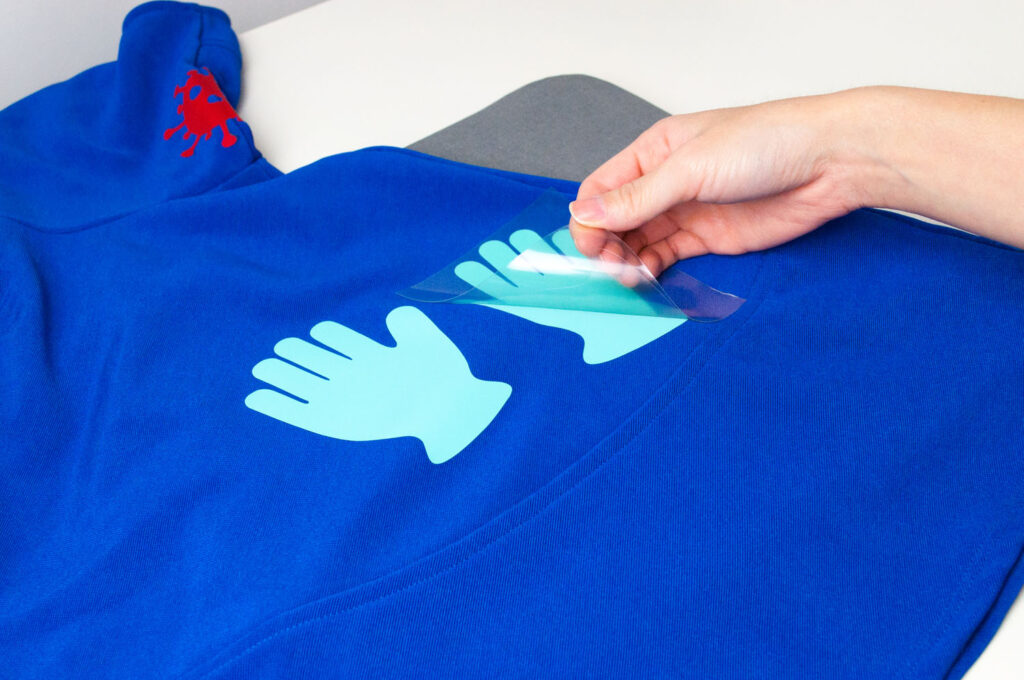
- Allow to cool and peel off liner (cool peel)
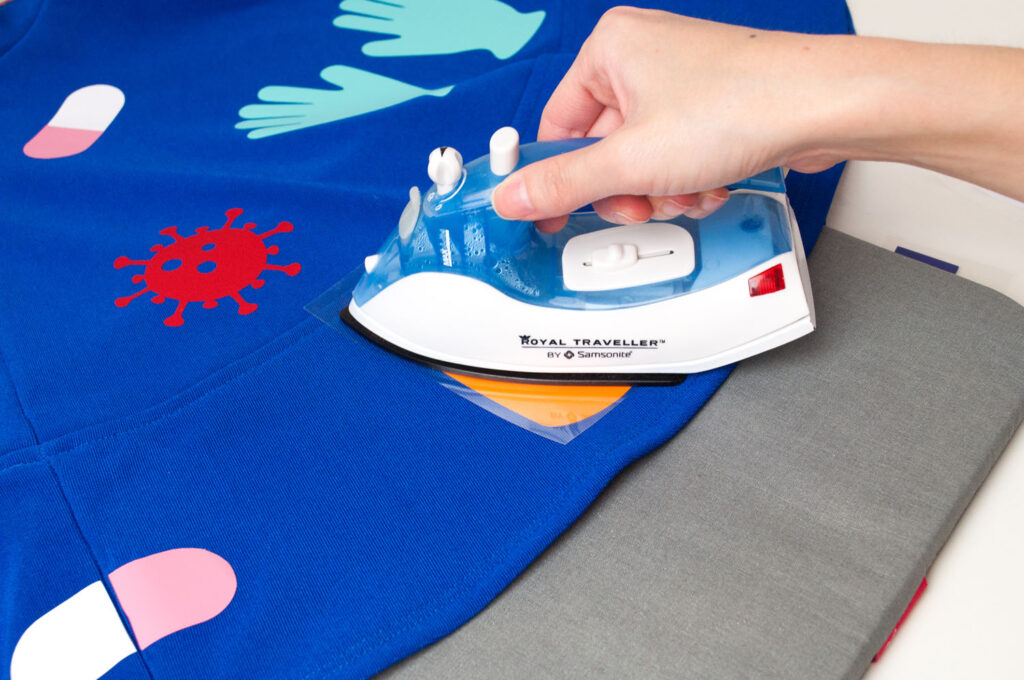
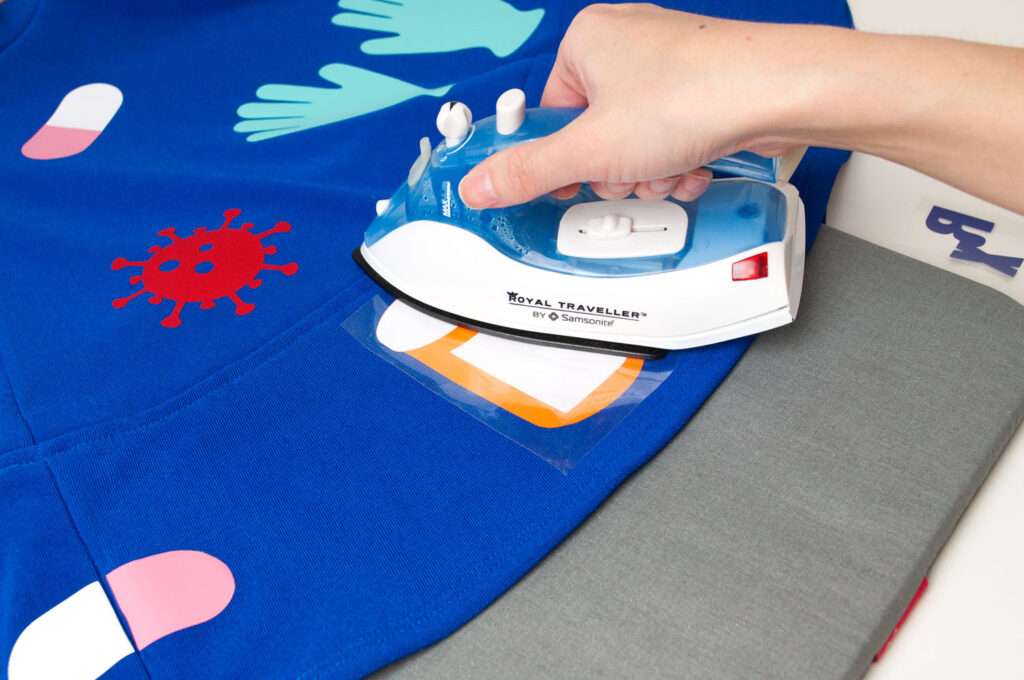
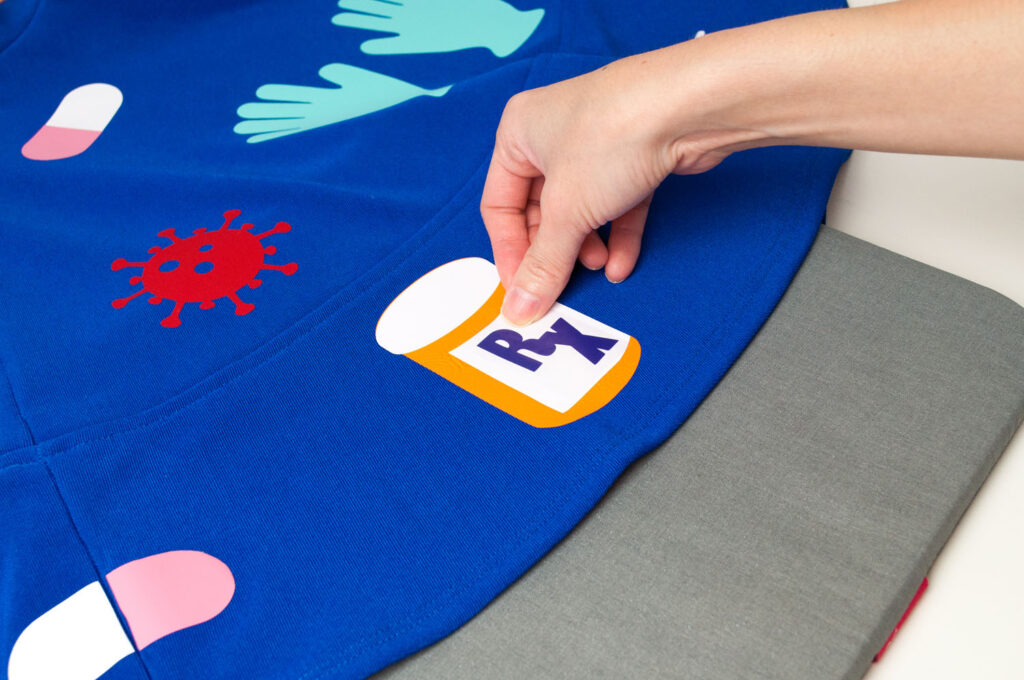
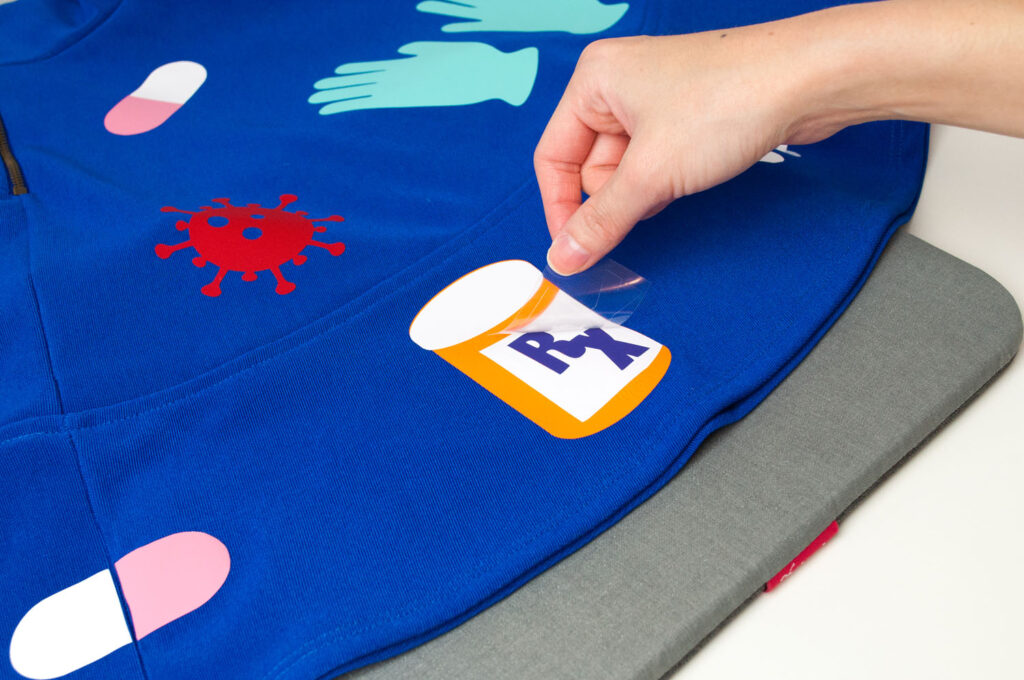
For the designs that require more than one color of Iron-On (eg. prescription bottle, soap, beaker, pill), the steps are:
- Preheat base material
- Position bottom layer of design and press for a few seconds. Allow to cool a bit, then peel off liner (warm peel).
- Position the next layer and do the same as above. Make sure to cover with a cloth if any vinyl is exposed. This step is only applicable if more than 2 layers are used.
- Position the top layer, cover with cloth and press for 15 seconds
- Flip material over and press back for 15 seconds.
- Allow to cool and peel off liner (cool peel)
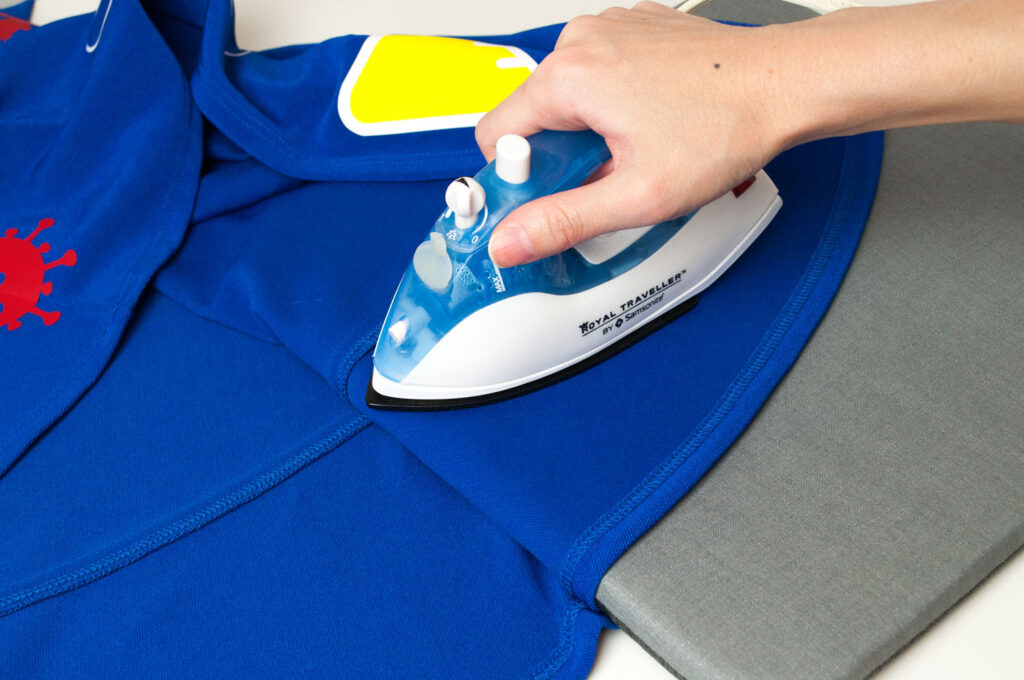
Repeat the application process with your other images until your dress is finished!
Now that your dress is finished, it’s time to accessorize!
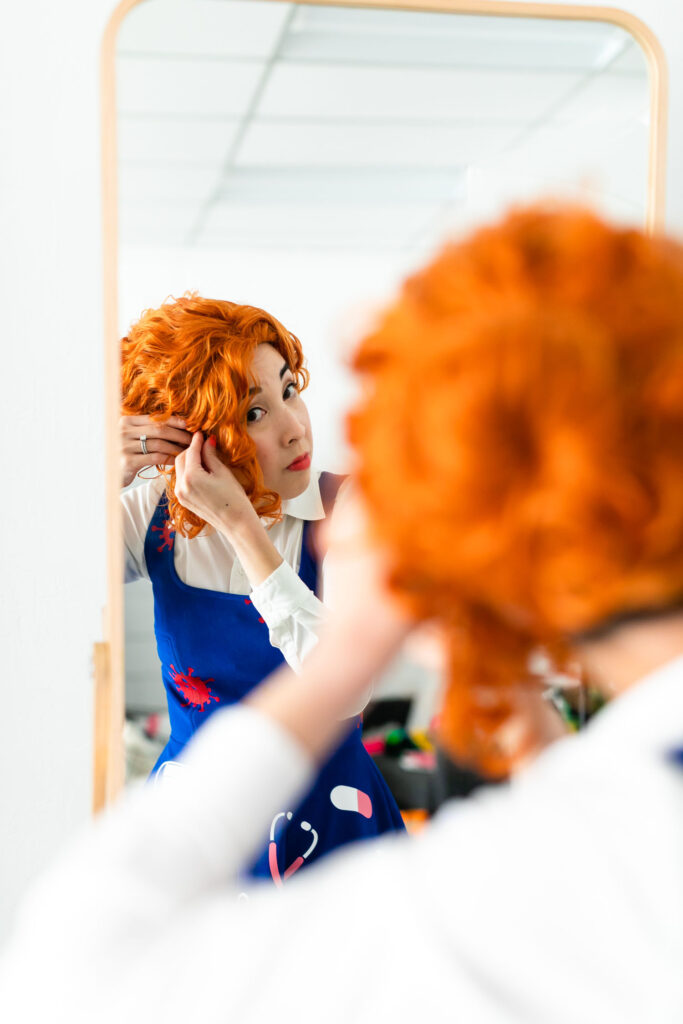
This Ms. Frizzle costume would be incomplete without her signature orange frizzy hair! Unless you already have a similar hair type, you probably need a wig. This orange wig was the perfect addition to my costume! I just had to pin it into a bun, and bam, transformation complete!
To finish off the look I added beaded statement earrings (also thrifted from Savers) and gold satin heels I’m sure Ms. Frizzle would approve of. The pharmacist in me had to add a few more pills to my shoes…I’m calling them pill pusher pumps! Purchasing or making your own shoe clips is a fun and easy way to add more personality to your flats or pumps. I made these pills by cutting out felt and hot gluing them to blank shoe clips.
Wahooo! Your Ms. Frizzle costume is complete!
Now just find your favorite school bus and Liz the chameleon and you’re on your way!
I love that I was able to create a truly unique costume using a thrift store dress and iron-on vinyl! In case you didn’t know, thrifting is a resourceful and often inexpensive way to get pieces for your DIY costume! I would love to know…Are you making your own Halloween costume this year? Would you rock this Ms. Frizzle frock? Whatever you’re doing, please stay safe! Happy crafting!
Check the rest of my family’s costume in this blog post: The Magic School Bus x Bill Nye Costumes.
Photography: Sarah Eichstedt Photography
Studio: Creative Space Studios